no, not what I mean. Double click the layer setting for the vertical lines and it will pop open your Cuts/Layers settings for that layer.
1 Like
@DougL Thank you. I’m not sure how to loosen it, is it fairly self explanatory once I get in there?
I need to know you did what I asked and without validate by showing me you changed the SCAN angle and ran the vertical lines with 0 deg Scan angle THEN changed the scan angle for the horizontal lines and ran that.
You must either set a unique layer for each set of 4 lines and adjust the settings as I asked OR you do only 1 set of 4 lines, run the test one way, then rotate the lines 90 deg AND rotate the Scan Angle 90 deg and run the test.
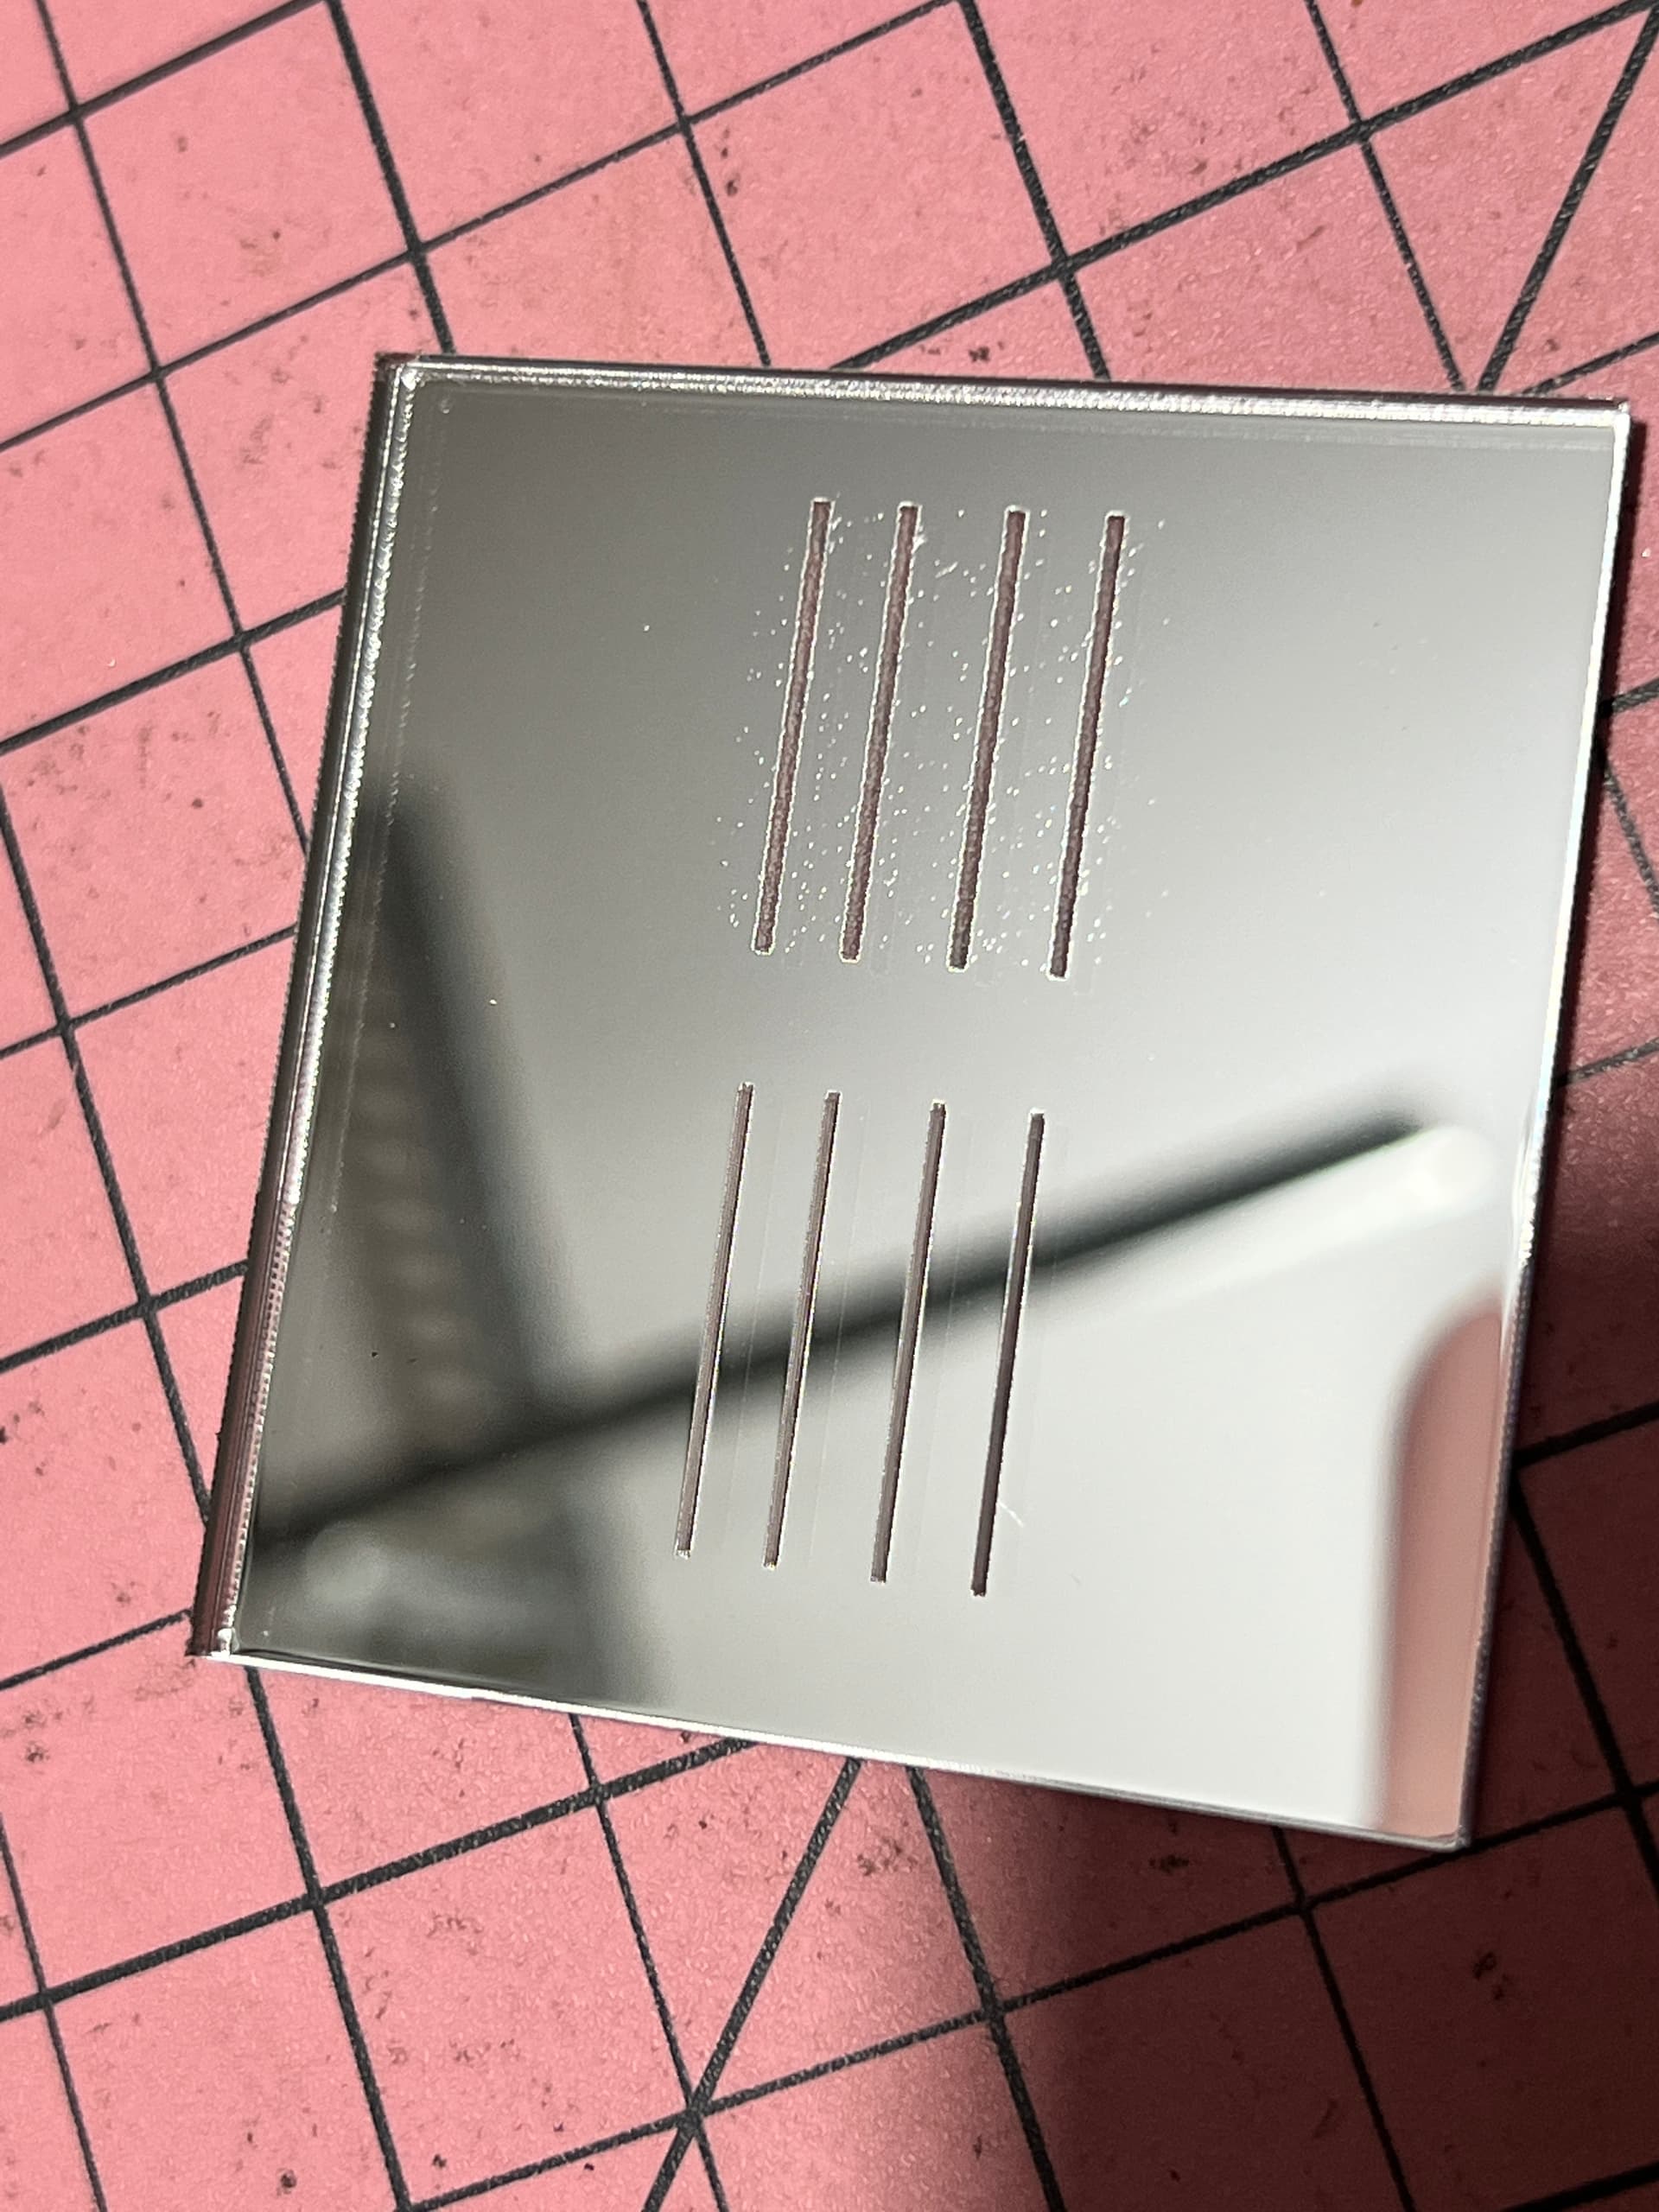
What you want to be seeing is the machine engraving 4 vertical lines horizontally and then engraving 4 horizontal lines vertically.
I gotta step out for an your so hopefully you can do the test as I mentioned.
1 Like
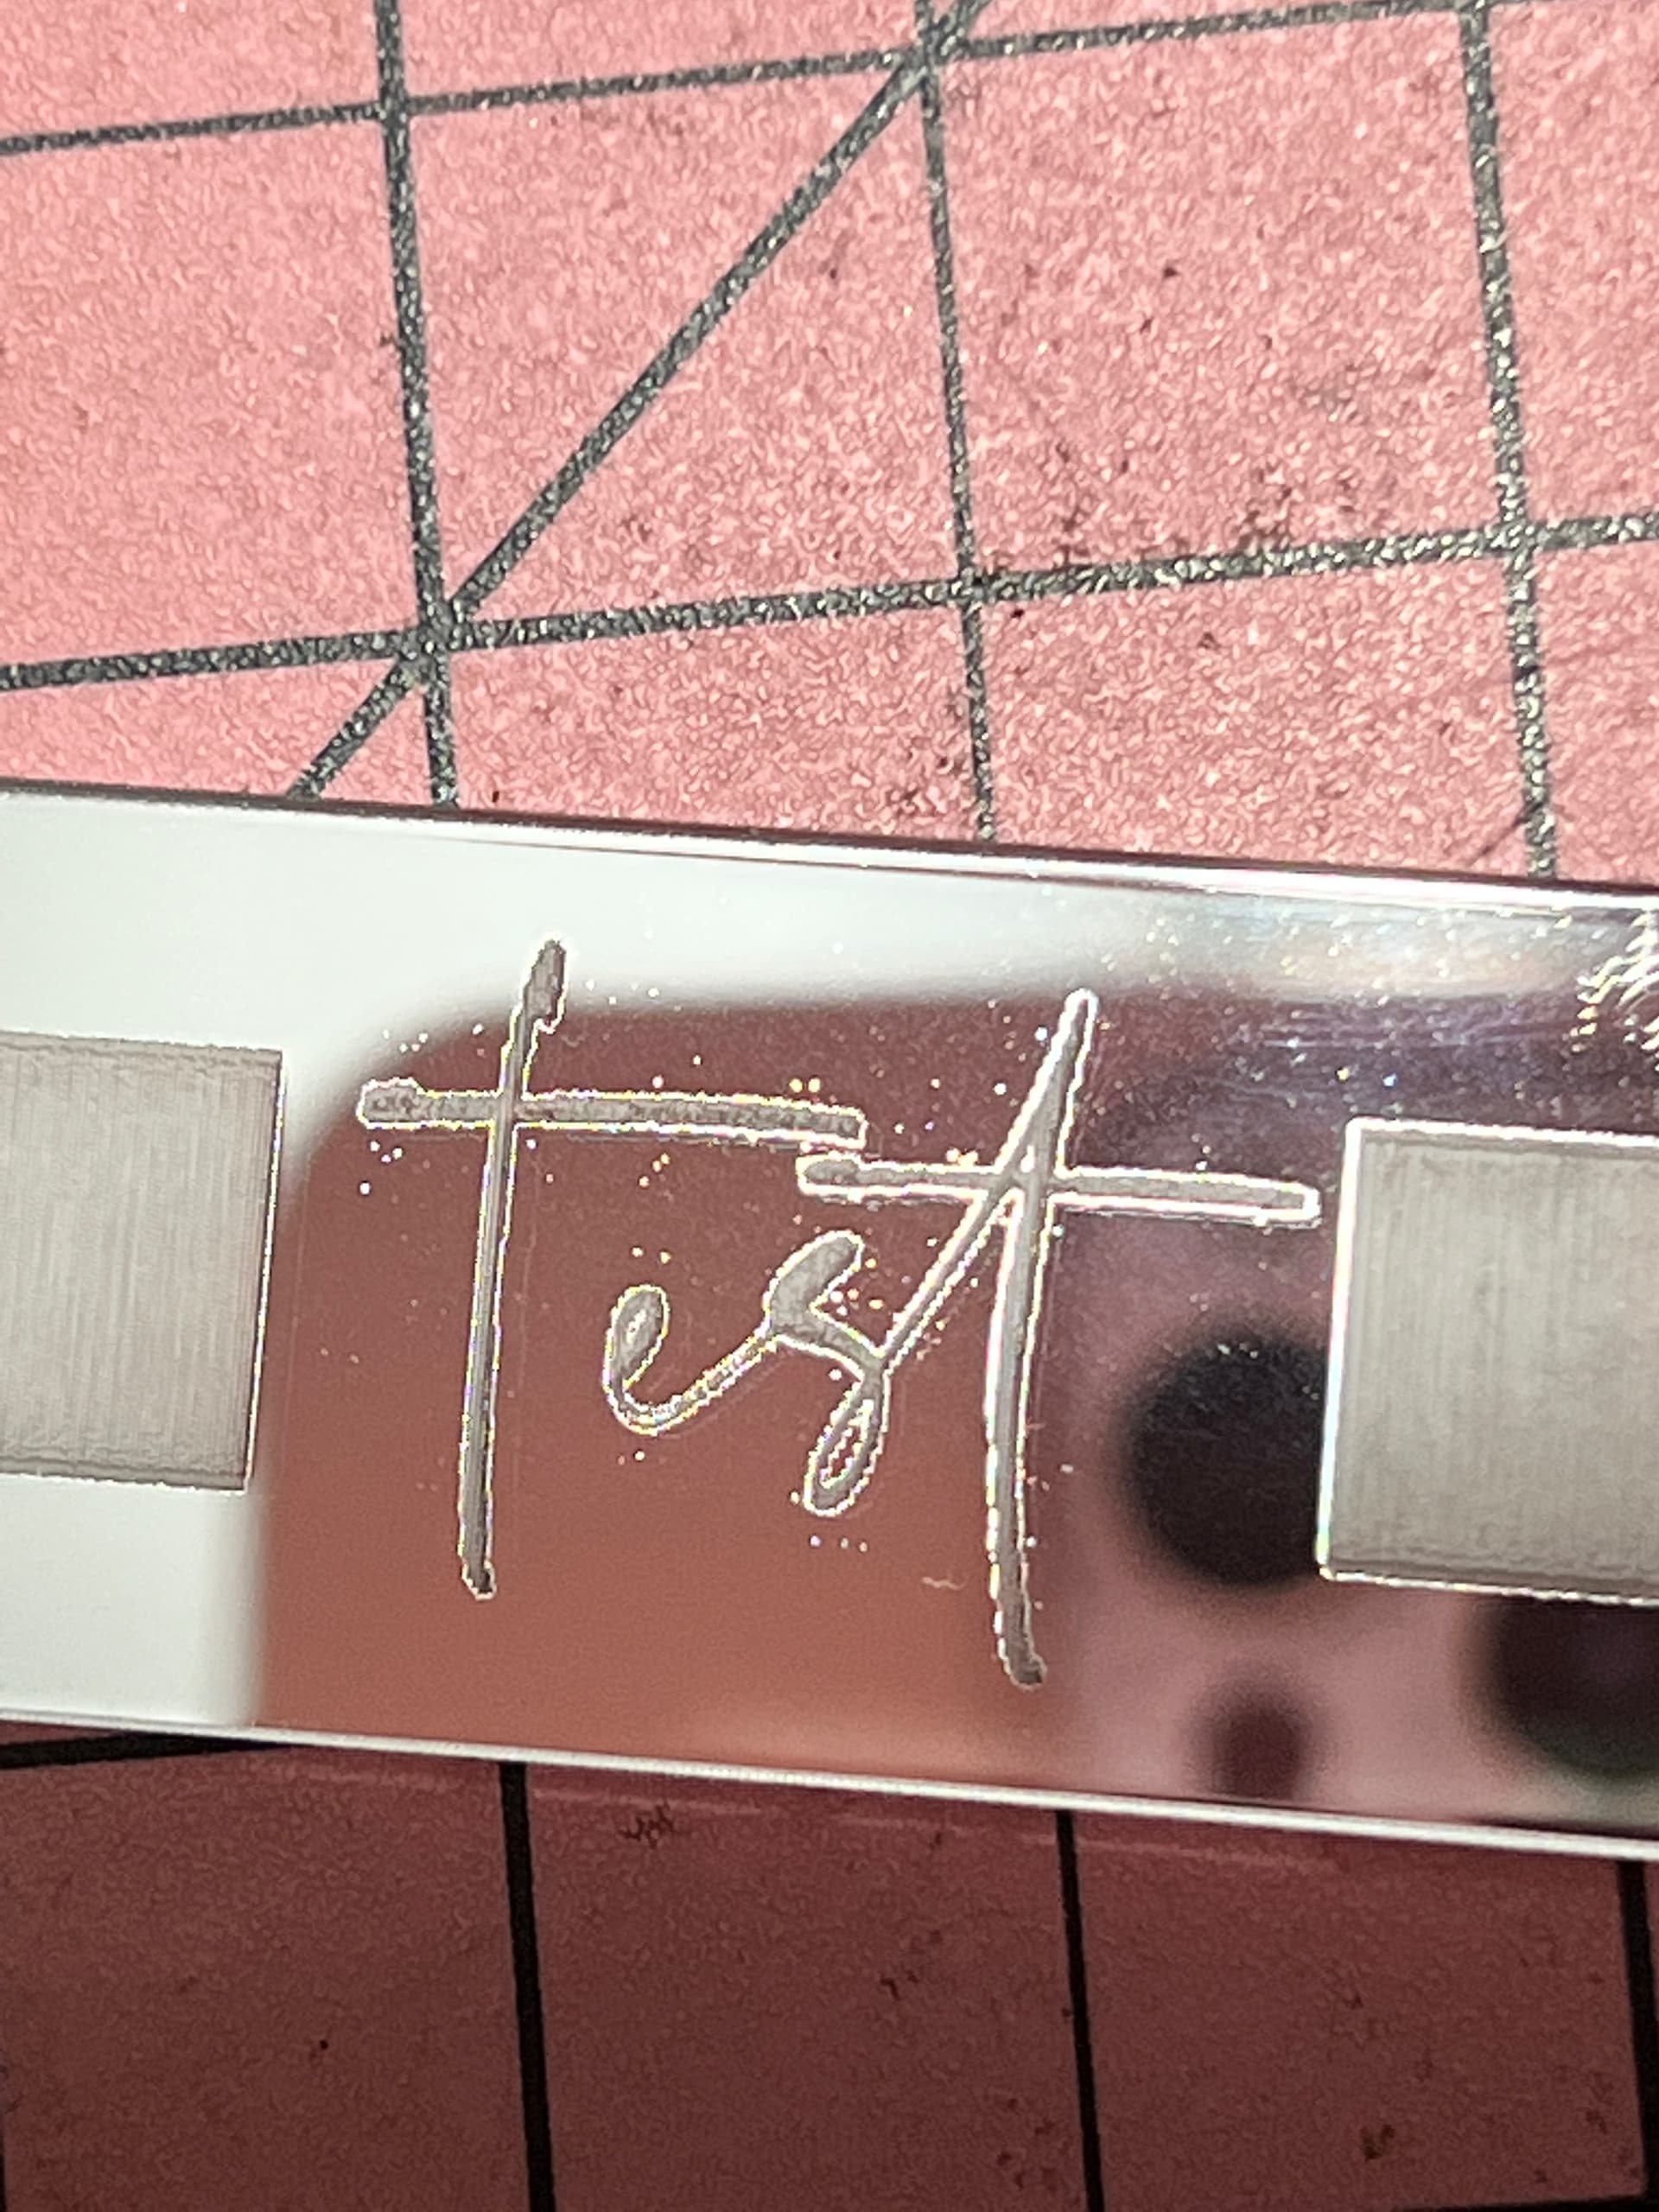
these dots are created during your design stage, no where does the lightburn induce these characters. Try to design a new art, now if you are picking up images and tracing them or rastering that, first magnify that image, see all the area is free from foreign dots or dashes, then feed it into the laser cutters controller, like the RUIDA controller.
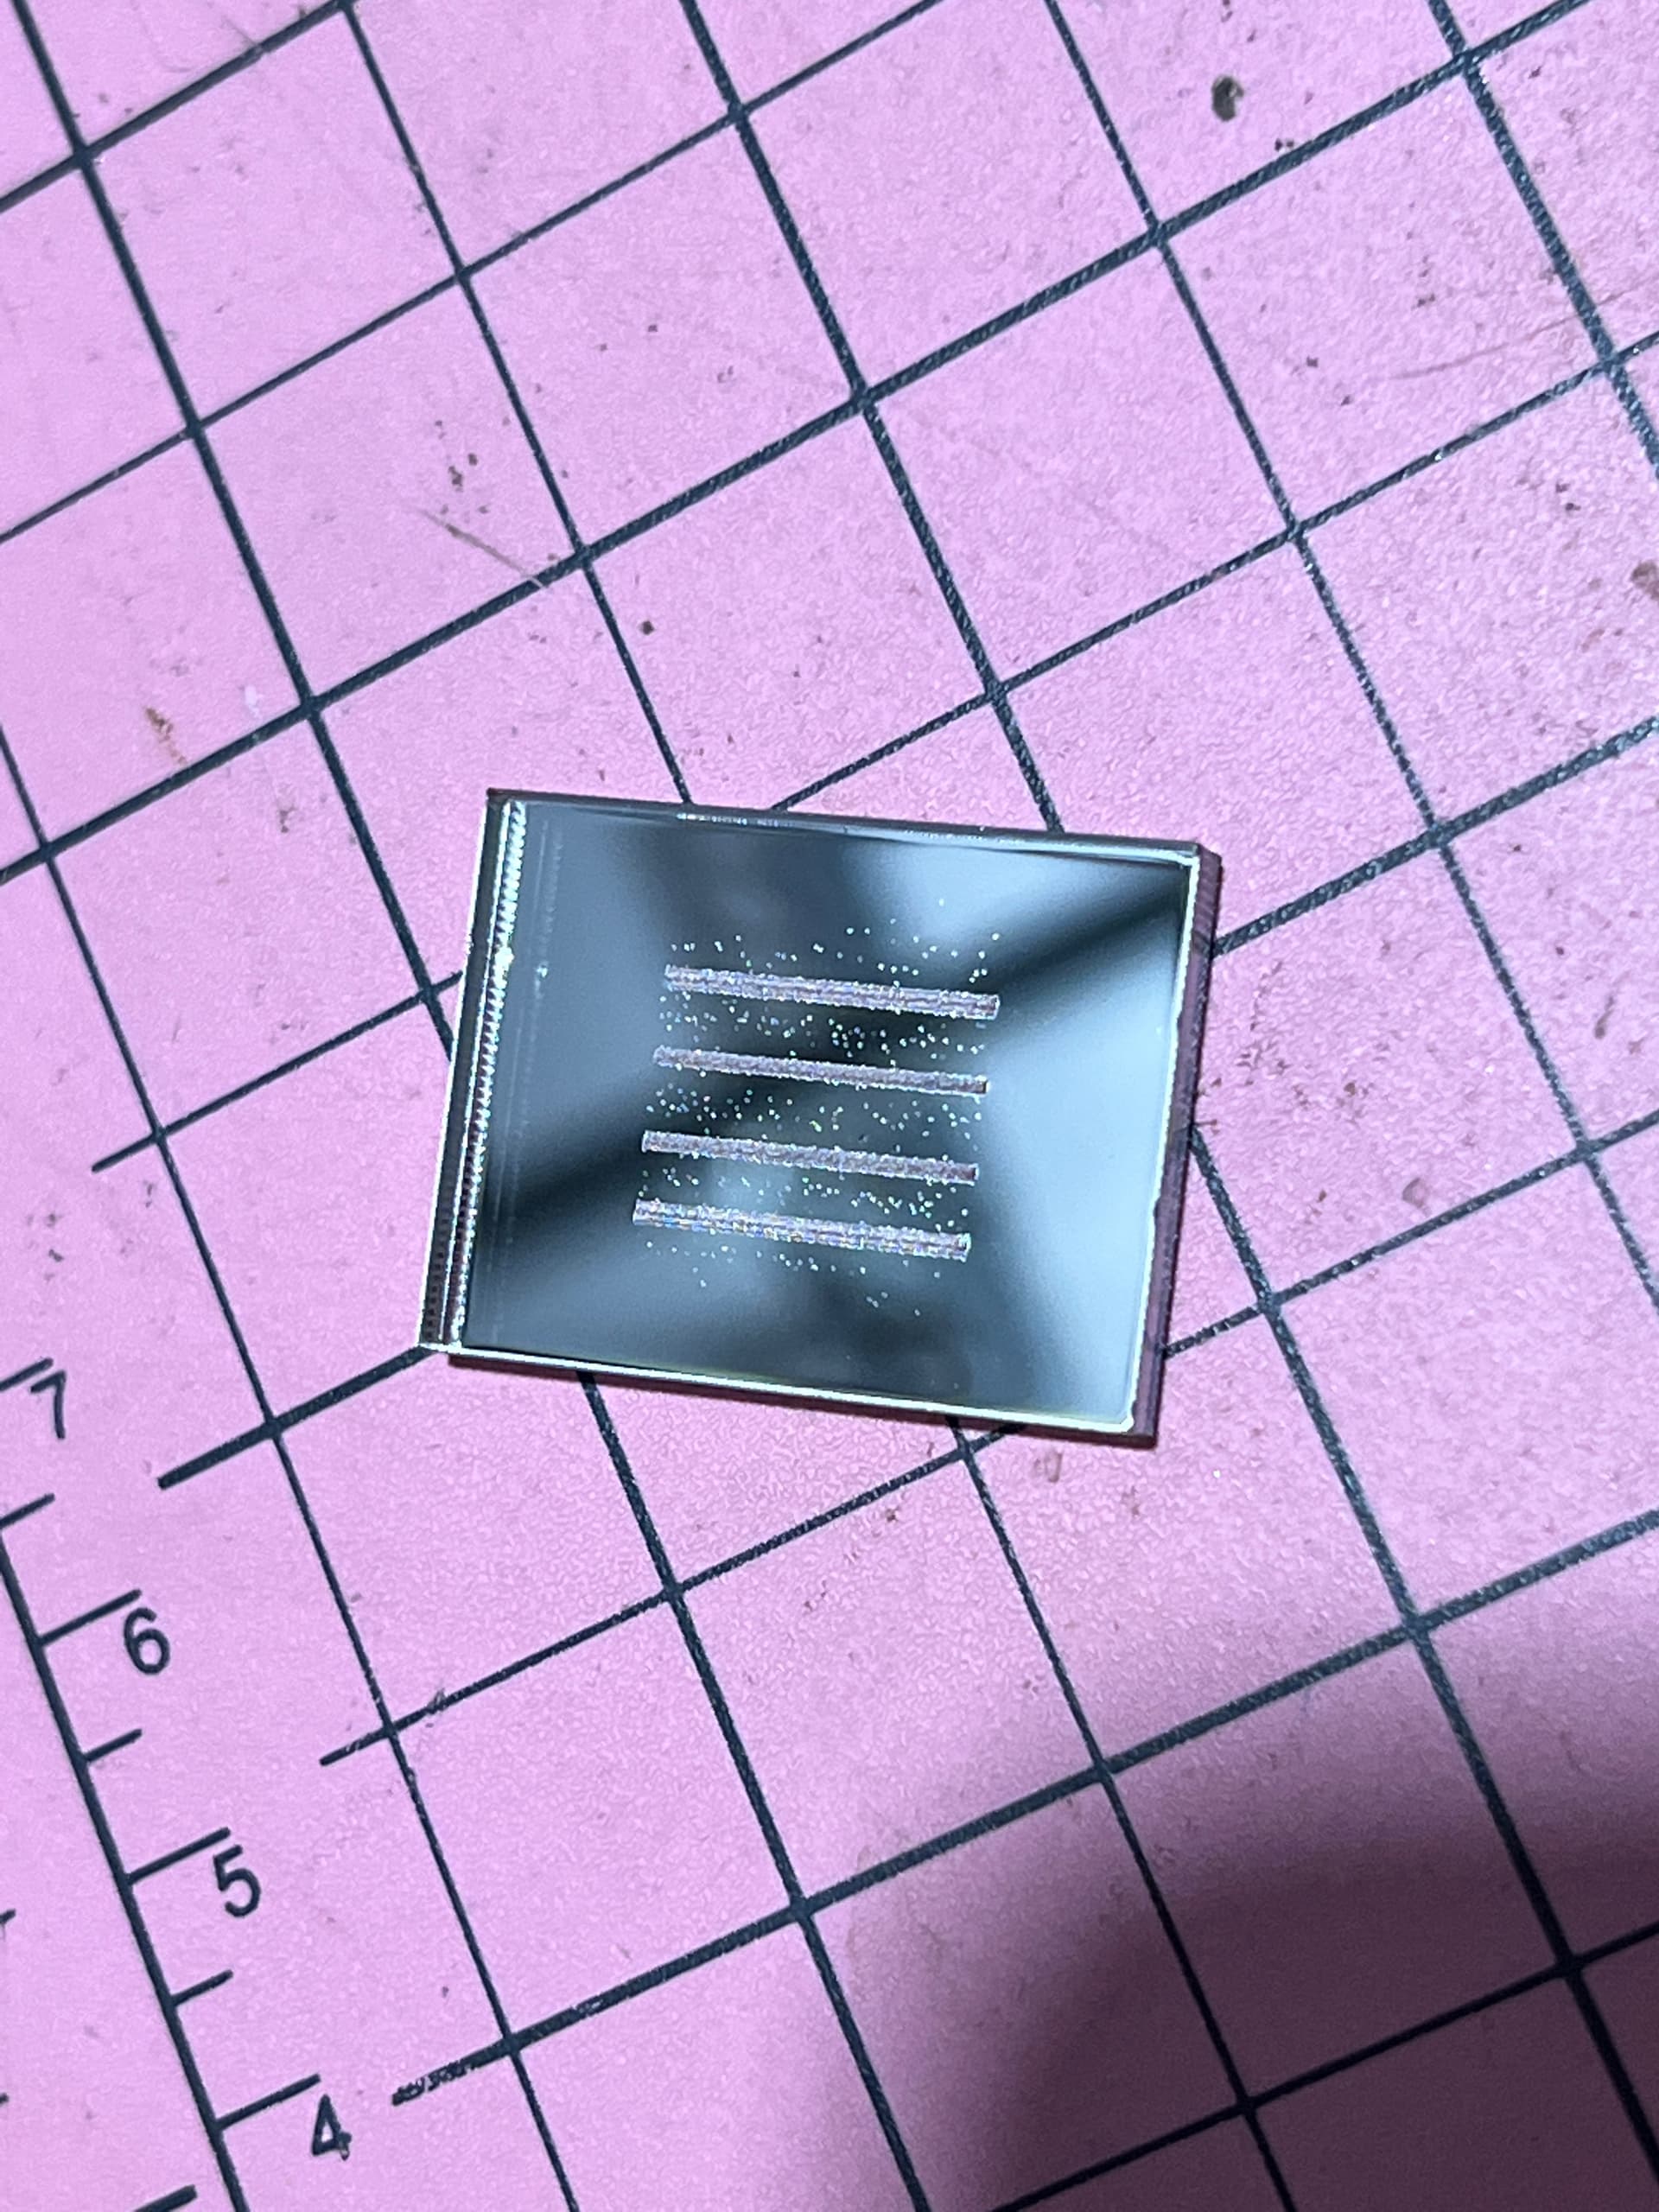
@DougL I know you’re out but just posting for when you’re back. I did the same test at 90 degree scan and there are still a few dots. Nowhere near as bad though but still there
Nope, still not quite.
Rotate the lines OR make horizontal lines AND set the scan angle to 90 deg.
When it engraves, it should do lots of short lines and not a few long lines.
1 Like
ok, that shoots that theory out the window.
When you replaced the Ruida controller, how did you update the firmware/settings for your machine or did it come from the manufacturer already setup?
1 Like
To keep you making stuff, it seems the speckle dots are greatly reduced when it scans across a large area so therefore if you set the Cuts/Layer setting for the group( you can selected an area and hit the Group button) select the Fill Groups Together option or Fill All Shapes At Once option.
It will take a bit longer to engrave this way since there’s far more head movement but it should decrease your dot/speckling from what I’ve seen in your previous large box engraving examples.
1 Like
@DougL thank you. The koenig technician did it so I’m not sure. It’s strange that it doesn’t happen using RD works. Wonder if I should do that same test you suggested in RD works…
And I know you said you replaced all your mirrors and the laser head cone but did you check to be sure all mirror mounts are tight and check your laser head focus lens to be sure the lens holder is still holding the lens tight? I ask because what we are seeing is dots when there are lots of small head movements and this causes lots of machine vibrations.
@DougL yes it’s all very tight. Tech even made the hole of the nozzle wider in case the beam was hitting the nozzle.
Nooooo idea!!
When you replaced the lens in the laser head, did it have an o-ring and come with the tool to tighten the lens holder?
@DougL sure did. Silicone ring is all good, and yes I have the tool to tighten the metal ring.
baffling…
Can you pinpoint anything which changed just before the effect started showing up?
Try the 3 vertical lines at 0 deg scan and then rotate the material 45 and 90degs and run again if it is better/worse it may be due to a “grain” effect from the reflective foil (if it was rolled) or something else about the material more readily causing internal reflections and collateral damage when at different angles.
@NicholasL but it’s being done on the back of the mirror and it was stated this happens on leather too.
As unlikely as it may sound I’m just looking at the pic of the RDworks posted job, and it has nothing wrong with it? If it was run at the same settings then its a bit of a puzzle! kind of rules out hardware - the only other difference I can see is that it appears it was burnt at an angle related to the material. How do the dots get there otherwise - are they from burns at the back in the wrong place? reflected from the foil to the lens and back again? - then use tape on the back and inspect the tape. As for the leather not sure - need a picture.