Wood & Acrylic Fun

QUICK NOTE;
replaced the head mirror M3 this morning, it wasnt all that bad
but now all 3 are new and they are aligned…
cut more circle plaques, and they cut like butter…

Decided to ck the power output at the furthest point, front right side

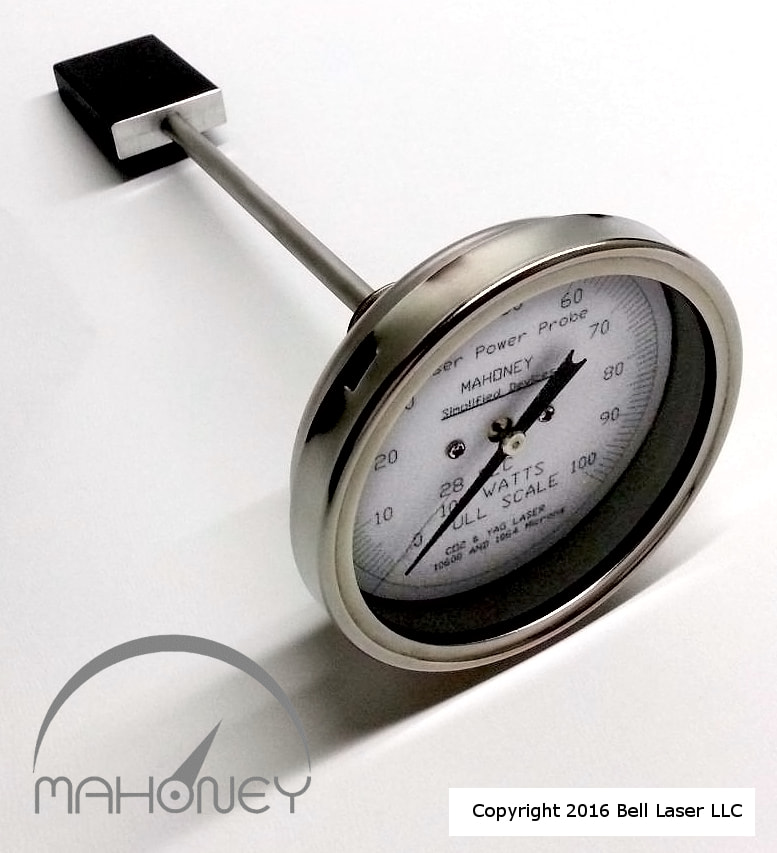
using my Mahoney meter, I set the laser power rating to 50% ( of the 130w yongli tube)
the wattage reading came out at 78watts… 10.2ma…
I was expecting around 55-65 wts ..

I have been extremely happy with this H6 Yongli 130W tube… it constantly performs
excellent IMO.

when this tube goes south I want to replace with the Yongli A6 series, it is a higher quality
and suppose to cut even better…

ALL IN ALL the system is working well after the new mirrors and come New year they will get replaced again :slight_smile:

2 Likes

This week I noticed that the air exhaust was dragging a bit, not pulling as expected…

When I recieved the machine new… I had taken off the two exhaust muffin fans off and added a large exhaust fan vented thru the outside wall…
but now the issue was the removal of the muffin fans there were two round 8" patterns of drilled holes that the air had to pull thru…

Went into work this morning and decided to cut the two hole patterns out…
first tried some tin shears, cutting each hole to hole edge was not bad but after 10 holes
my hands were getting tired…
Grabbed my dremel with a really nice carbon cutting blade, like butter went around the entire circle on both patterns in about 10 minutes.. the hole patterns dropped out…

Now I have two large holes that debris n crap can get sucked into as it would fall thru the honeycomb when cutting..

grabbed a airconditioner filter and cut two 12 x 12 pcs put tape around the edgesof the cut filter to give some stifness and placed them over the holes and taped in place… fixed..

turned on the air flow and it was excellent… without the restriction of the hole patterns to suck thru
the air now pulls really well… seeing as the bed size is 1300mm x 900mm that made a huge improvement…

took the time to fix mirror two , it was restricted by a side screw that I removed and now had better
alignment ability… could slide front to back to better line up the laser on mirror 3 center…

did a quick mirror alignment, as Russ mentioned in one of his videos, it is almost fun since you learn the best way and get over the ‘fear’ of touching the alignment screws…

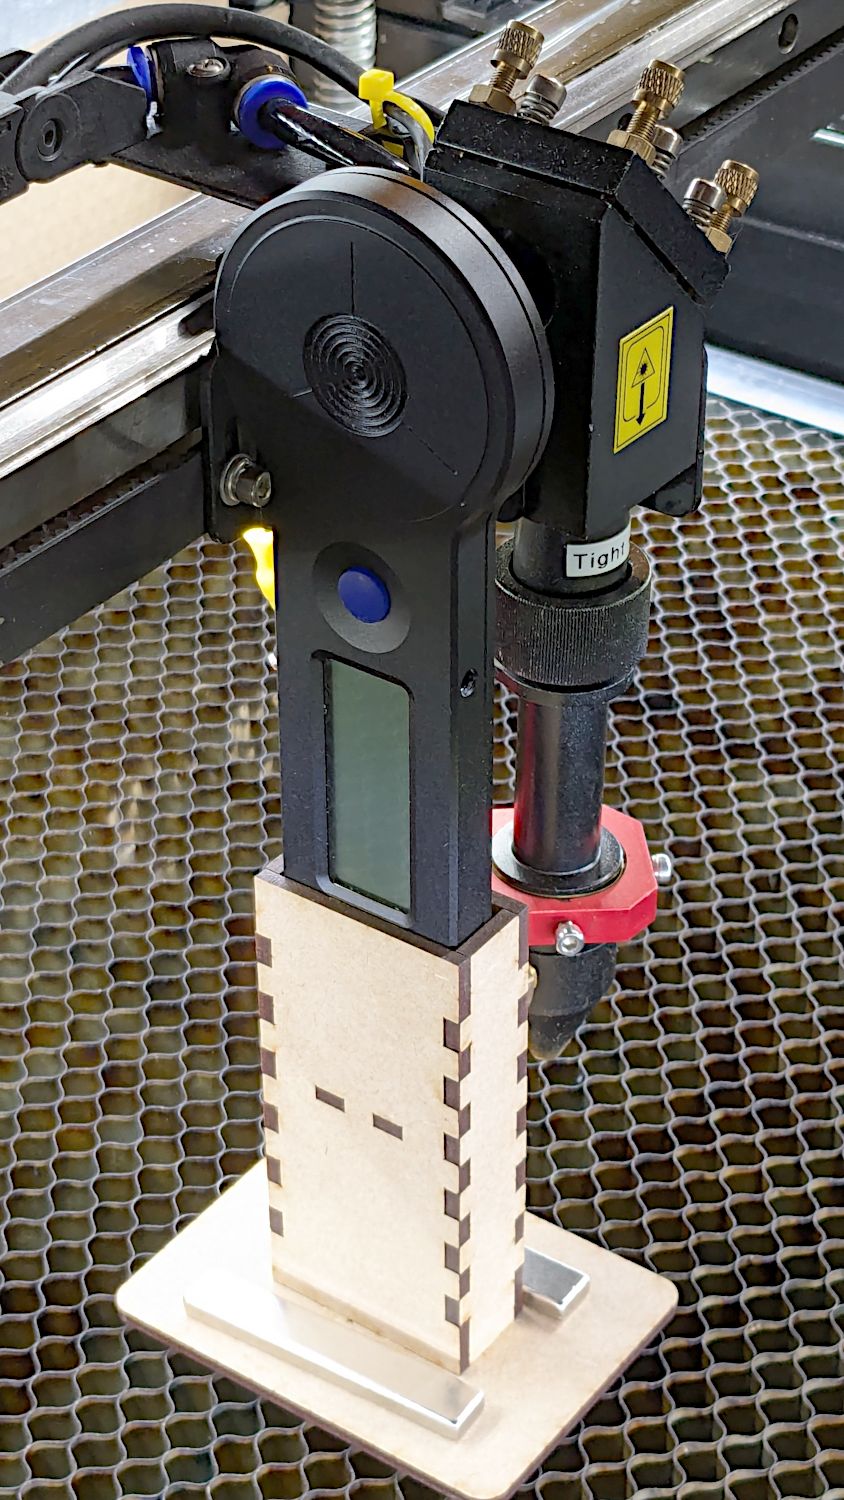
I usually check power off mirror 2 as it is convienent, but this time I took the lens tube off
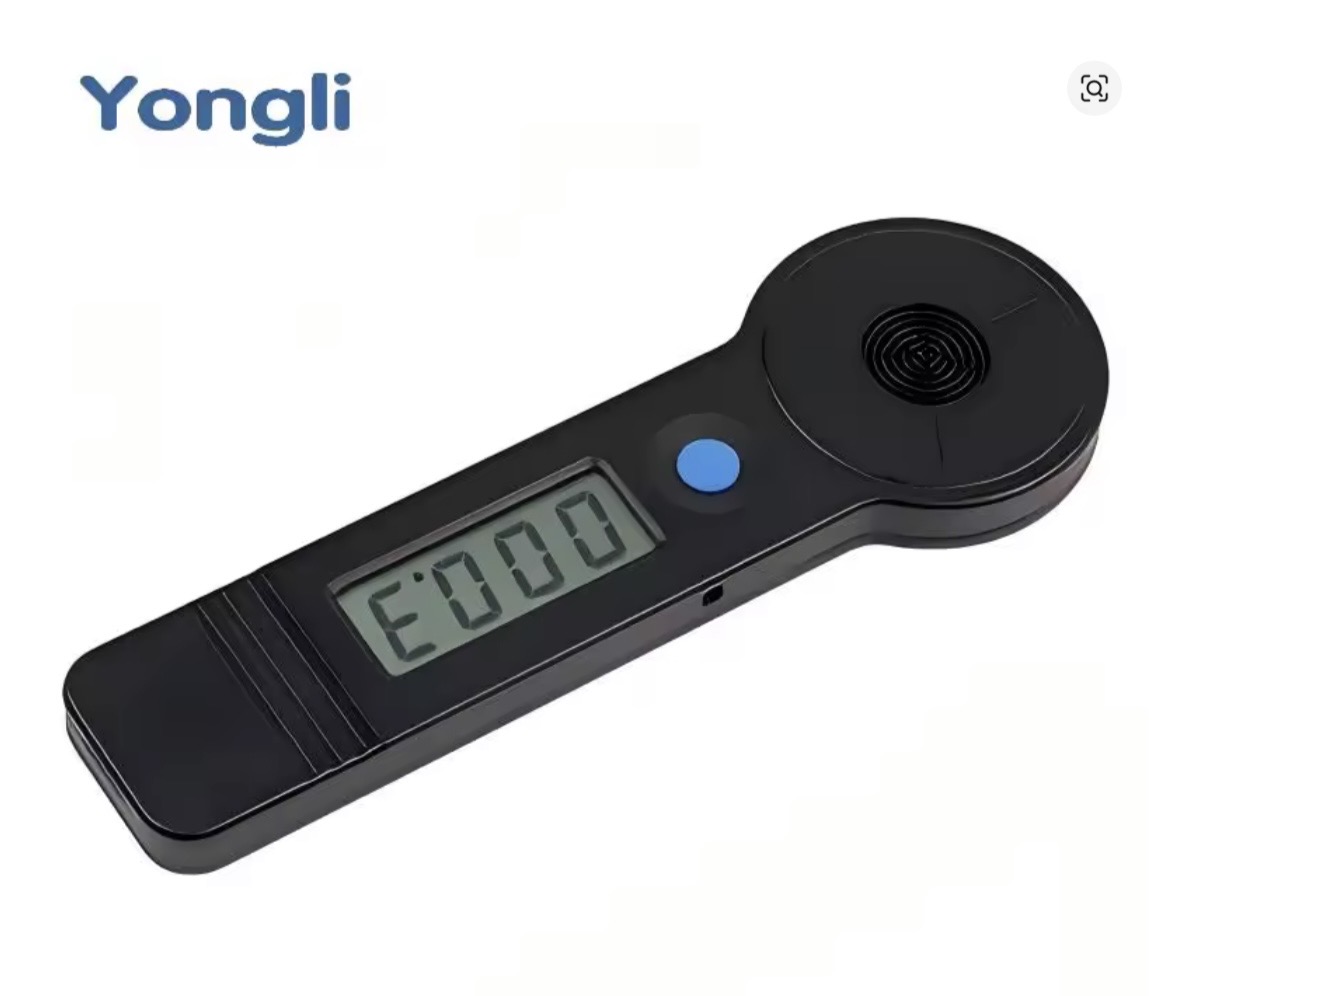
and used my Yongli HLP-200B meter to ck the power.

so with all three mirrors in the mix as well as the beam combiner…
the power set to 50% the meter measured 68.5w the tube is an A6S Yongli 130w

Not bad for all the mirrors in the mix… cut few pcs of basswood… perfect..
I will be trying the ACRYLIC thickness cut test wit 20mm thick..
Want to try 2.5" lens, 3" lens and 4" lens

So more to come to see what the sweet spots are and if setting the FP into the material is the best cutting for each lens…

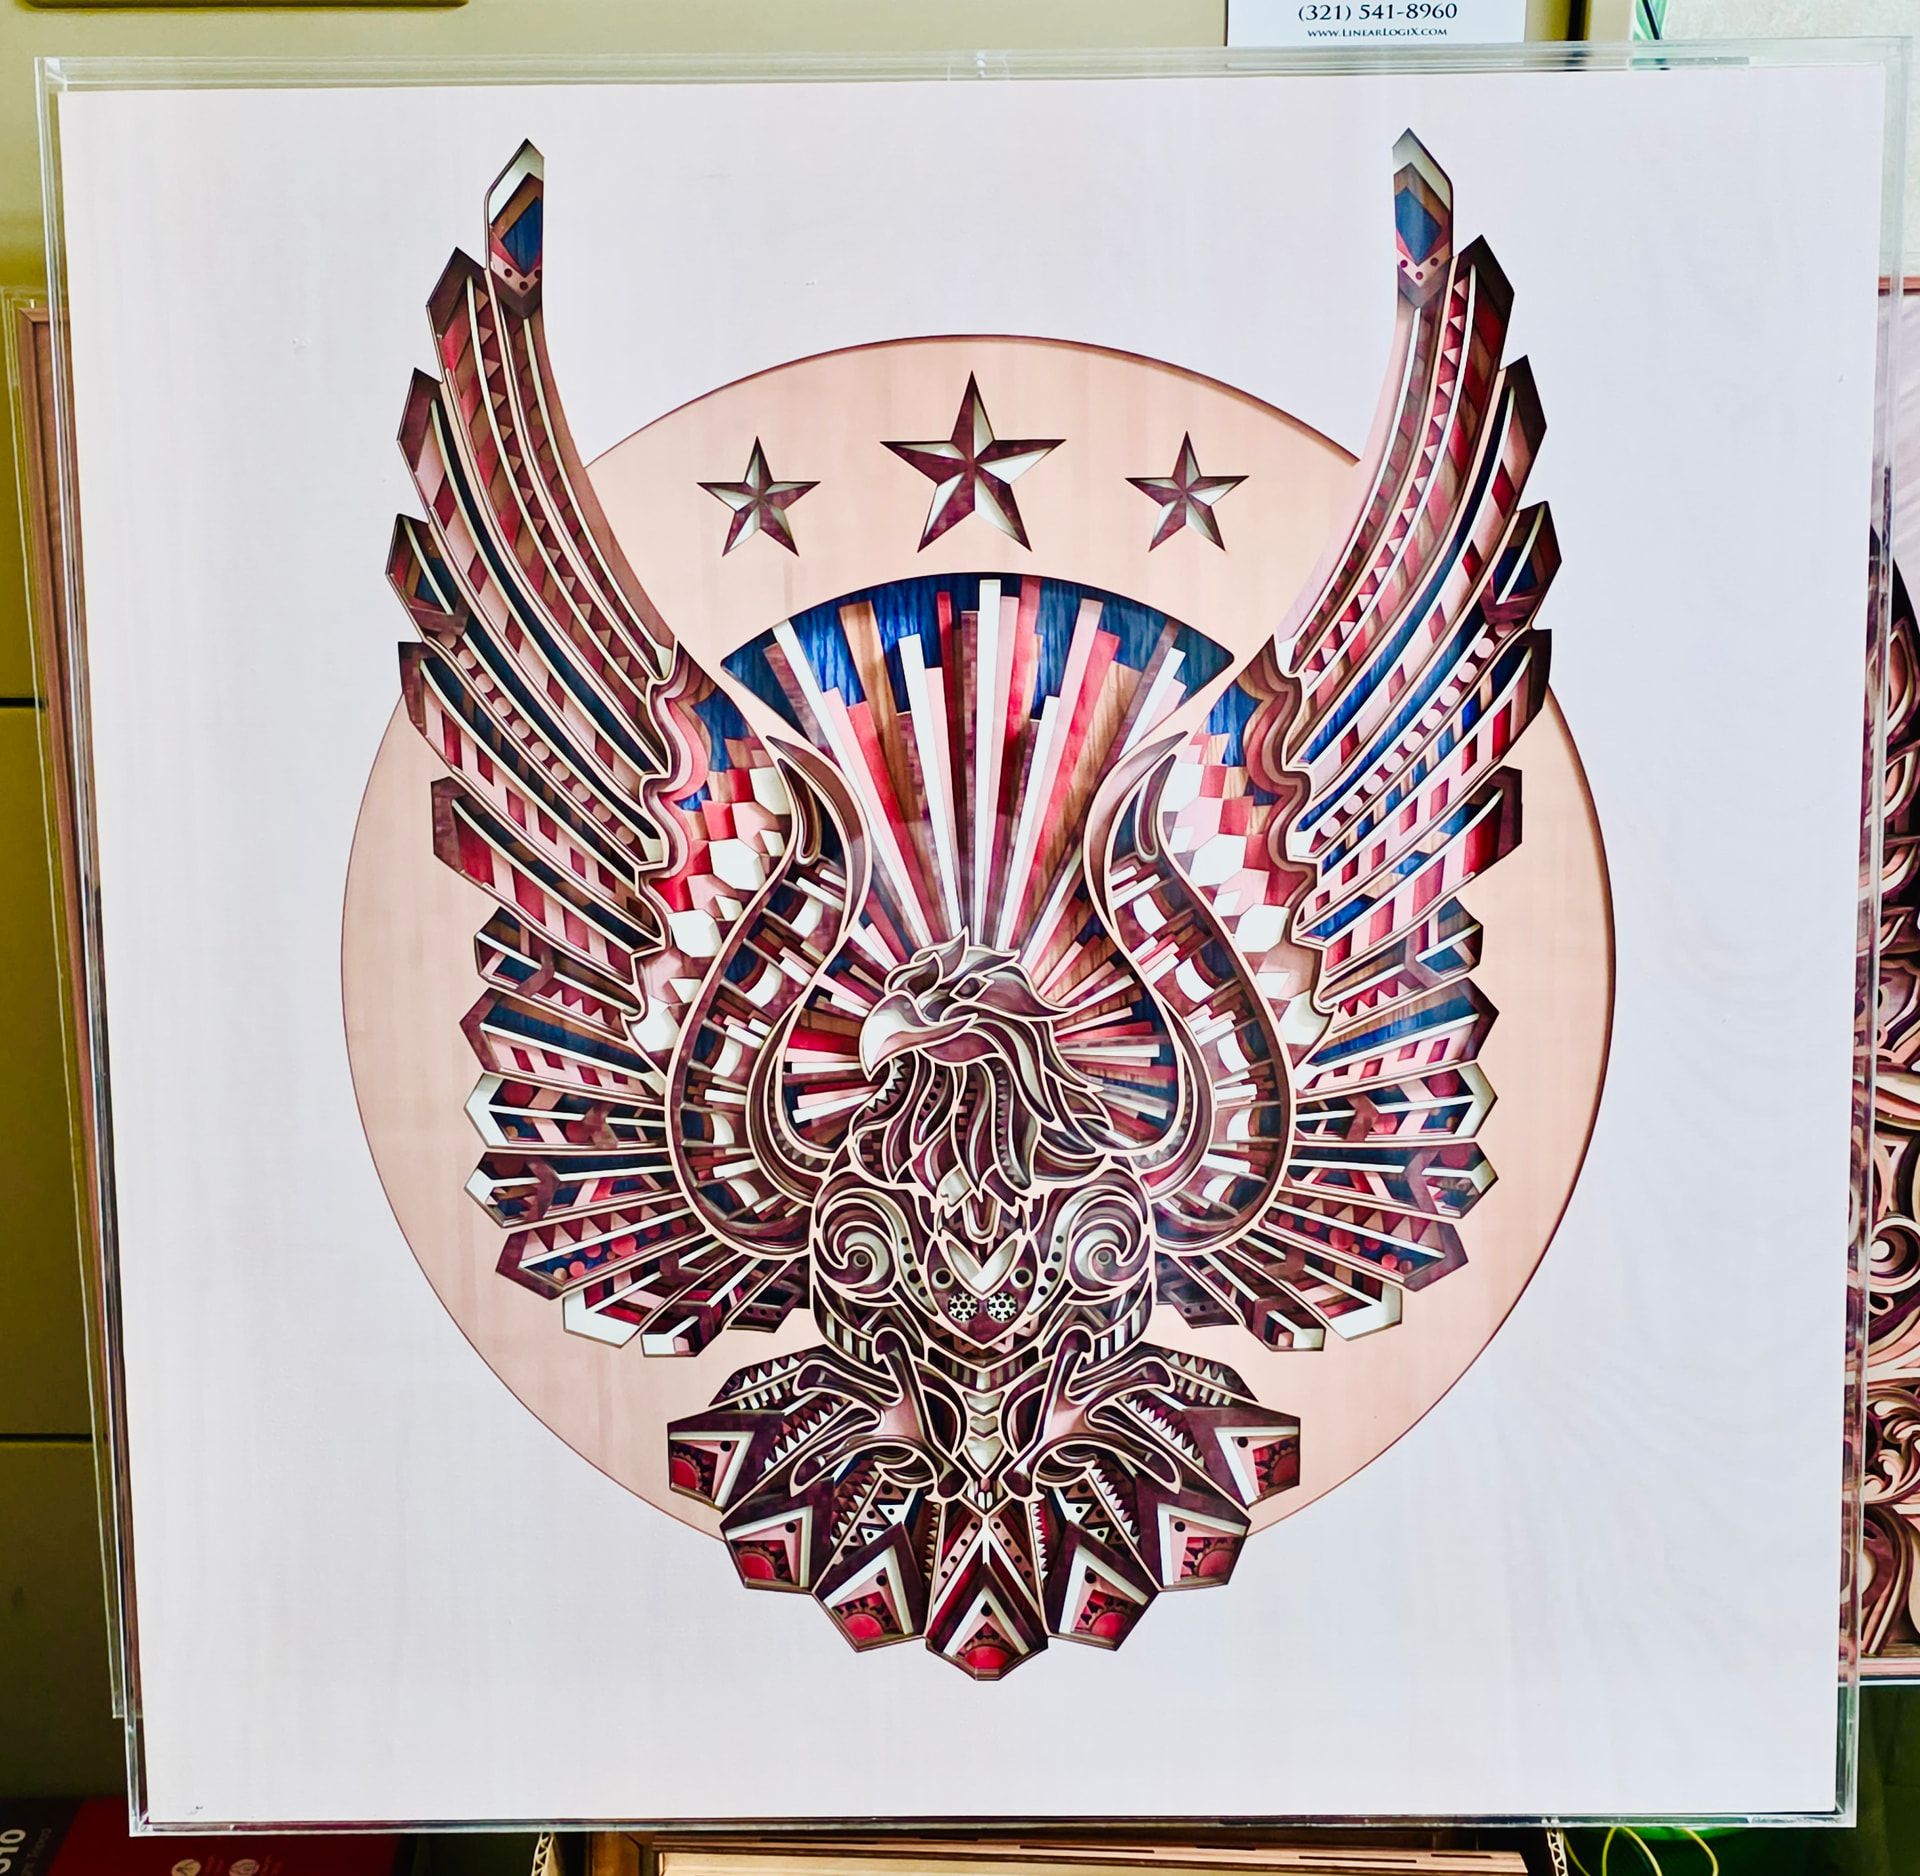
the machine is back up and ready, I had sold my AMERICAN EAGLE so I colored more wood to make 2 more… one of my favs.. so back to ‘WOOD & ACRYLIC FUN’ !

2 Likes

Do you see the same pulse-to-pulse variations I do, even with the meter held in exactly the same place every time?

I only did one shot at the far right front, furthest laser point…

Generally if I do multiple readings I use the Mahoney meter…
with a bucket of water at room temp, I can cool it back down quickly for another measurement…

not sure how the HLP-200B cools down and is ready for the next shot…
seems a bit uncertain… I f you have info pls let me know…

I see the cooling aspect of the HLP-200B a weak spot, as I said how do you ensure you start each measurement at the same starting temp.. ie. suppose to me ambient temp.

It’s air cooled and will warn you when it gets too hot; apparently the microcontroller compensates for the starting temperature.

Which makes sense, because the temperature increase for a given pulse energy should be roughly constant at any temperature you’d be willing to hand-hold.

The Mahoney’s fixed scale doesn’t allow any of that, so the sensing block must start at a known temperature to put the needle at the right place after a pulse heats the block.

Kinda thought this is what they did… so the additive stored heat is just calculated out…
have you done any testing for consistency ?

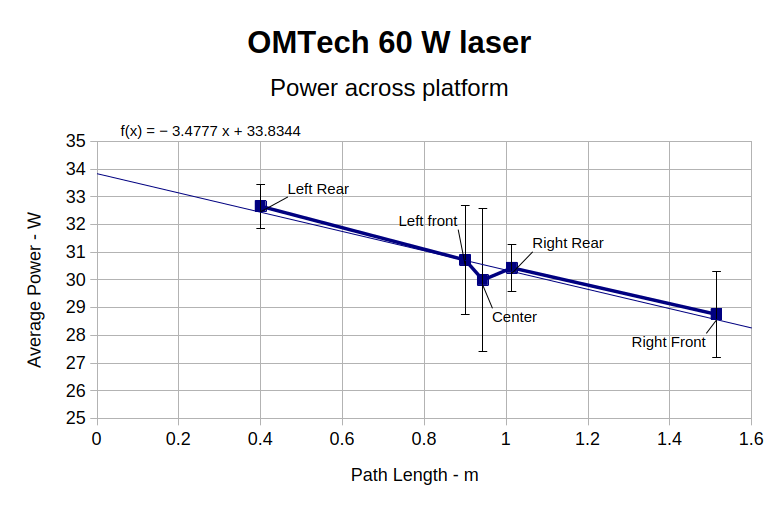
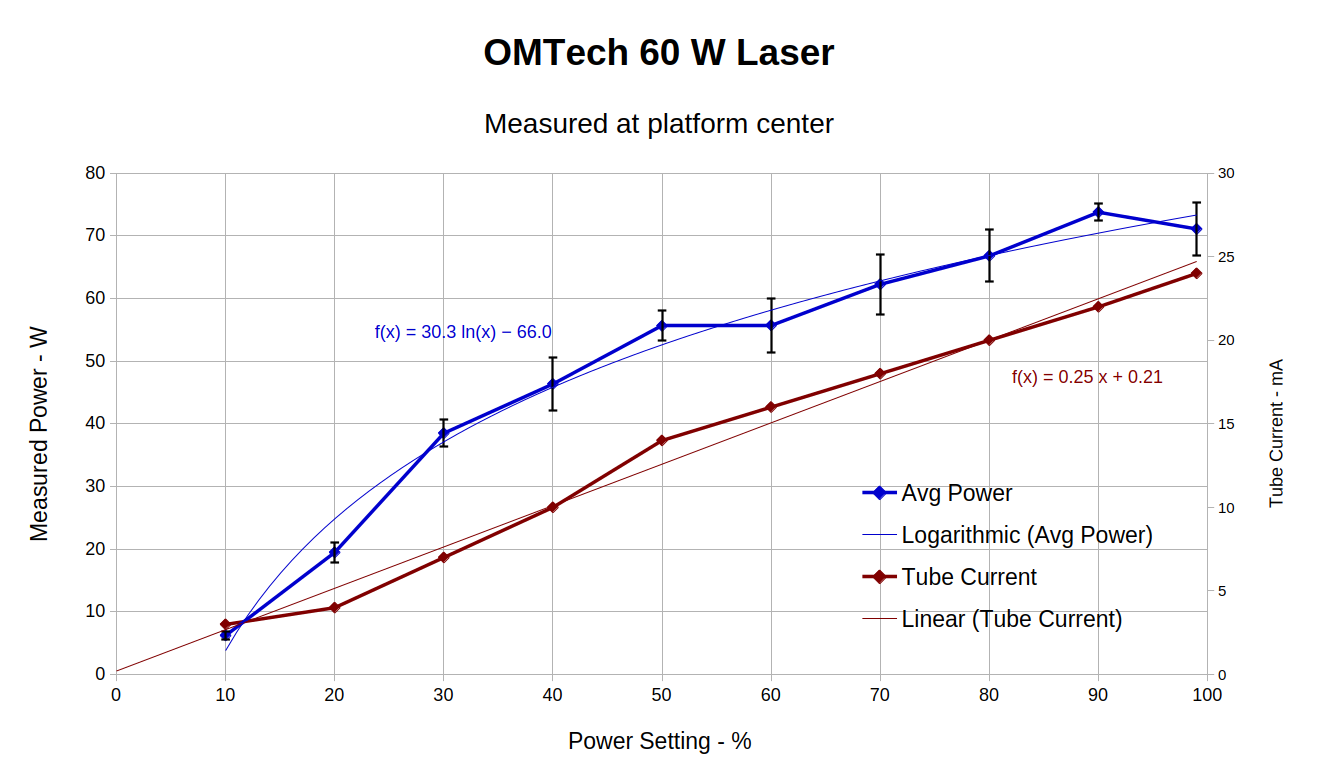
The variation with path length across the platform might come close to that:

However, the error bars on those points are enough to justify almost any interpretation. :grin:

I have not done an across the bed analysis…but I suspect it would look very similiar to your results…

Actually the testing I was referring to was the repeatability of the HLP-200B, with unchanged variables…

Just to look at the cooling aspect and the units ability to calc the additive heat component from each previous test. I suspect that room temp, air flow, and actual time between tests are all to be considered to have each test to test compare accurately…assuming battery, position, co2 tube cooling cycle all remain constant :laughing:

un less you can assume that the cooling effect between shots are compensated correctly in firmware… and do not not have a exponential component, that could be considere, but I DOUBT IT…
then this is what the test would be looking at in the first place… so the controlled environment should be critical to get a true analysis…

but then… unless a couple watts really matter, the exercise merely academic… :slight_smile:

FUN STUFF… good conversation…

1 Like

That’s pretty much the table I showed in the post, with the error bars being ±1 standard deviation:

The temperature rose about 3 °C and IIRC it had to cool before taking the last series at 99% PWM.

Eyeballometrically, any given measurement is within 10% of the average, which is probably OK unless you’re trying to hit a particular power or measure a particular change. If you really care, the average of half a dozen pulses would be more confidence-inspiring.

Most likely, it just measures the temperature rise, with the overtemperature alarm ensuring the absorber / aluminum case doesn’t get absurdly out of range.

AFAICT the samples in that table show no trend between the starting temperature and the reported power.

excellent,

Wood Cutting 2mm basswood after mirror change and alignment
28mm/s pwr 28% Monport 130w

shows add-on controls / leds in action and addded DOOR bypass button and added
BED LED LAMP ON/OFF switch

https://youtu.be/fI7LQdeSZIM?feature=shared

2 Likes

Very cool ‘Chuck Productions’ video and everything looks great.

1 Like

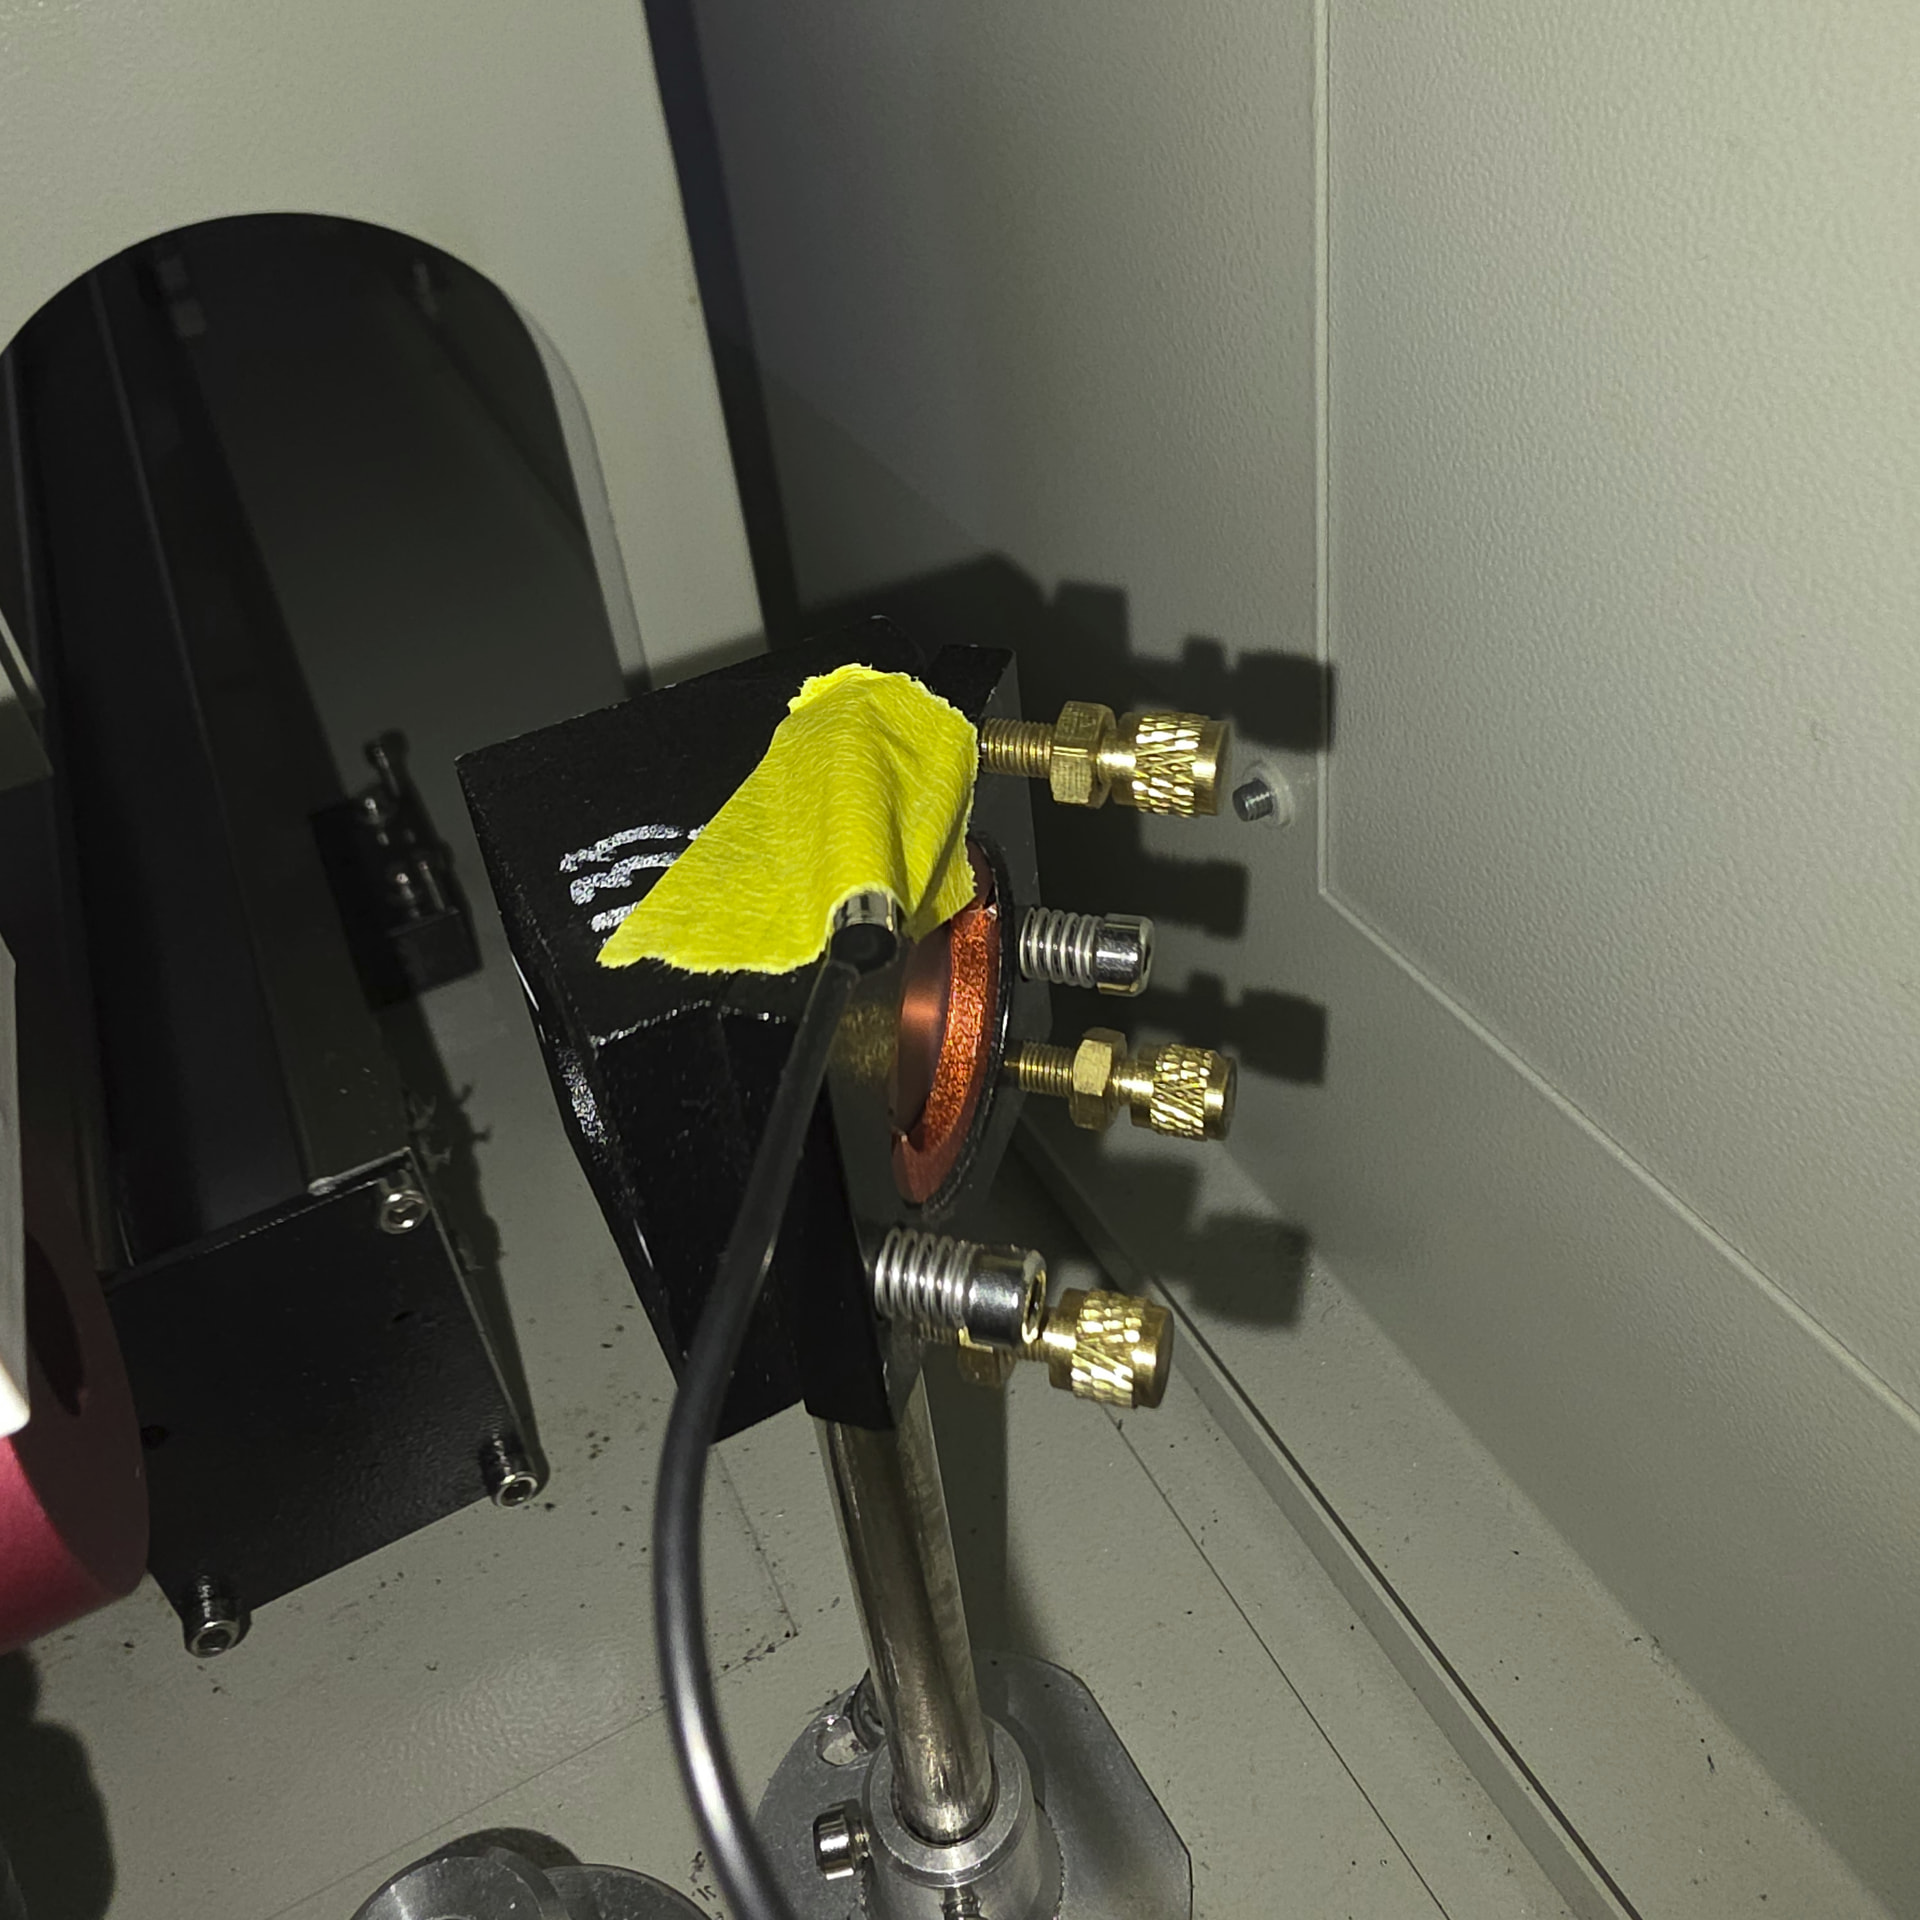
This is the Temp sensor I have on Mirror 1 to monitor the heat transfer…
Hopefully when the mirror starts to wear, as it did, the temp should start to rise and I can
catch it before it impacts cutting too much..
Just taped it on right now, may figure out a screw attachment at some point when I need to change them out again…

Cut the American Eagle Layered wood and the temp was sitting between 88-90F so I guess this
is the base line with the new mirror…

2 Likes

The cloth above the probe helps insulate the sensor from ambient temperature, but I would say it’s not enough.

Still, I would always take ambient temperature into consideration.

Since the lens mount is made of aluminum (or metal) and is exposed to ambient temperature, this temperature will be conducted to the probe, always affecting the reading.

Overall, I consider it a good upgrade in terms of preventative maintenance.
:+1:

1 Like

it is actually a piece of yellow painters tape, I use it for everything :slight_smile:

all your comments ‘spot on’ and since the room stays between 75-79
should be just fine ..
I know when I noticed, with my hand a few weeks back, that the mirror had gone bad, it was VERY
hot after cutting..

today if went up to 90 then dropped back to 88.5 and hung there for the remaining cutting time..
all fun stuff…

Not a very good insulator. :slightly_smiling_face:

If it’s always under a controlled environment (air conditioning for example), then I wasn’t worried about insulation.

That makes sense to me because the damage on the lens scattered some of
the energy of the laser beam.
That’s from my point of view, as I’ve never worked with that type of machine.

This is what I call learning and experience.
Something very interesting, and we are grateful for you sharing it. :+1:

1 Like

the mirror #1 was worn, had to be from use, as the coating looked as if it were wiped off
and I’m sure the reflectivity had been reduced significantly..
Last year when I spoke with Lou (now retired) at Amercian Photonics here in Florida, he mentioned in passing that he replaces his CO2 laser mirrors every 6 months…
Well that little nugget if info went to the side and time quickly passed when I realized
my laser cutting power was dropping…
So the temp guage can hopefully keep the mirror inspection oversight at bay…
but the 6 month reminder on my calender will also help…
And as part of my monthly routine I will grab the HLP-200B power meter and do a quick ck and log it as I go..

I am interested in the folks that use their laser for work and production, how many hours a day and what is the typical power level used on your lasers…

I run my 130w at 30-50w cutting, do not do any engraving, and per week maybe 15 run time hours on average… doesnt seem like a lot to me… but would like to know how your production laser
holds up under normal use…

I mentioned lens and meant mirror!
Sorry for my confusion.

In my specific case, I use the 5 (ish) W diode laser machine only as a hobby, but it has actually served to create personalized gifts. I haven’t earned a penny with it yet. Just experience.
Since the materials I use are diverse, some of the usage time is spent on testing.
In addition, my latest work in plywood (due to various reasons) requires me to make numerous passes to obtain a clean 4mm cut.
I spend time on the laser, but I don’t have to clean up the carbon residue that sometimes sticks to fingers.
Therefore, it’s very difficult for me to pinpoint a timeframe because, as it’s a hobby, I only use it when I have availability, and since I’ve been using it to give gifts, all of them different, each case is unique, taking its own time in testing and project execution.
As an example, my last project took about 6 to 7 hours per design (I was invited to a christening - #21 by Kuth), not counting the tests performed to find the most suitable settings.
I don’t know if this information satisfies your curiosity, but it’s all I can give. :smiley: