So I have a 50w Chinese laser and have no problem cutting 3-4mm plywood and etching lumber. The problem I’m having is etching any tumbler doesn’t matter the brand. I have tried all kinds of speed and power but can’t get it to reveal clean stainless underneath the powered coat. It always leaves a haze.
I’ve done tumbler etching in the past and always have to make two passes, sometimes more depending on the composition of the coating. There’s a few products with a rubbery coating that makes a mess and smells worse.
After a couple passes, I usually use a solvent, commonly denatured alcohol to clear away more of the residue.
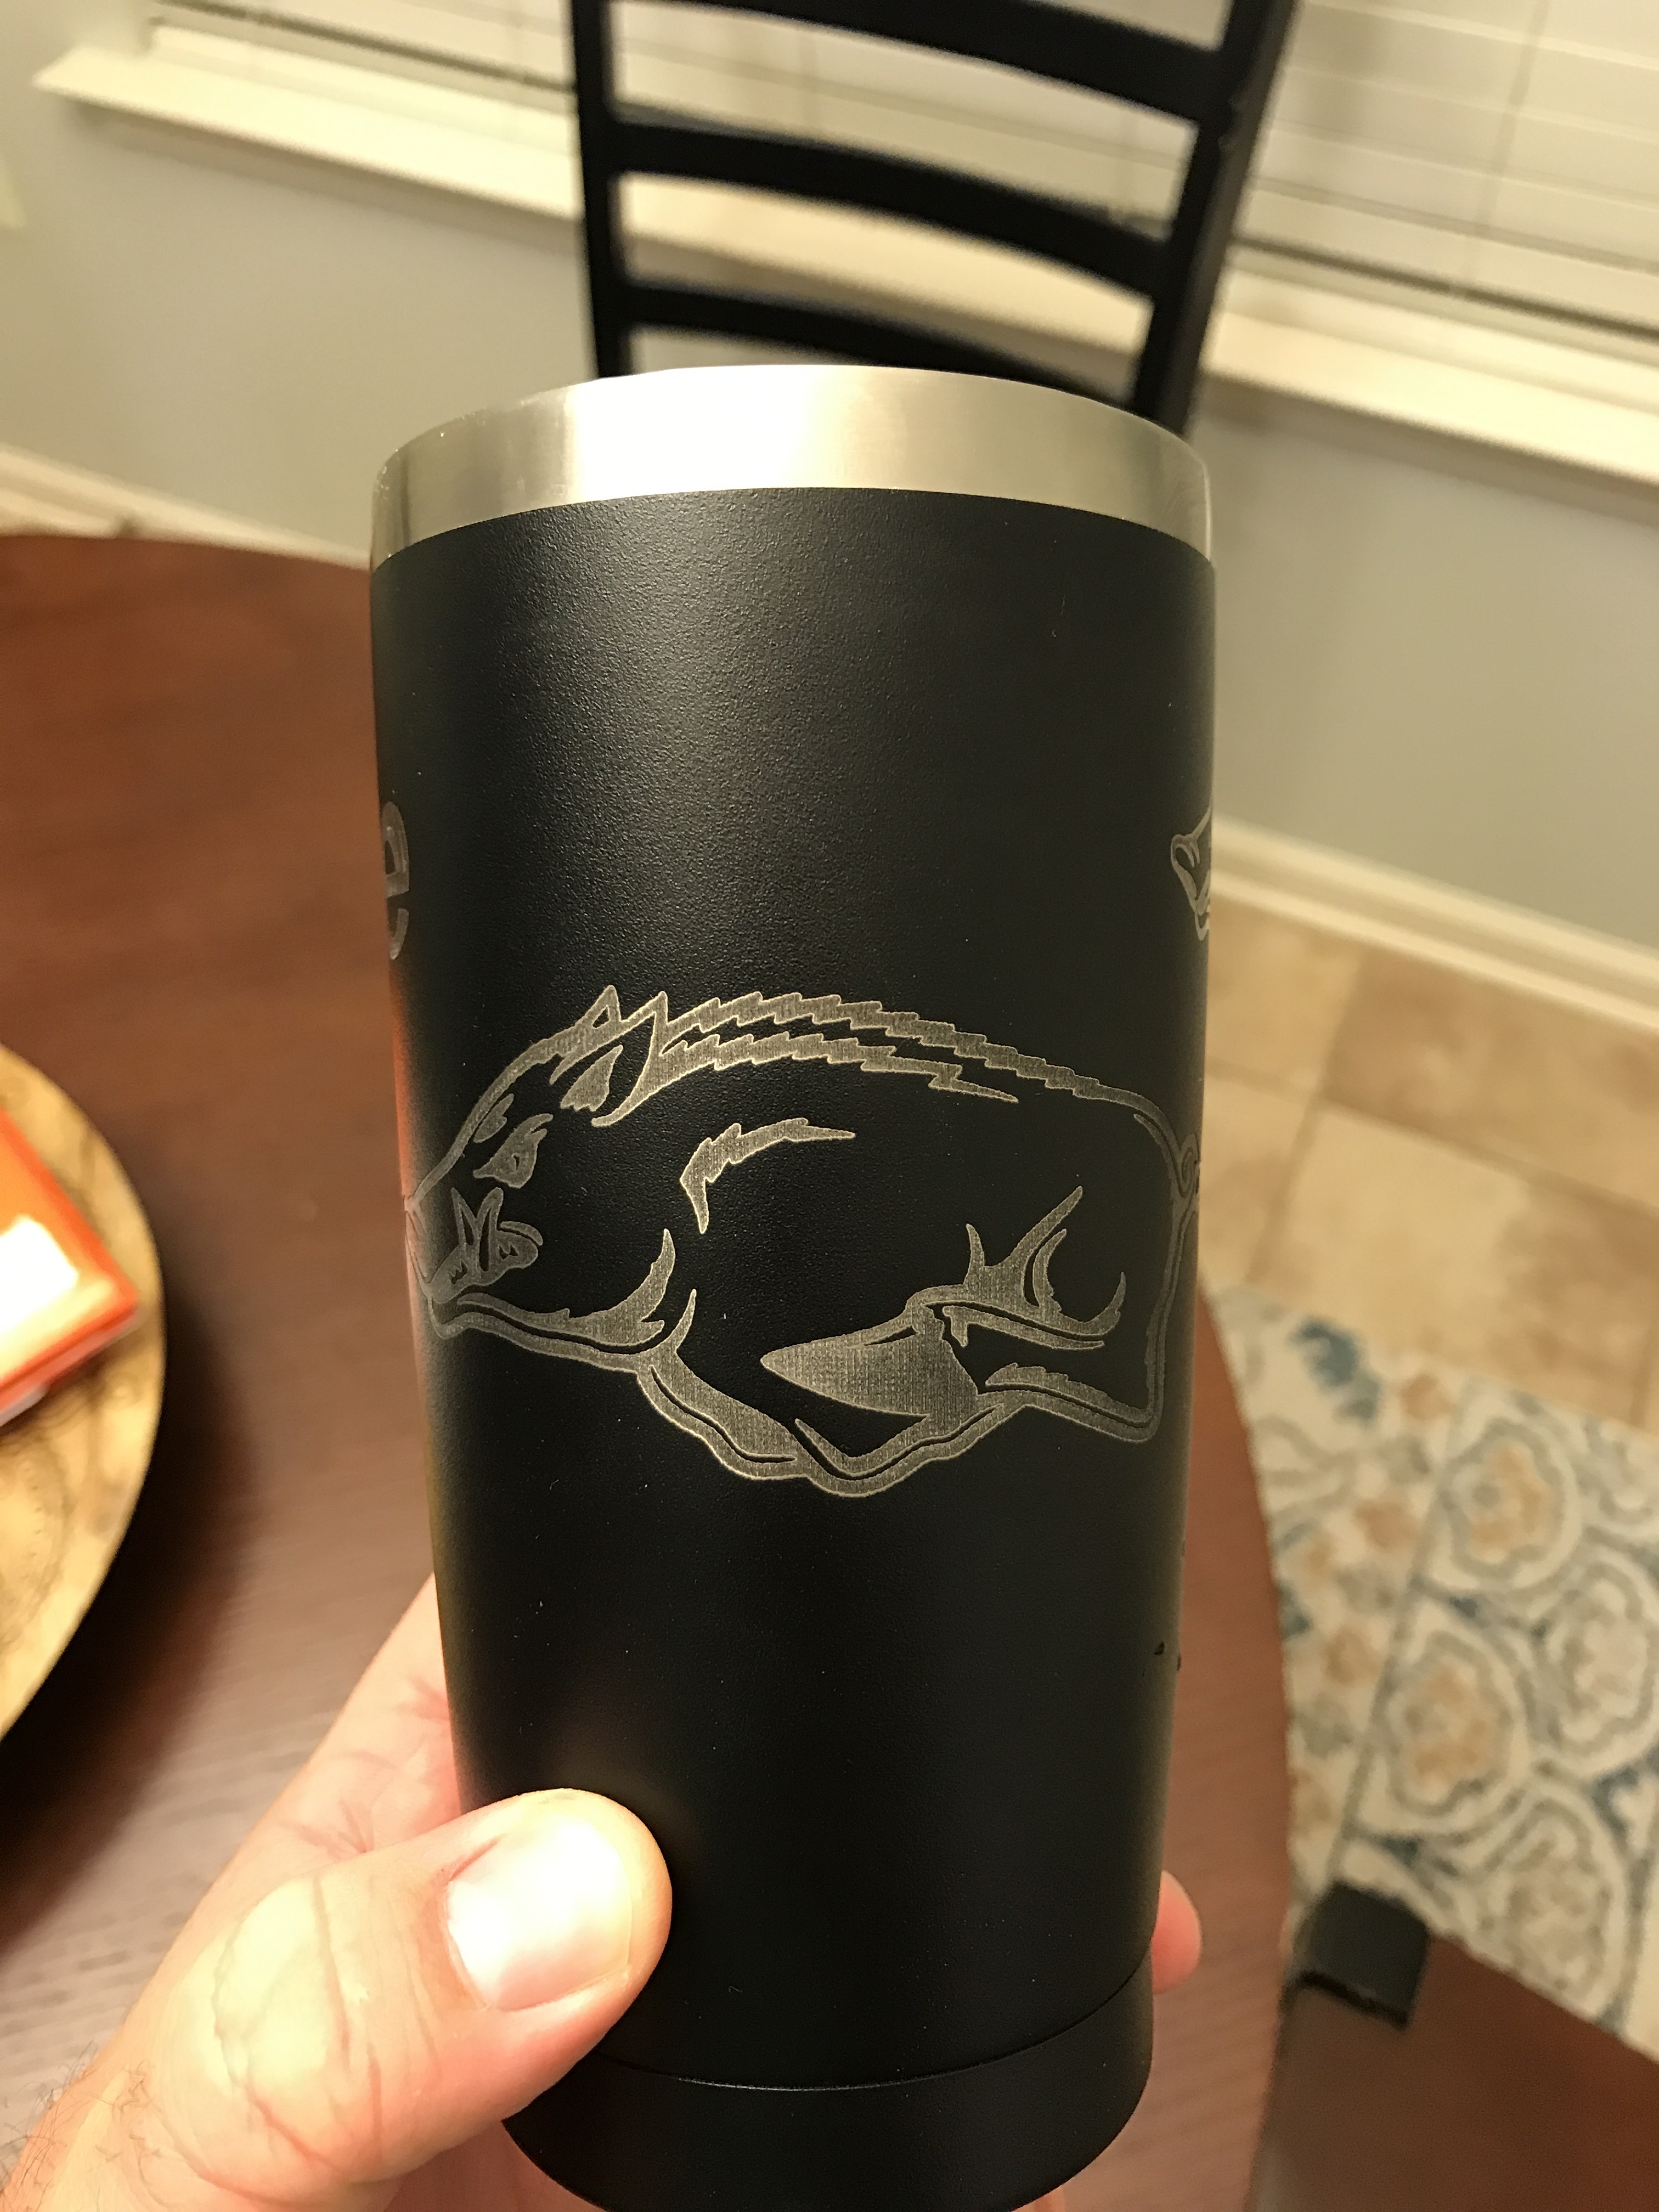
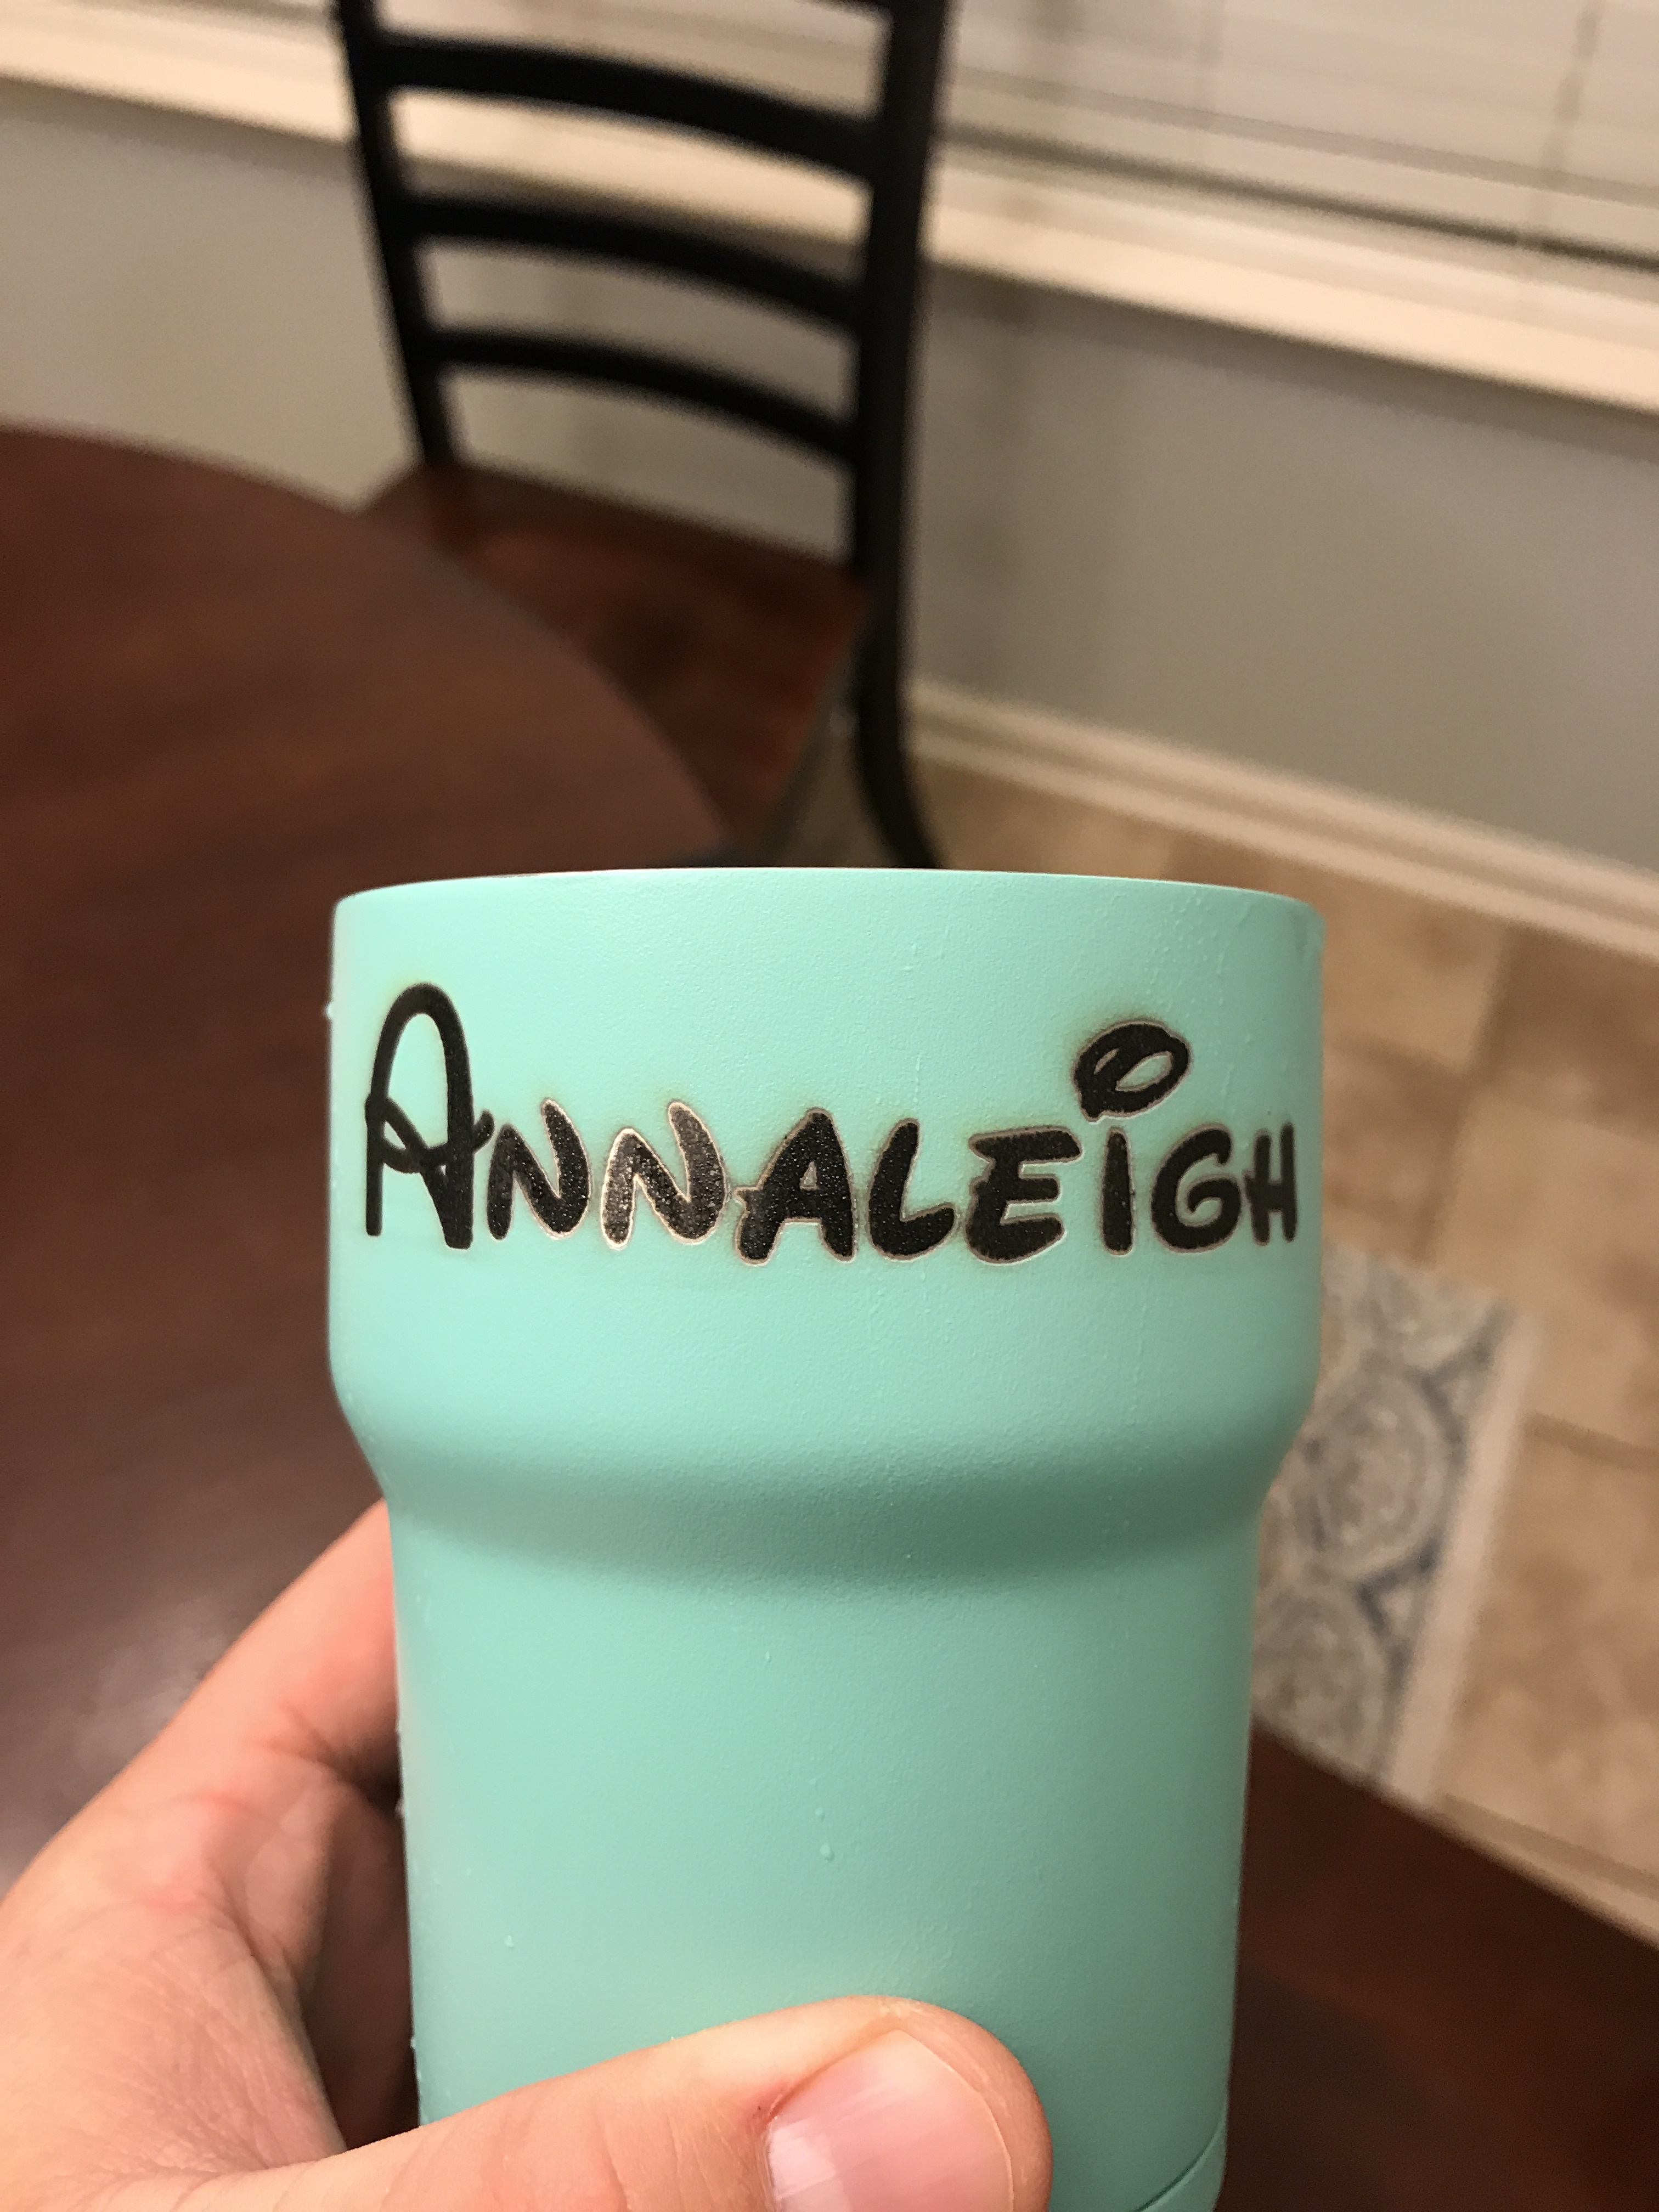
I did 2 passes on the black mug and 3 passes on the teal one. I’m not sure why my laser won’t clear them off. I’ve seen others using about 18-20w of power and doing it just fine.
Just clean them with denatured alcohol and a magic eraser, that will take off the dirt left behind and leave clean and shiny stainless
I tried that and I tried zepp 505 and LA totally awesome cleaner and nothing worked. Maybe my laser isnt functioning properly
I recently got my rotary axis setup. Although I ran into a a significant problem with grbl controlling the dedicated A axis (a problem report has been opened), in the meantime of a fix being released, I thought I’d reconfigure my machine to use the rotary with the Y axis driver since this XY config does not exhibit the XA incorrect feedrate bug. Anyway, I spent a day practicing on Yeti tumbler etching. I got a lot of good tips from this thread Painted Tumblers - settings or larger laser?
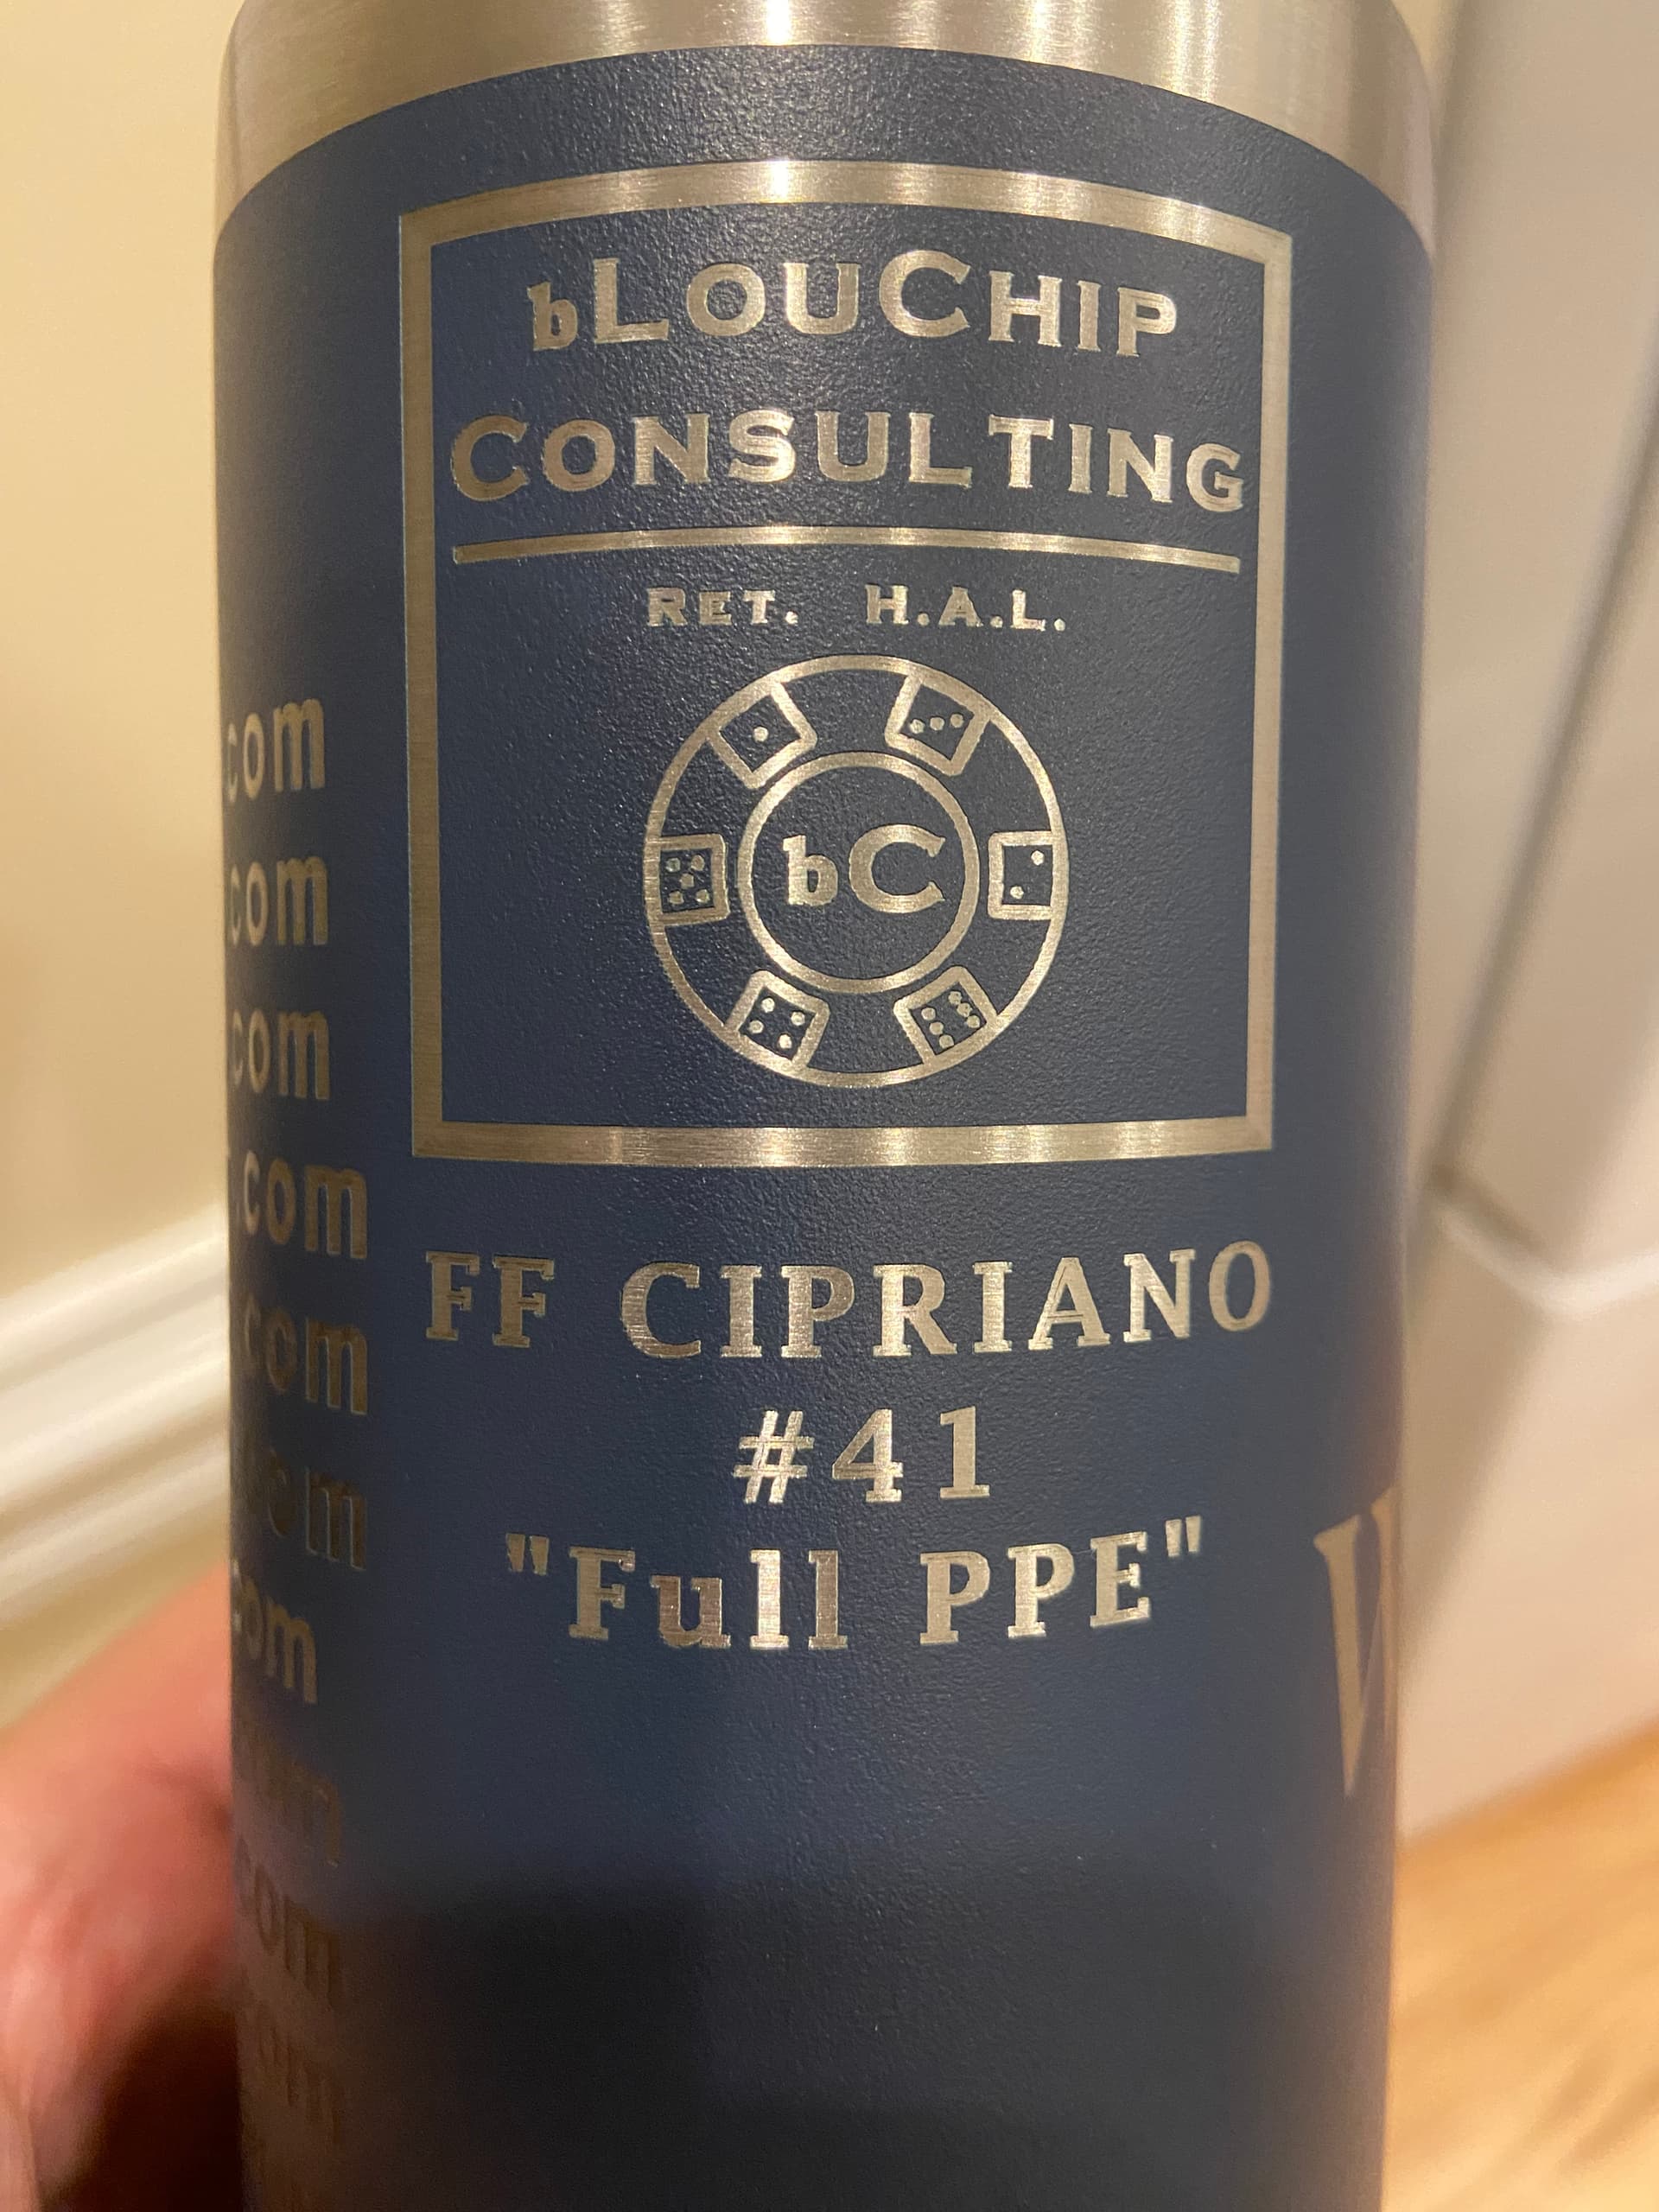
I’m very pleased with the results. Getting the ablated area to a nice stainless steel sheen without much or any laser tracks and seared in soot was quite the challenge, I had plenty of those test cases as did others in this thread. Usually more power is a good thing. However in this delicate etch, I discovered its just the opposite for ablating powder coat off of stainless steel. Success seems to also be tied to using the right cleaner combo and process after the etch. So here is the formula for all the above…
My laser is a Neje A40640 Dual Diode 15W unit, running on a MillRight Mega V XL, grbl V1.1i controller.
LB layer settings: I settled on two different fill/scan passes, Fill (raster at 0 degrees) followed by a subLayer with an OffsetFill. I found these two patterns tended to cancel each others laser tracks pretty well, and the final loop of each OffsetFill also served as the outline pass to wipe out the raster fuzzy edges in each shape.
So primary layer is Fill at 1000mm/min @ 25% power, 8% overscan for my machine, 254 LPI, 0 deg angle, 1 pass, sharpest focus of beam. (I’ve measured my Neje dot size at 0.1mm at sharpest focus)
subLayer OffsetFill, 1000mm/min @ 20% power, 350 LPI, 1 pass.
Finally I’m using air assist with the laser etch, 25 PSI feeding a 12 ft. 0.25" air line to the laser head.
That’s it for the laser etching process. The Yeti comes off the machine with a fair amount of stainless steel sheen prior to cleaning, and all loose ash is already blown away by the air assist.
Cleaning the etch involves a good spritzing of “LA’s Totally Awesome All Purpose Concentrated Cleaner” a dusting of “Bar Keepers Friend All Purpose Powder”, and a Magic Eraser sponge. I apply the liquid cleaner first, then a little powder, and mix it into a pasted with my finger on the tumbler etch area. You can already see the sheen come through. Give the paste a minute or two to do the job, apply more liquid cleaner and powder if necessary, and now polish vigorously at 90 degree strokes with the sponge. Total cleaning time is about 3 minutes, when I see some of the powder coat color begin to mix into the paste then I stop, then rinse with water. Done.
Thanks to all the folks in this and the referenced thread for their tips and insight.
3 Likes
Thanks for that advise Lou! Very informative.
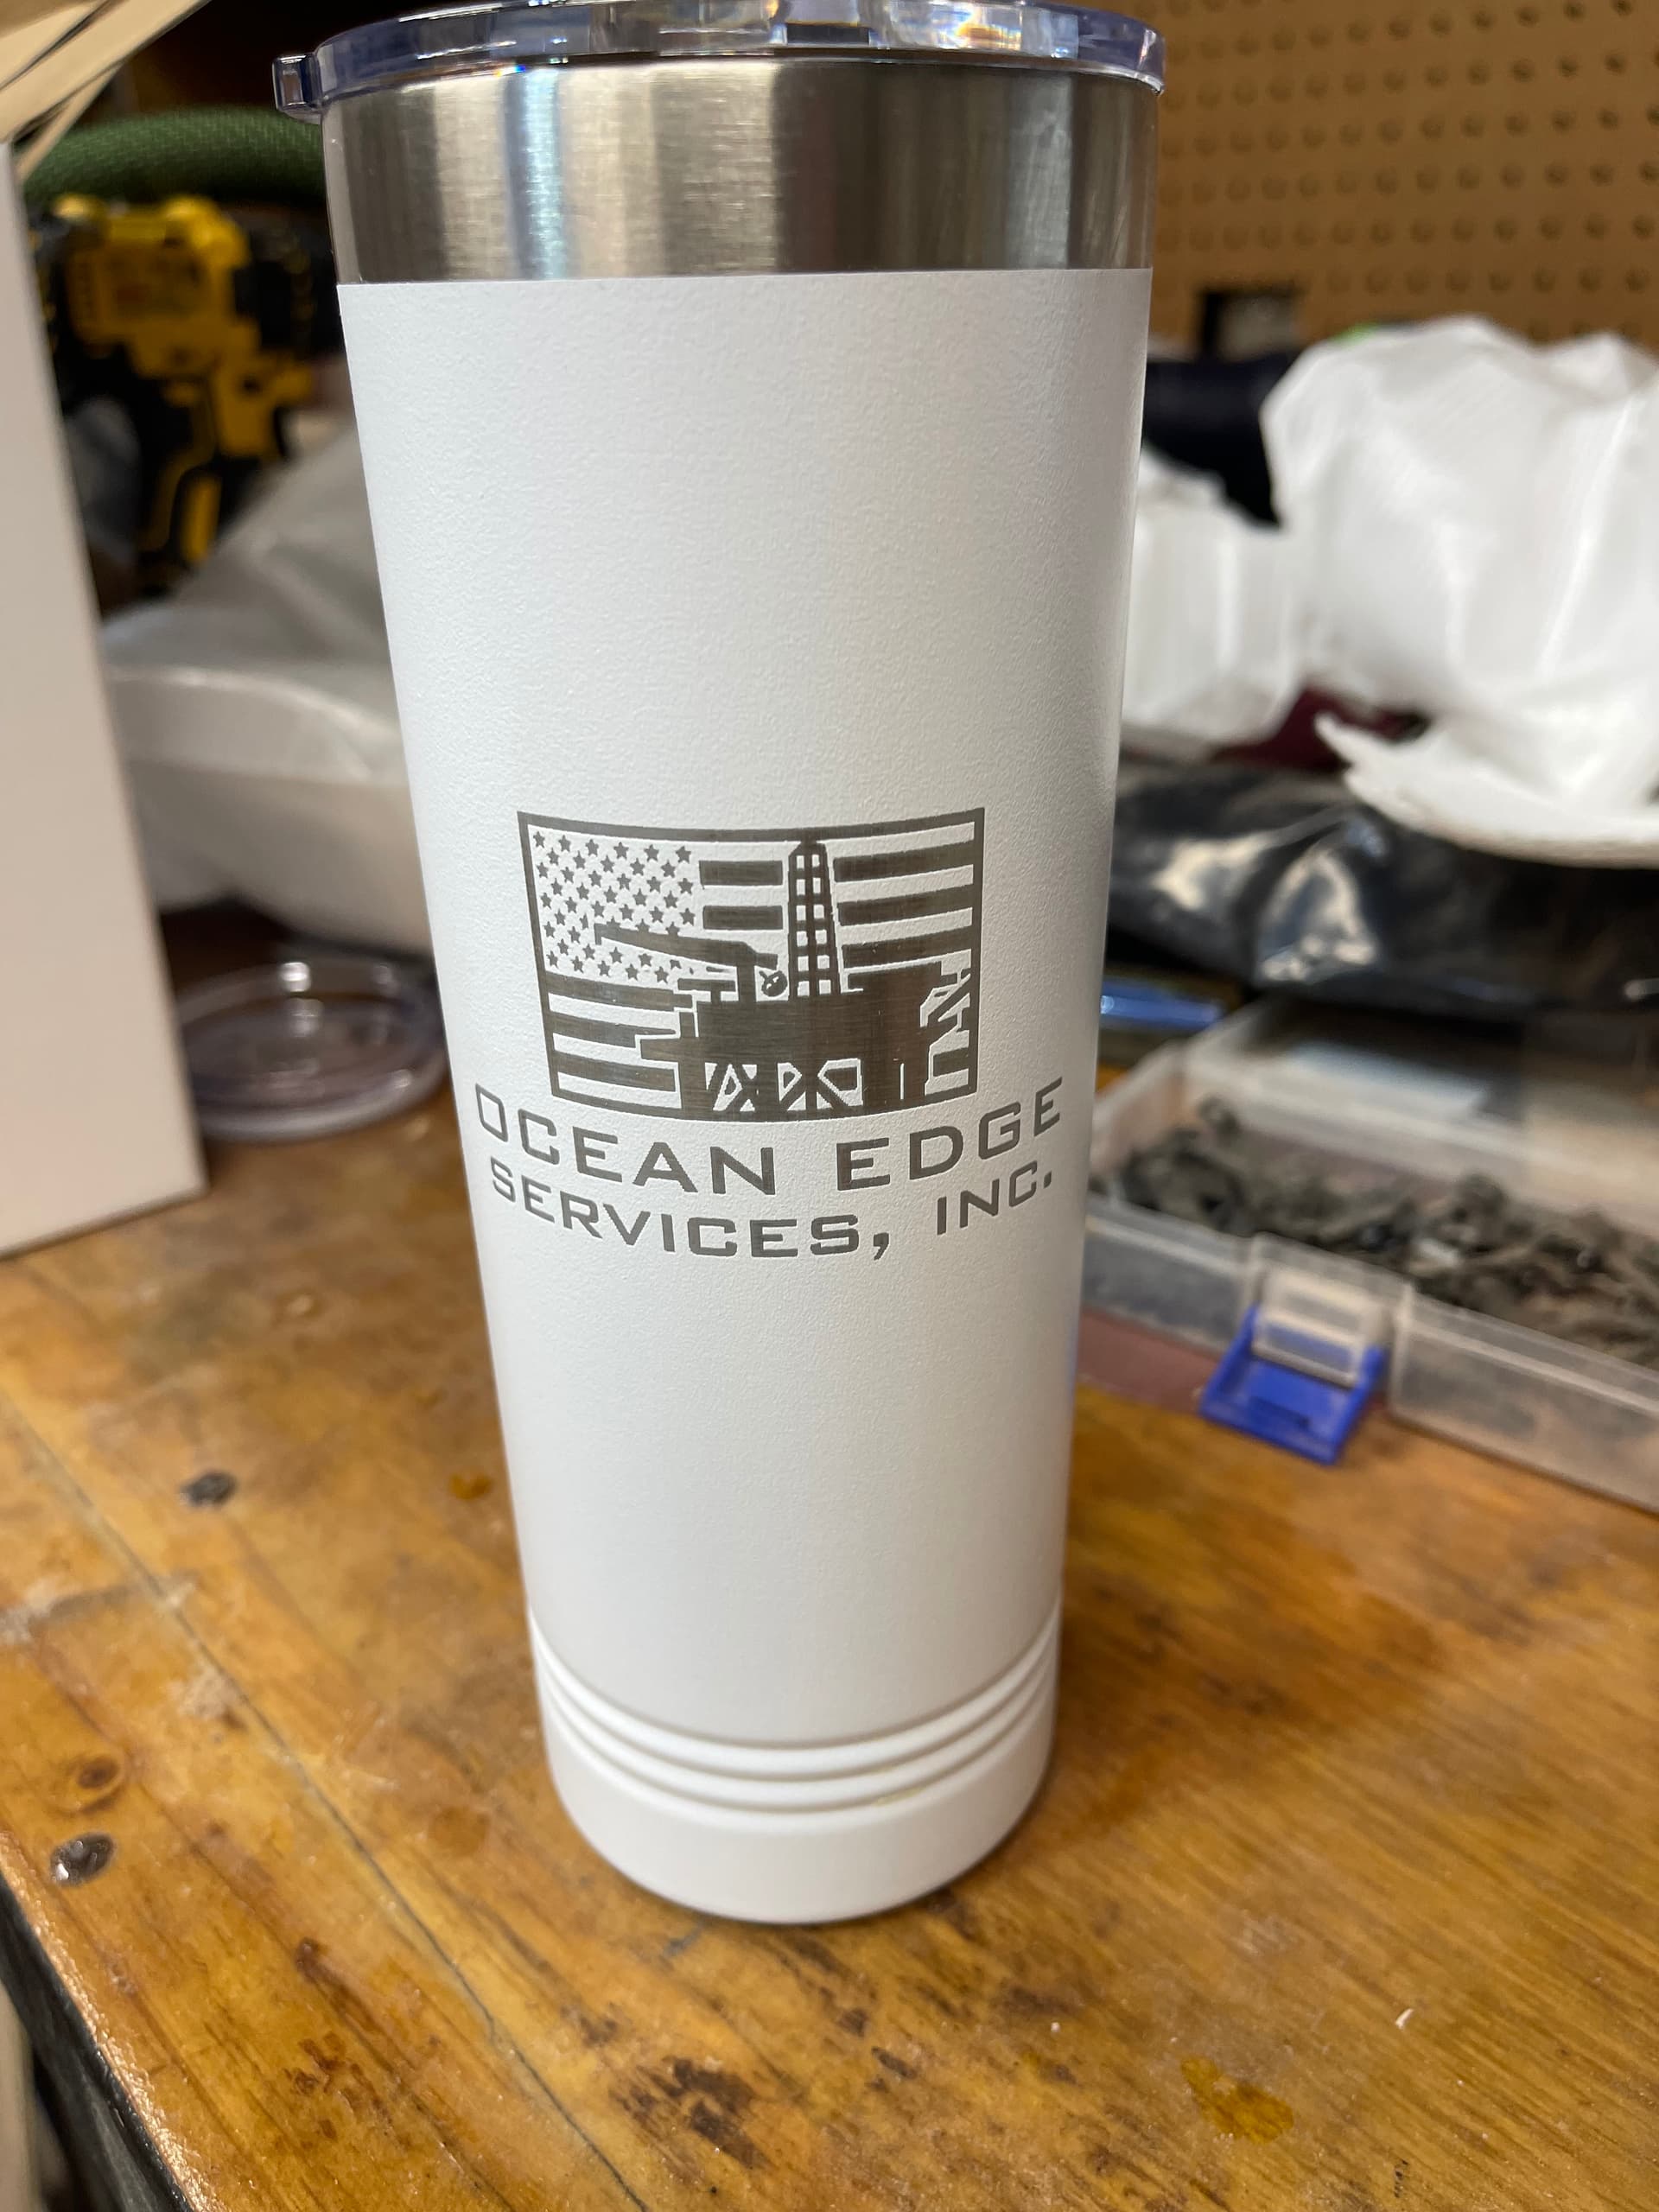
After etching several dozen powder coated tumblers for various brands, I’m using the same settings for all brands and colors. My settings and cleanup process are revised slightly, but general guideline is the same, less power in this etching application is better than more power. Too much laser power tends to leave “laser tracks” on the stainless steel that do not clean off. This may be why some claim that 15W dual and 30W quad diode lasers can etch (using high power) onto bare stainless steel, no pre-coating necessary.
Updated etch settings for shinny stainless steel reveal:
Primary layer: Fill at 1000mm/min @ 25% power, overscan % as needed to achieve speed prior to etch, DPI interval is 67% (0.09mm) of my beam/dot width, CrossHatch Fill pattern (which accounts for an effective 2 passes), 0 deg scan angle, 1 pass, sharpest focus of beam.
SubLayer: Line, 1500mm/min @ 20%, 1 pass. This is a shape outline to burn off any jagged shape edge left from the raster scanning. Use a little outer Kerf Offset on this if you want to.
You can scale these speeds and power if your machine is capable to run faster, I’ve gotten mine faster but I found the power scaling in my machine’s case is not linear to speed for this type of etching. Rather, I found that 6000mm/min @ 75% power CrossHatch scanning was sufficient. I also setup LBs Scanning Offset Adjustment table for speeds over 1000mm/min.
The cleanup process change uses Dawn liquid soap and water with a Magic Eraser pad brief scrub, seems to be as good or better than LA’s Totally Awesome stuff and Bar Keepers Friend.
Key point remains… Less (power) is more in this case for shinny stainless steel reveal.
3 Likes
A real good friend of mine, that has held my hand throughout this tumbler learning curve mentioned to me that most newb’s… <--------- use a lot of power. What usually happens is the powder coat moves off from the initial heat, then melts back on, if the power is too high, and not enough air is there to blow if off properly.
Just my .02
too much power! The color fusion with the metal and wont clean up
kind of old this thread, but here other 2cents
Reduce the power and lower the interval (mm).
Use IPA for cleaning
I’ll try the shape outline. Now that I have a decent rotary, might be helpful but the first one shifted every time I tried and made a mess of it!
Give acetone a try. Wipes clean with a paper towel quickly. ![]()
I tried your settings! originally I adjusted the power for since I have a 10w XTool D1 Pro, but I was getting the lines. Using your settings as you have them were perfect for my 10w as well! Flawless. Well done!
1 Like
Correction - I had an issue with some colors on Owala bottles. The sweet spot for my 10w XTool D1 Pro for the shiny flawless reveal across several colors on Yeti and Owala was 36% for the fill power and and line interval of 0.08; 30% power for the line sublayer. Everything else stayed the same. I might try 37% to see if it still works, but 35% wasn’t enough to completely get through, and you can see faint lines on 38%. Thank you again for helping me get there, as well as for showing me why LightBurn is far superior.
2 Likes