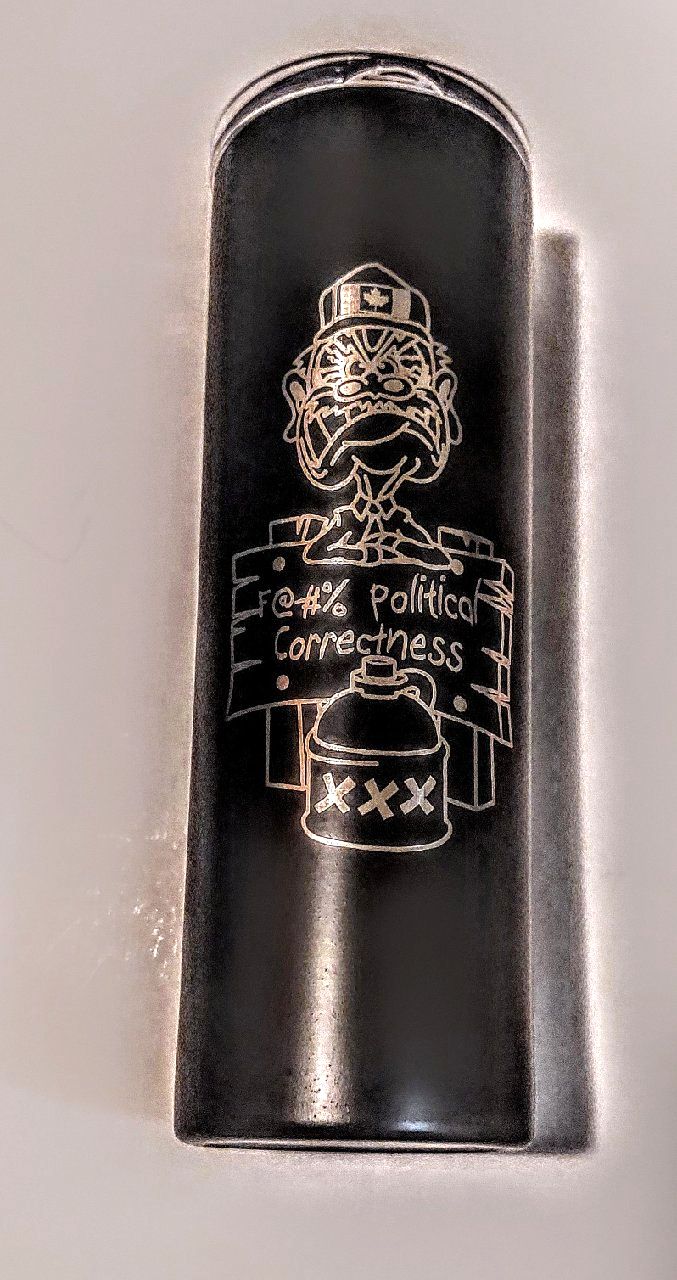
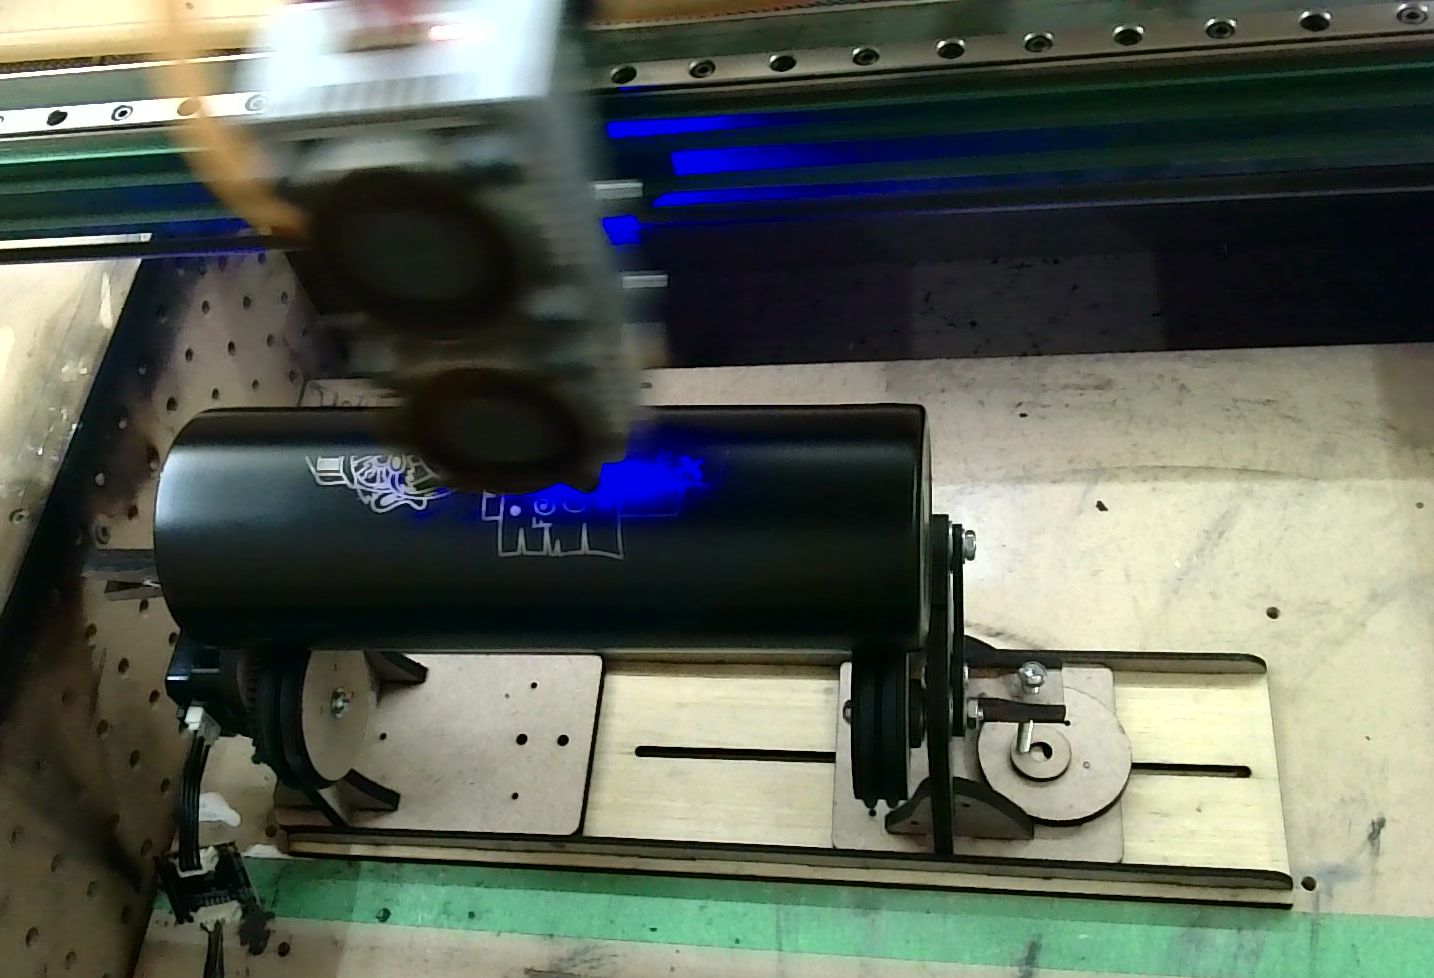
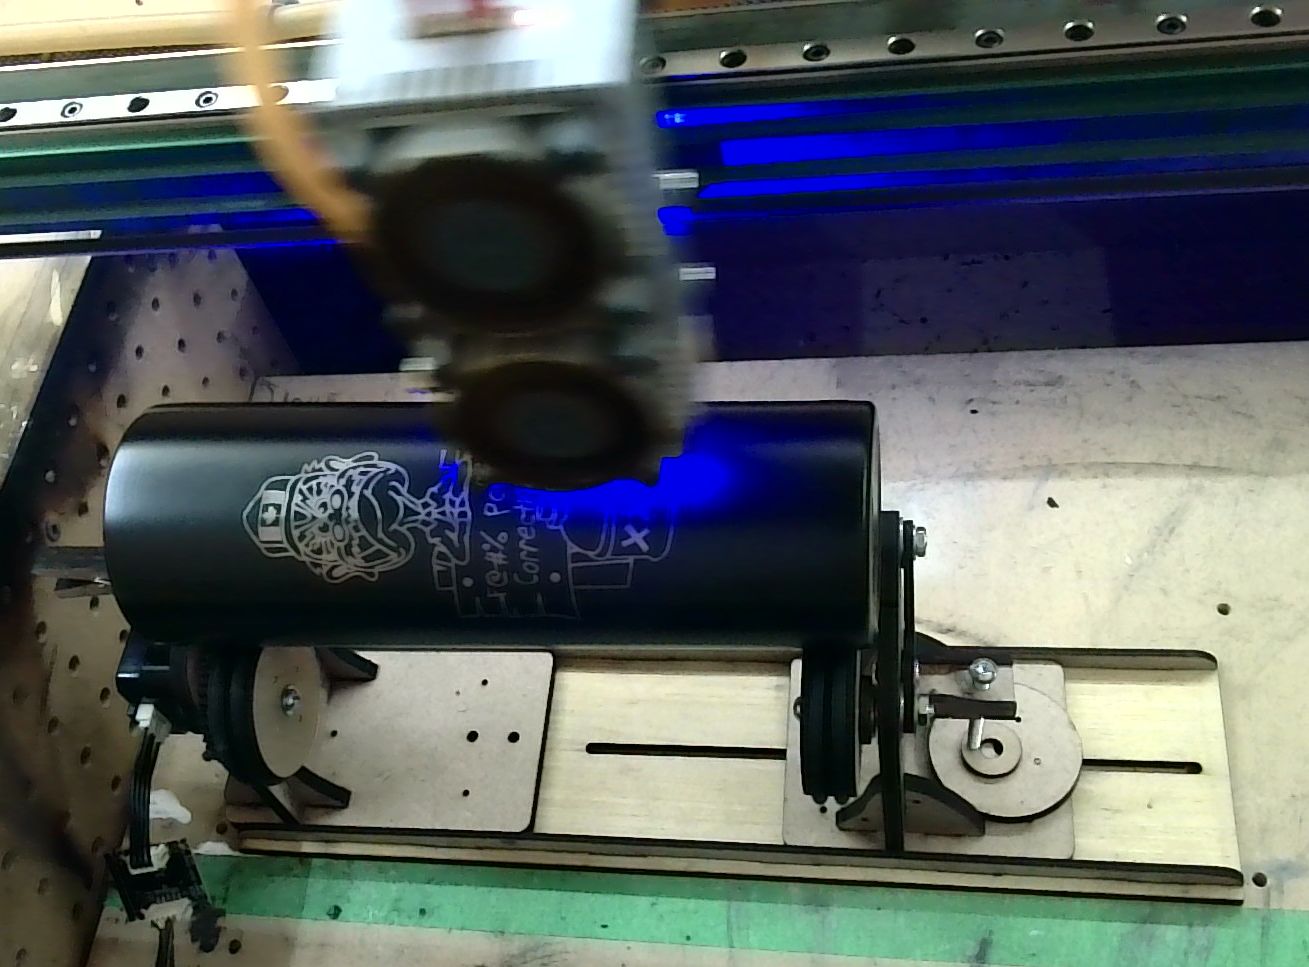
Here is another rotary that is easy and cheap to make. Everything is easy to find and inexpensive. The most expensive item will be the stepper motor. I’ve attached pictures of the roller, screen spline and of it in the process of making a mug. Also attached are the LightBurn files.
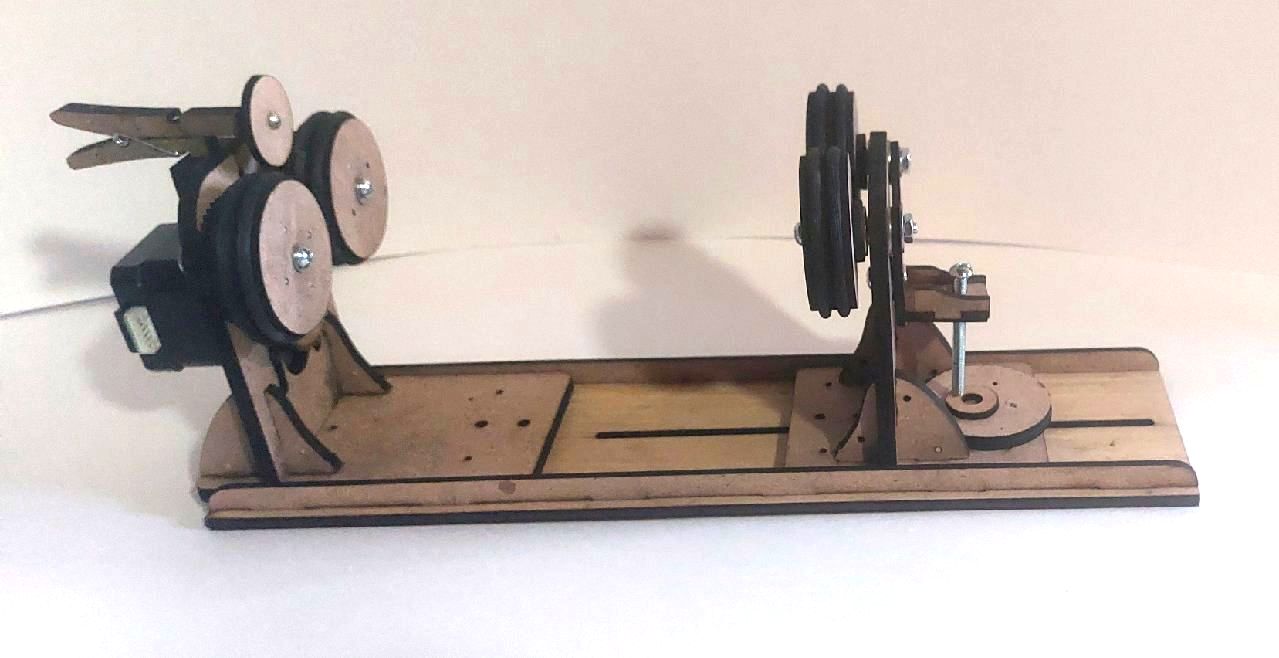
I wanted to make it so anyone could build it, even with a less powerful diode laser. With that in mind, everything is made out of two layers of 3mm MDF. The small 2mm holes are alignment holes so the layers will align perfectly. Stick a round toothpick into them and glue the layers together. After the glue dries, break the toothpicks off.
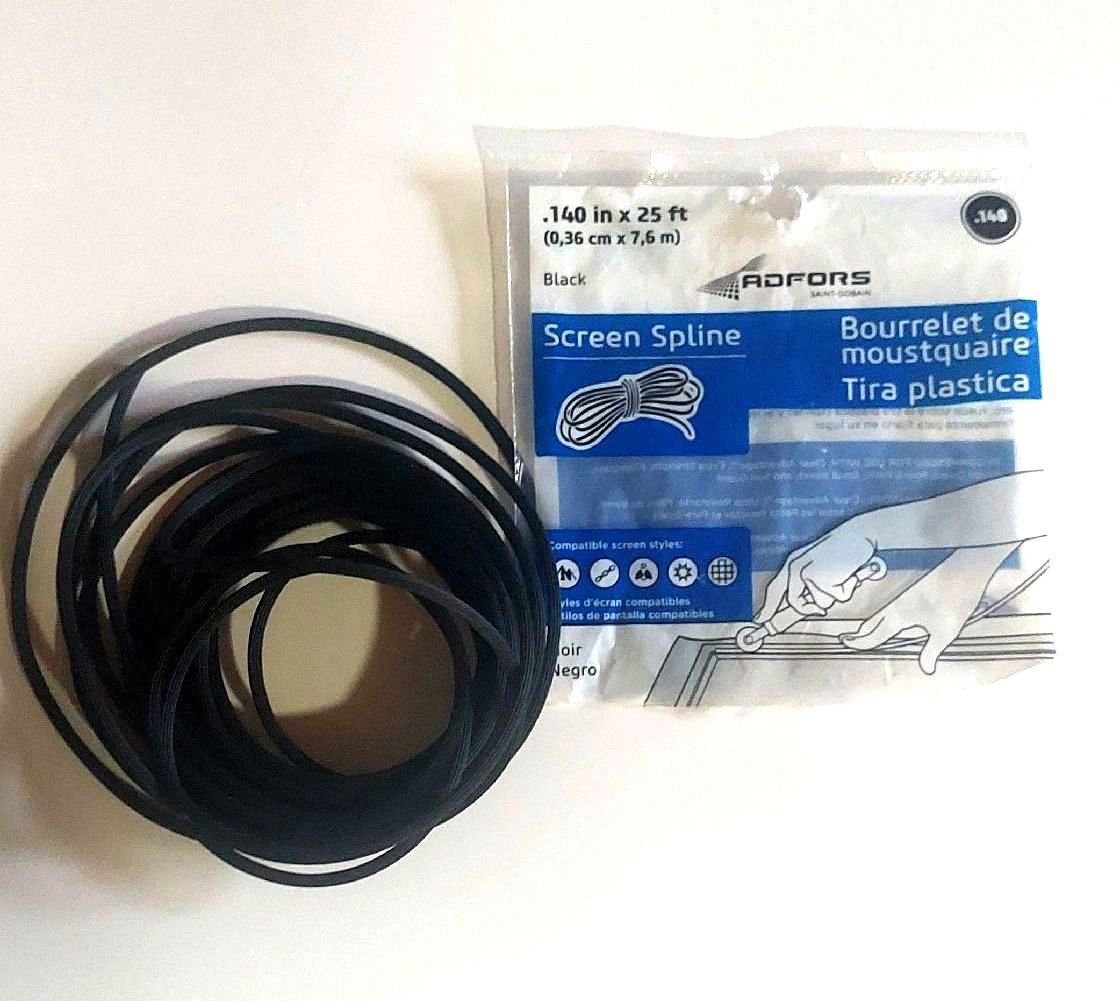
I made the roller feed assembly out of gears instead of pulleys because it was an easy and accurate way to drive them. The rollers themselves are 3 layers of round MDF with 2 smaller diameter layers separating them. The rubber for the rollers is made from window screen spline cut to size. Melting the ends together makes a strong joint.
The bushings for the rollers are round spand-offs I got from Amazon a few years ago (Zmbroll 235Pcs ABS Black Round Spacer OD 7mm ID 4.1mm for M4 Screws 15Sizes Non-Threaded Column Standoff Support Spacer Round Straight Tube Plastic Washer Standoff : Amazon.ca: Tools & Home Improvement). 8-32 rivet nuts, 8-32 x 1.5" bolts, washers and nuts are easily found at any hardware store - Princess Auto will have them cheap for all Canadians out there. The bolts, nuts and rivet nuts are the same as 4mm sizing.
I had everything on hand so my total cost was zero dollars.
The entire project was easily cut using a 20W Neje that I reduced the power to reflect that of a 10W diode. Roller Rotary Motor Assy.lbrn2 (611.0 KB) Roller Rotary Rear & Base.lbrn2 (167.7 KB)
ok once you have the parts, how did you put it all together?
I am no electrical engineer, nor fabricator. aer the spline ends just glued on the wheels?
so many questions, so much additional info needed.
Your aren’t being a pain. I gave the one I built away already but I will be making another one for someone else later today. I’ll take pictures of the assembly process and mark down what parts go where.
I want to congratulate you on the noble and altruistic act of making an inexpensive rotator and sharing it so that anyone with a modicum of skill can make their own. Thank you very much.
I’m interested in making one, but I’m unsure about the measurements of the round spacers. I’m in Spain and can’t buy the same box of spacers as you (Amazon won’t let me buy them in Canada). Therefore, I have to buy them in Spain, and the boxes I find aren’t the same as yours (I might end up printing them with my 3D printer, although I’d possibly use PETG instead of ABS). Would you be so kind as to specify the measurements of the spacers used in the project? Example: 7 x 4 x ? millimeters (please specify in millimeters if possible; I’m not used to inches. Thank you very much for your patience). Best regards.
Just seen this. I also live in Spain and very interested. I’ll download the file and look around here for what’s available. Thank you for the files, very much appreciated.
Hi all.
Sorry about taking so long to get back to this. Things have suddenly gotten a tad busy with other things, and considering I’m retired, I’m gotten out of the habit.
I’ve made some changes to the Lightburn file so I’m including the new files. It occurred to me that needing to buy the spacers defeated the entire purpose of making this easy and cheap for everyone to build. That is why I have removed the spacers and the 8-32 bolts, nuts and rivet nuts. They have been replaced with easily sourced and cheap 1/4" (6mm) bolts, nuts and washers. Unfortunately, I still have the screen spline although if someone can find proper size O-Rings, they would work as well. However, the ones I see that are the correct size are expensive and I want to keep cost down for everyone.
I have made a “Build Manual” in PDF format for the motor assembly drive unit. As PDF cannot be uploaded, you’ll need to delete the “.txt” extension. Hopefully it will explain things.
I ran out of time to make the back assembly unit but I hope to get to that this weekend and I’ll add it.
Please let me know if the manual provides proper explanations or it I should change something. Reading it makes the process sound complicated but once you’ve made one, you’ll be able to make more faster and easier. Once the parts are cut out, it took me less than 20 minutes to make (not counting picture taking). Rotary Front For Manual.lbrn2 (1.0 MB) Rotary Rear For Manual.lbrn2 (411.0 KB) Rotary Manual.pdf.txt (1011.6 KB)
I think you could add bold text section markers, like Motor Mount Assembly, Rear Motor Mount Assemble, and so forth. That would help visually locate the various assembly sections.
Other than that, S U P E R B . J O B . ! ! ! ! …I may try to scale this and adapt it to my iCube 10w laser. I have both a chuck (xTool RA2) and a roller (Atezr KR) now, but neither would be easy to adapt.
I congratulate you on the PDF, although there is something I would like to discuss with you;
Can you specify which stepper motor is appropriate? Like you, my laser is also a Neje, but older than yours. It’s a Max 2 upgraded to Max 3 with a 460 x 810 mm work surface and the A40640 module with two 11-watt diodes. I assume the motors Neje sells for the Max as maintenance accessories will work. Can you confirm this? Thanks.
In image 11, the screw measurements, diameter (?), and length (?), are missing.
Glue collar A and collar B so that the engraved pieces face each other. This allows you to screw a small screw or bolt into the resulting hole to secure the gear assembly to the motor shaft if necessary.
In image number 15, the screw measurements, diameter (?) and length (?) would need to be specified.
Slide pressure rollers A and B onto a small bolt or screw. Screw it into the center of the upper pressure assembly, as shown in Figure 15.
I didn’t specify the bolt sizes because anything that will fit snugly in the holes will work. A bolt with a diameter of 3mm to 3.5mm and a length of 10mm would work for Figure 11 although I haven’t bothered putting one in because the gear assembly is such a tight fit on the motor shaft. If the motor was turning faster I would put one in.
For Figure 15, I used a bolt with a diameter of 3.15mm and a length of 19mm because I have a lot of that size that I use for various other projects.
As for the stepper motor, I have been using NEMA 17 motors. Two came from a really old Neje Master 2 that I bought used to see if I liked the company. It was one of the originals and was not LightBurn compatible so I disassembled it for parts. I bought 5 other NEMA 17 motors from Amazon for less than $9.00 Canadian each about 3 years ago. I currently have an Epilog Fusion and a Thunder Fusion as well as the Neje Max 4 E80. I really like the Neje and I find it fun to play with, although for serious projects I use one of the CO2s because of the speed and power.
Ok first up great files and thanks CS… Ok for the dumb Q, I have Foxit Reader for my PDF’s (and am fine with that) but when I down load the PDF it drops the .txt when I get it to my computer and from there How do I read it, I don’t seem to be able to read it it wants to open in Notepad and all I get is goodly gooch…
I can right click the file and find another program but I can not find Foxit Reader…
Any help any one or should I try down loading adobe…
I had to make into a txt file because LightBurn doesn’t allow PDFs to be uploaded. I also use Foxit Reader both on my computer and on my phone and like it better than Adobe.
There are 2 ways to be able to read it. The first is if you want me to email the file directly to you.
The second way (assuming your using a Windows computer is to go into Windows Explorer by pressing the keyboard key with the Windows logo on it at the same time as pressing the “E” key. When the explorer screen opens up, click on the 3 dots beside where is says View.
Next click on “Options” - you may need to scroll down to see it. Then click on the “View” tab. You should now see a list under “Advanced Settings”. Click on the “Hide extensions for know file types” to un-highlight it. Click OK.
Now go to where you downloaded the file and delete the “.txt” so only the “.pdf” is at the end. The file should now open properly. I suggest you go back and reset the “Hide extensions for know file types” when you are finished but it isn’t necessary.
You’re a bloody genius, thanks for that I have made a Edit Note pad file so I don’t forget this old mind is very forgetful of late…
And thanks for the TXT file and the LB files will have a good look over the weekend…
I have finished the Instruction/Build Manual for the rotary. I also notice that I forgot to attach the LightBurn file for the Base Unit so I will attach both now. As usual, the Manual is in PDF format so I had to make it into a .txt file which will need to be converted back by removing the “.txt”.
Please let me know if there is anything that needs to be explained more.
Also, I take no responsibility for any super glue or toothpick injuries, including, but not limited to: toothpicks poked up the nose; rotary pieces being mistakenly glued to various body parts or orifices.
This rotary version has also been tested. Rotary Base For Manual.lbrn2 (168.5 KB) Rotary Build Manual V2.pdf.txt (2.0 MB)