I have seen and heard of several different techniques for engraving glass with a low power blue diode laser. I recently came across the idea that one could use black cardstock instead of paint or a solution of titanium dioxide. I had a couple of pieces of 100 x 100 x 4mm glass tiles that could be used as drinks coasters. The glass is very clear and flat with all of the edges being rounded.
I found a simple pattern of a tribal bird that would show how well darker areas would fill in with the frosted effect i had wanted to achieve. Between the glass and the MDF I placed a layer of 220gsm card that was described as ‘very black’ by the vendor. I taped the glass tile to the MDF support and clamped the MDF so that the tile could not move.
My settings for my 4.2W blue diode J-Tech laser were 80% power (not continuous) and 400 mm per minute traversal speed. My laser is set to focus through a high resolution lens at 3.175mm (1/8"). Overall, the result is not too bad. The depth may be an issue because the 4mm thickness of the glass tile meant (in theory that my laser was only focussed to 3/4 of the thickness.
The end result had surprised me. The card had an amount of soot on it from the burn, perhaps to a depth of 0.1mm. The glass tile was engraved well but it was very smooth to touch (the micro-fractures could not be felt very easily so the lasered areas were only very slightly rough to touch. This may have been a fault in depth specification again.
The tile was cleaned with acetone before the engraving process and afterwards it was cleaned with soap and water to remove the sooty residue. The lasered side was washed in acetone before the final process of applying black paint. After it has dried properly, I will remove the paint from the glass and hopefully leave the lasered area completely black. It did not feel that it was well etched and there was no obvious deep etched area where the laser had been.
Pictures:
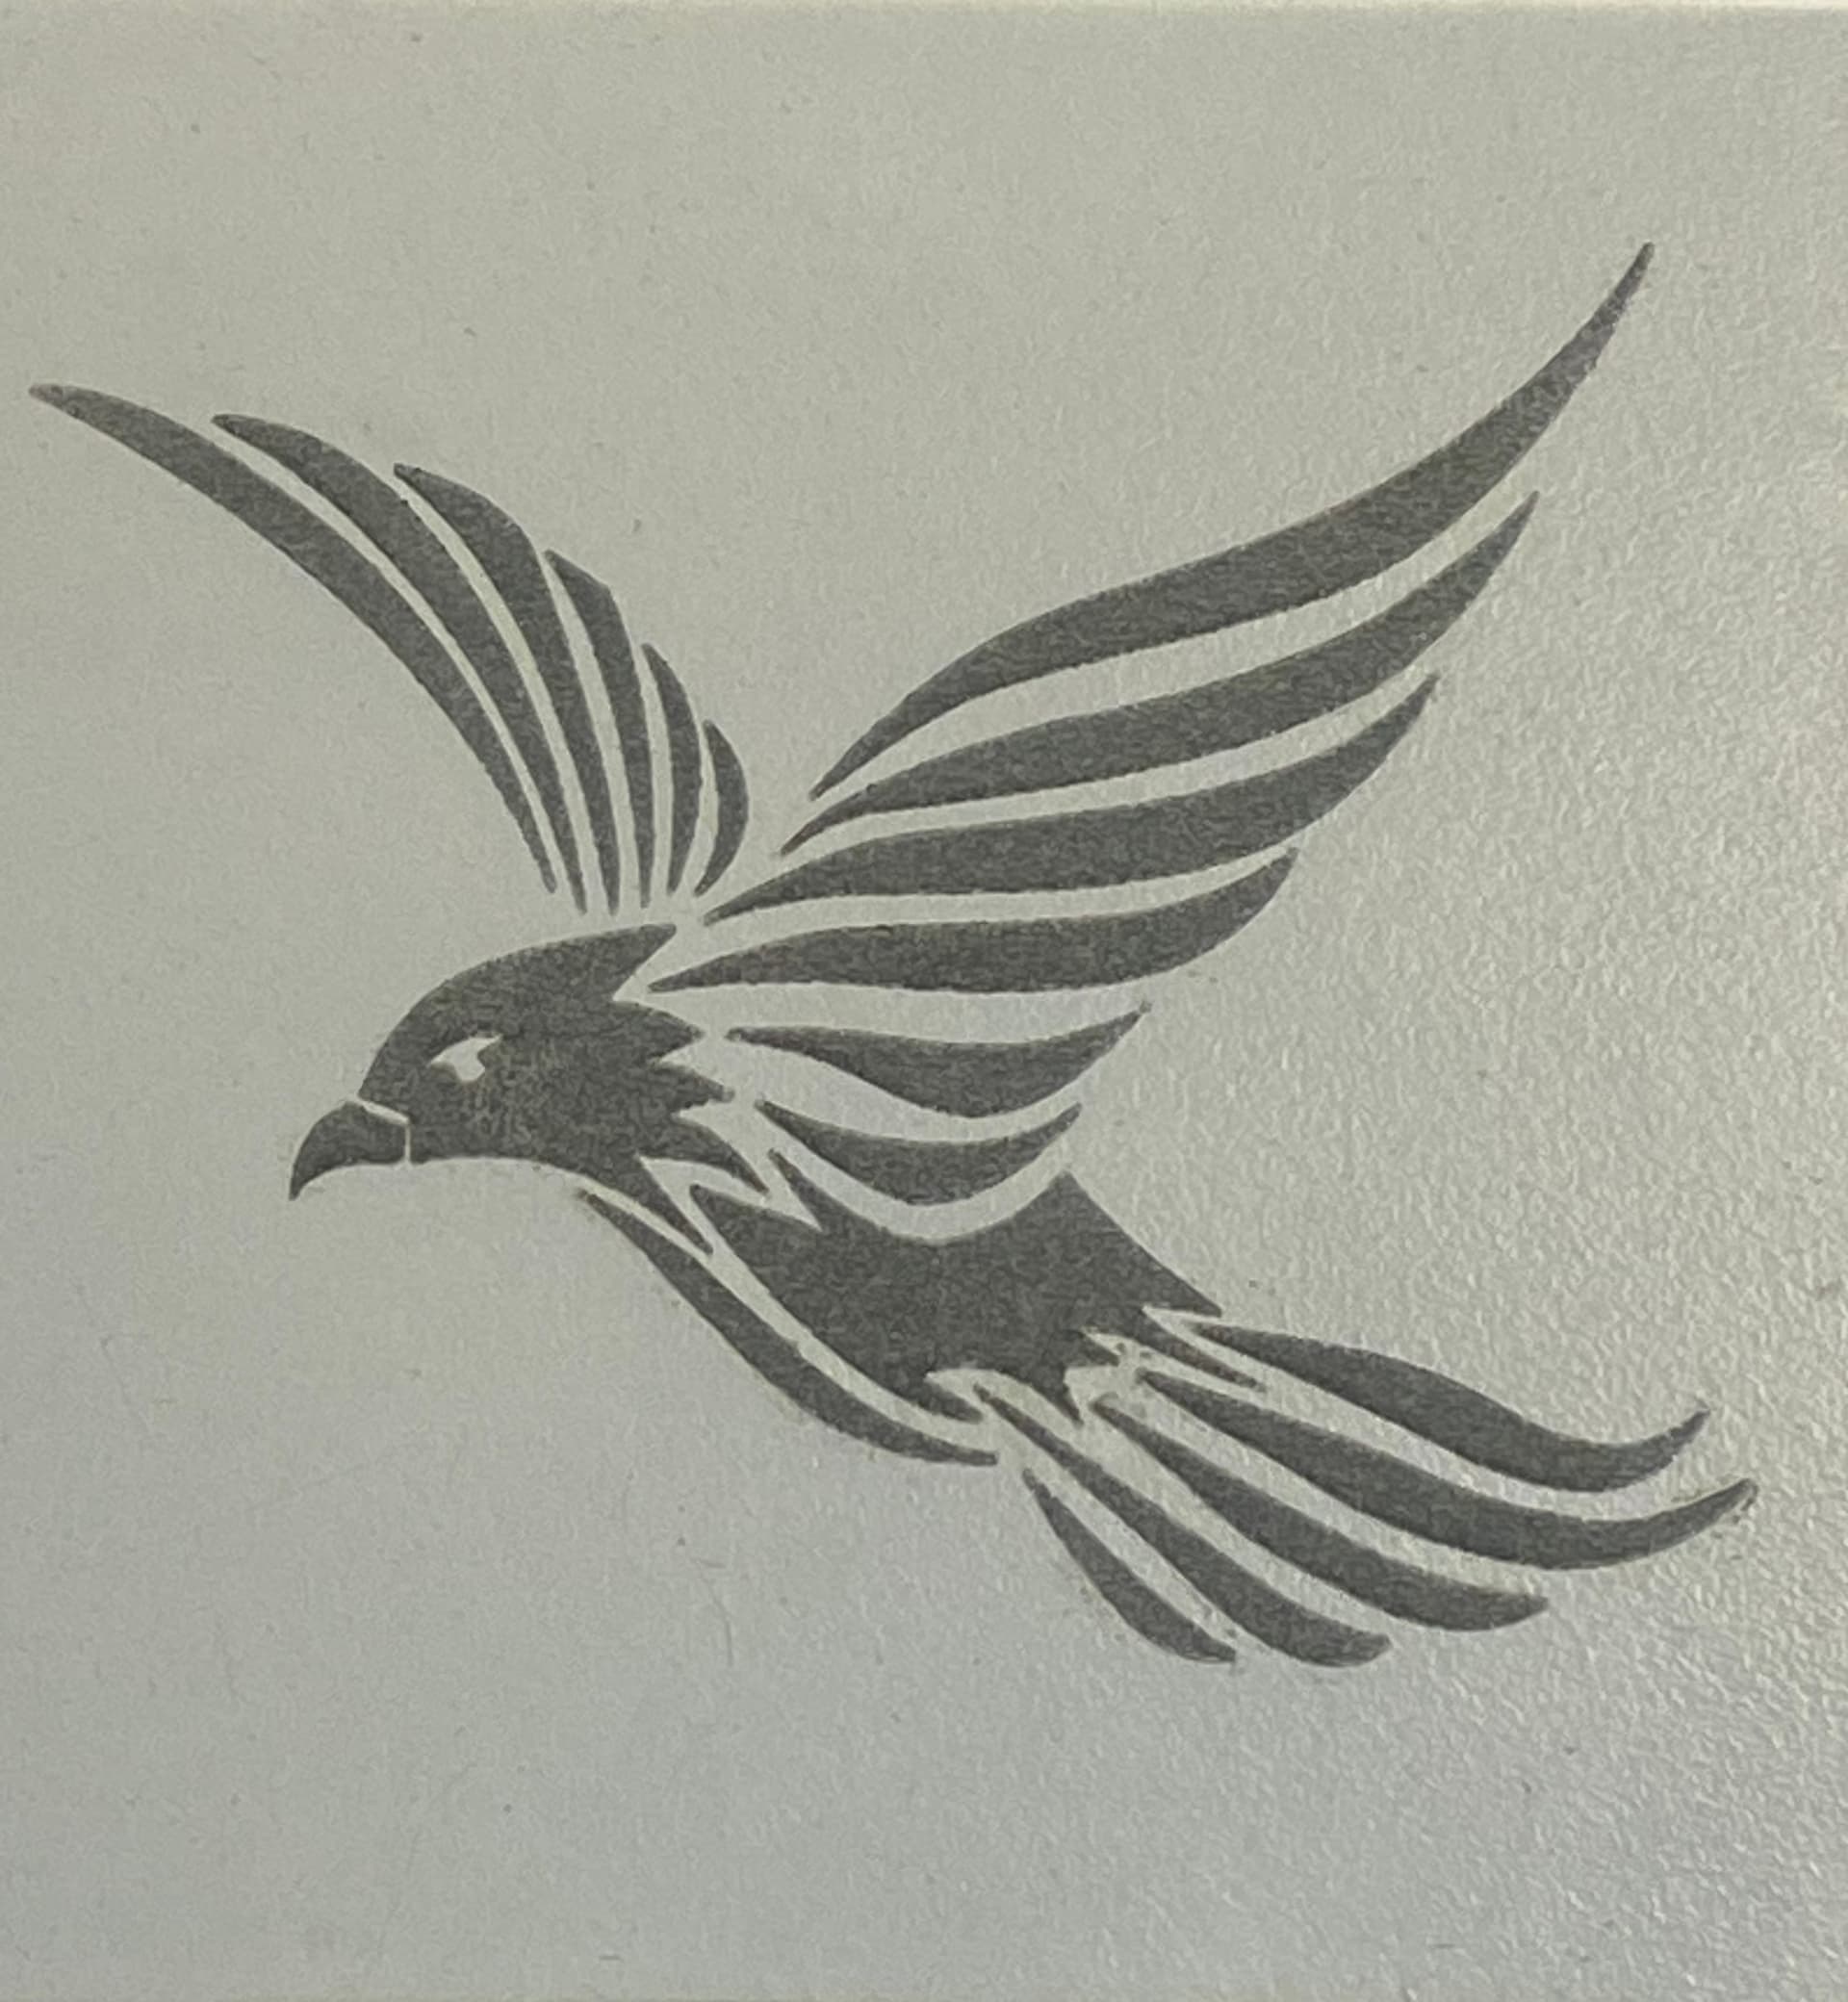
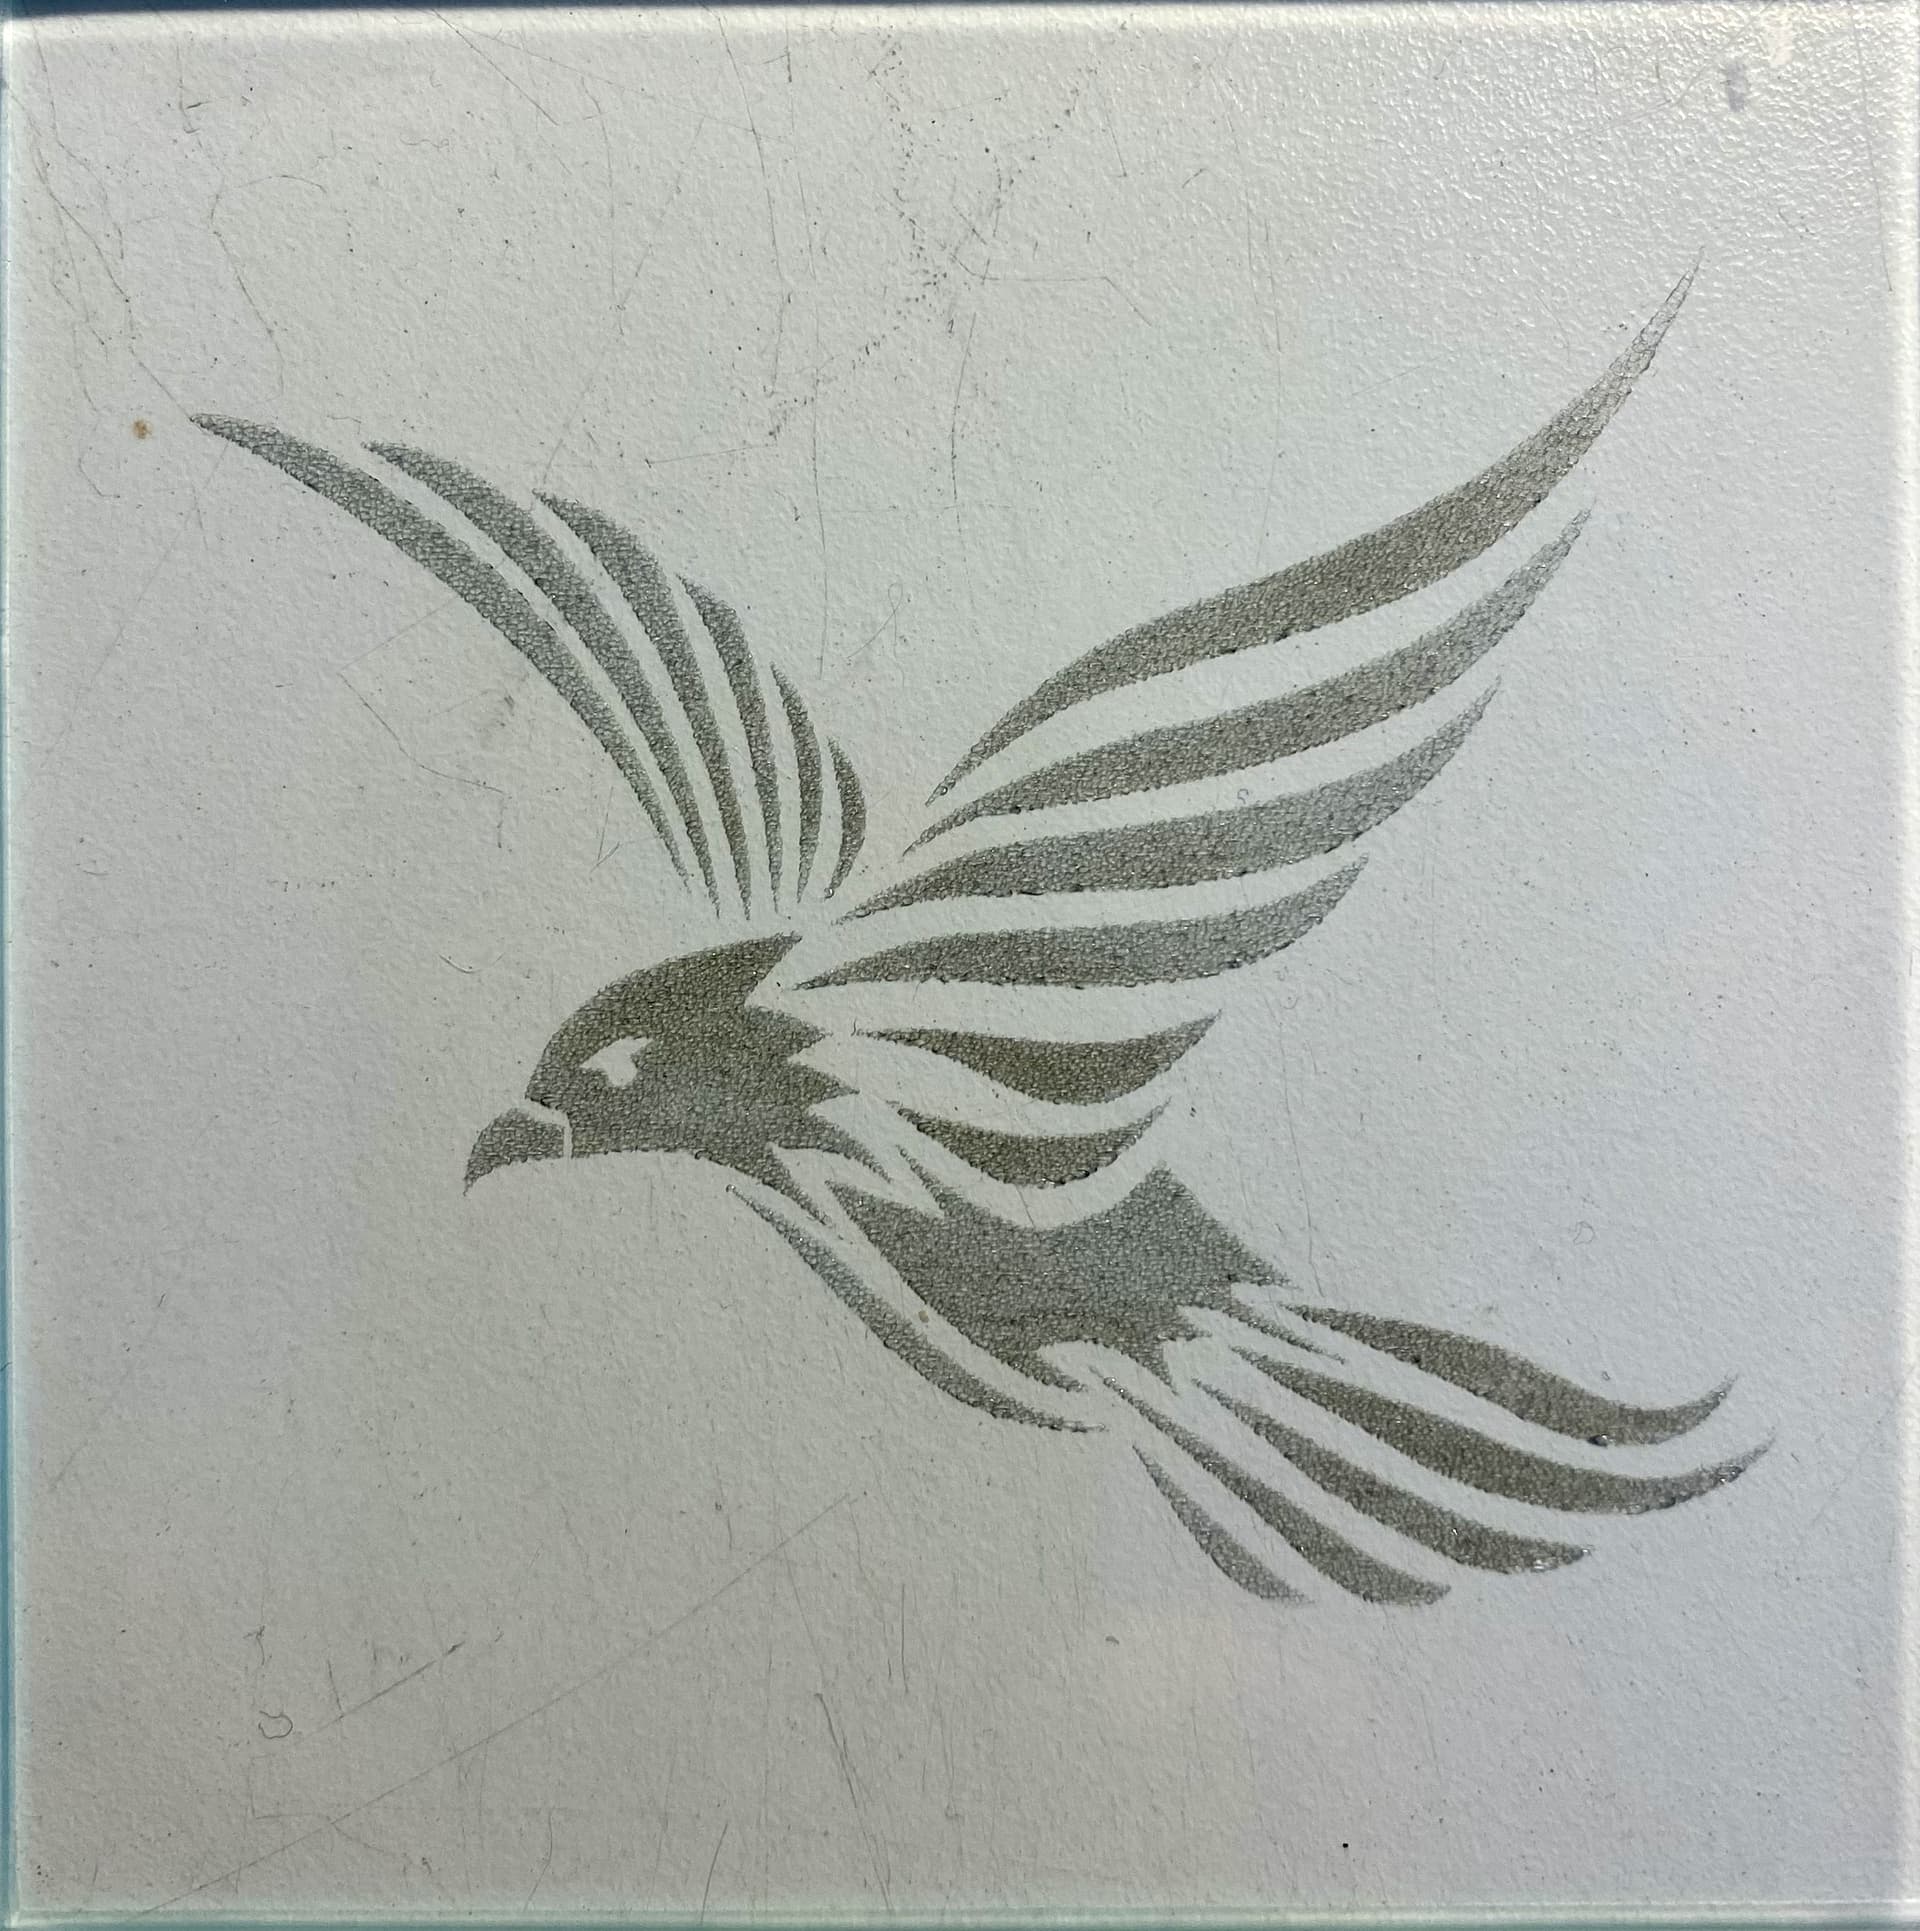
This is the design that I had wished to etch.

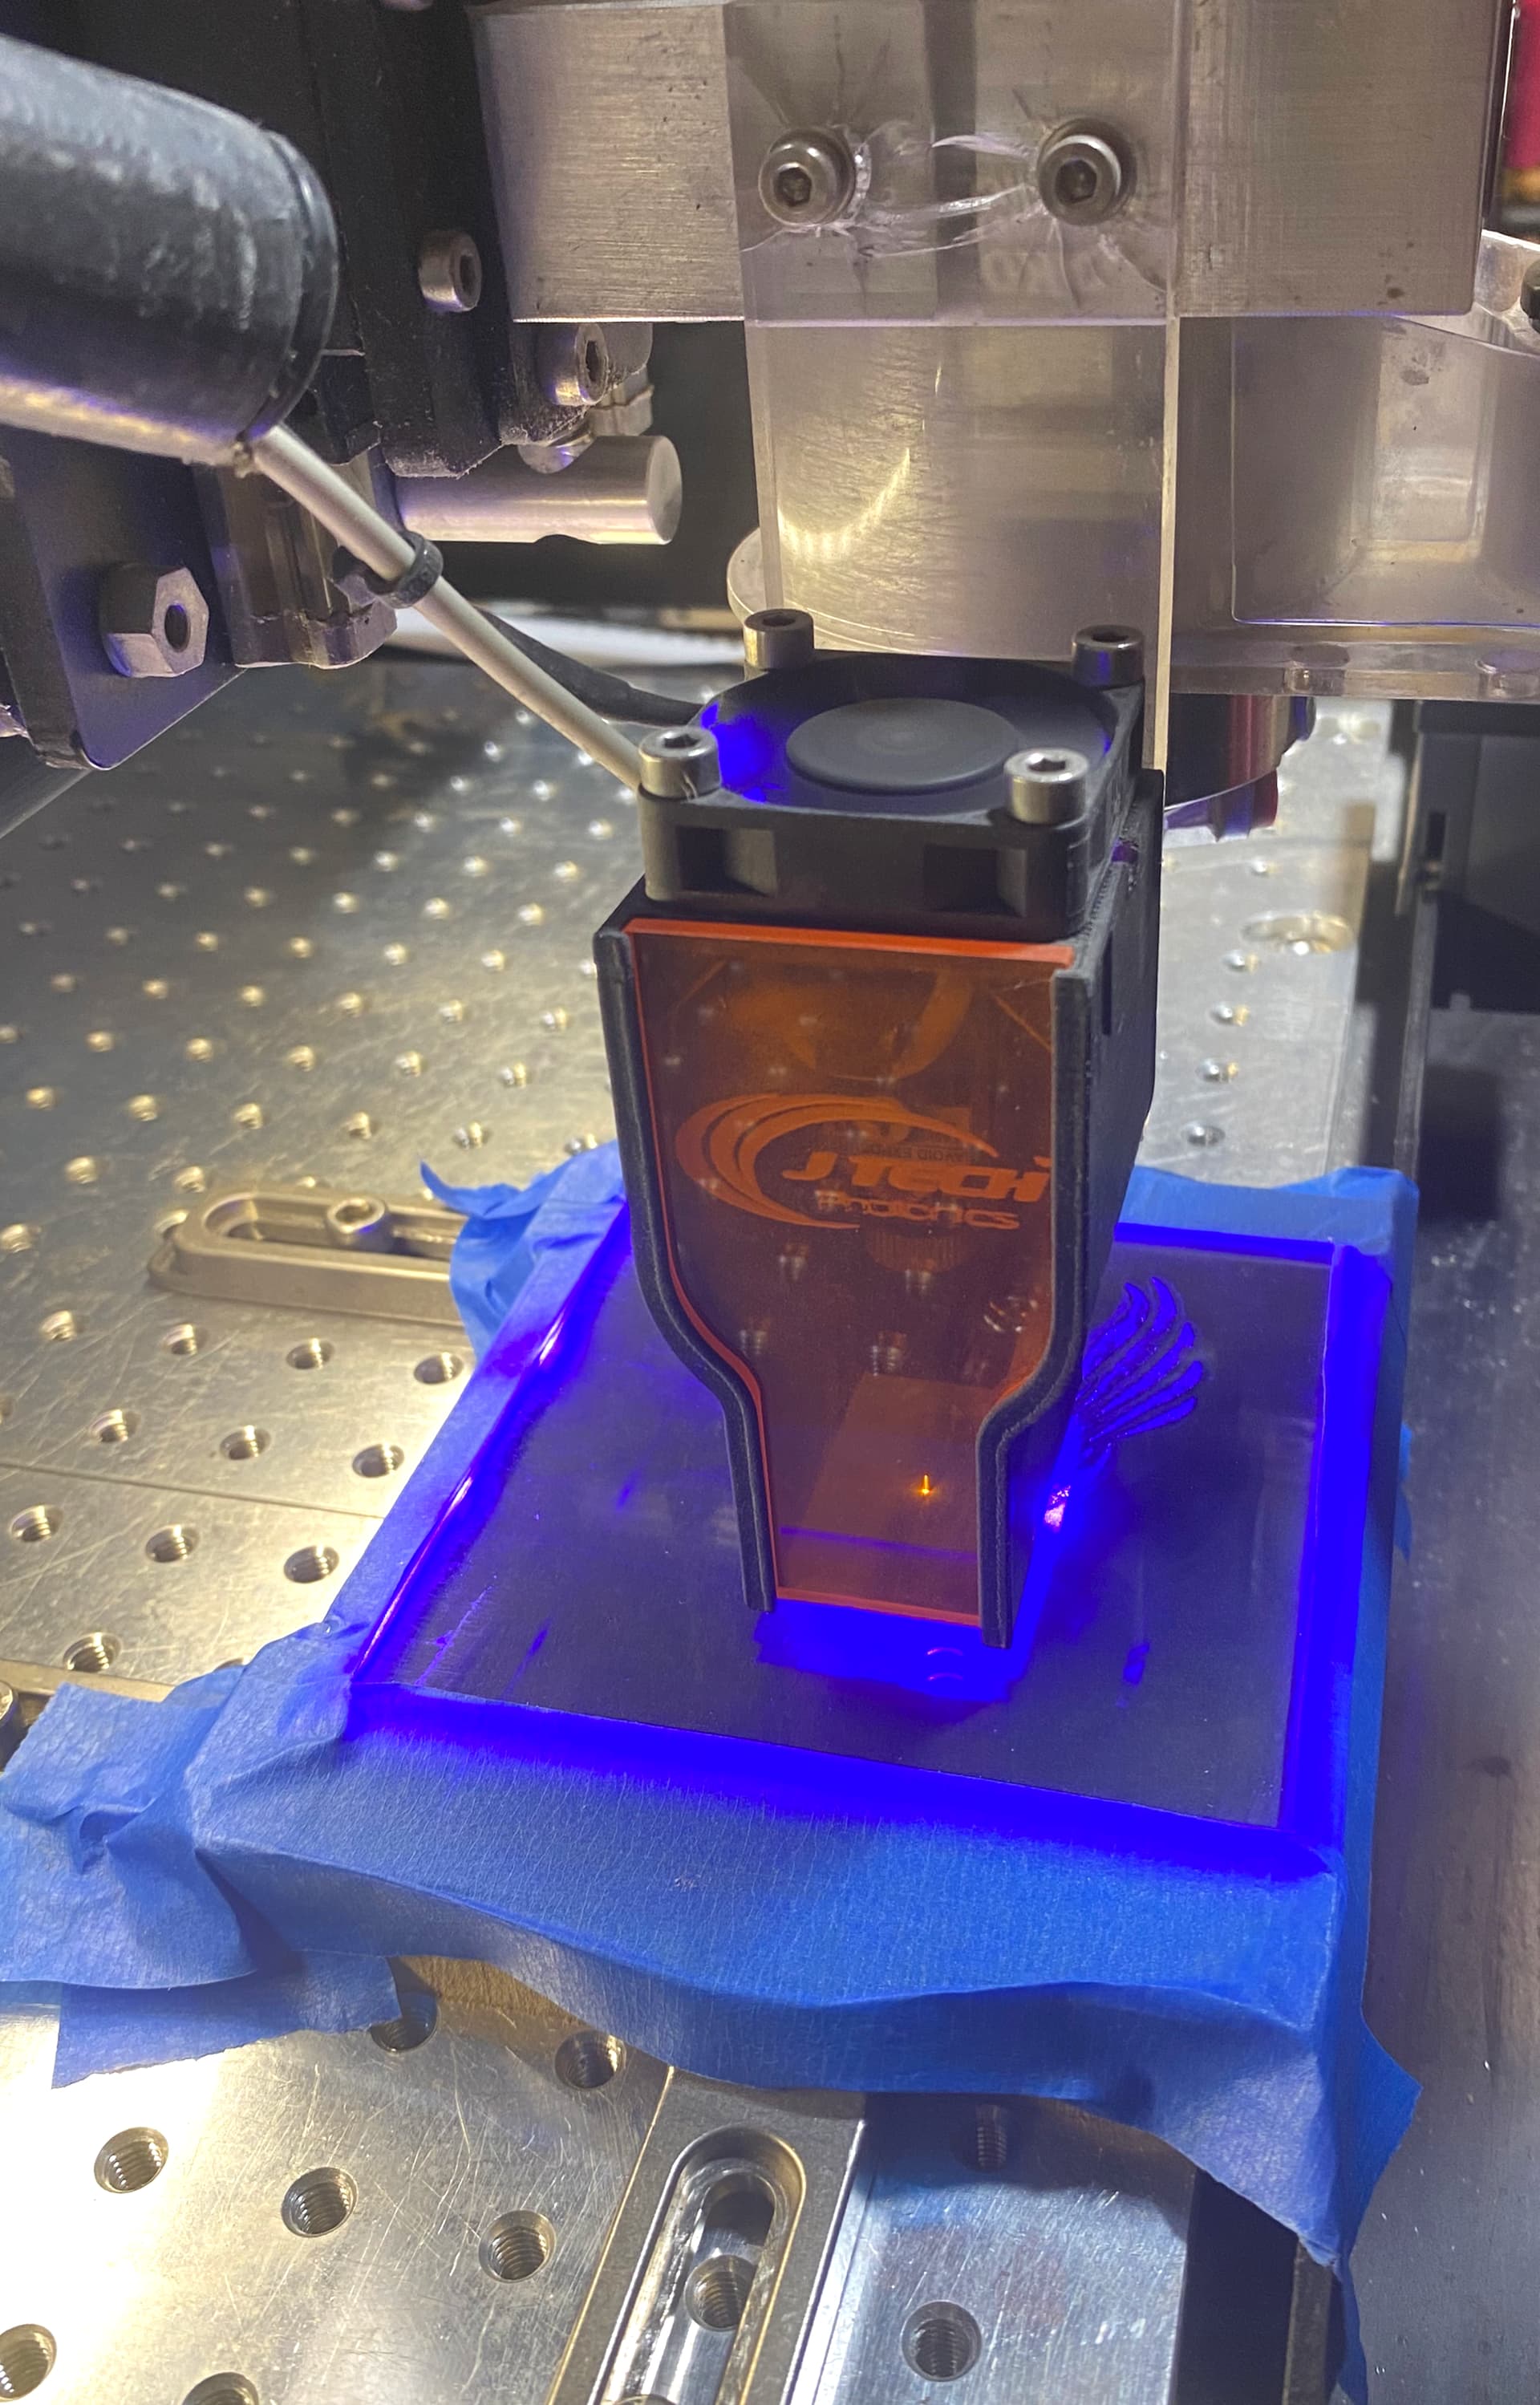
This was the setup on my CNC machine
This is the remaining soot on the card from the side that touched the glass
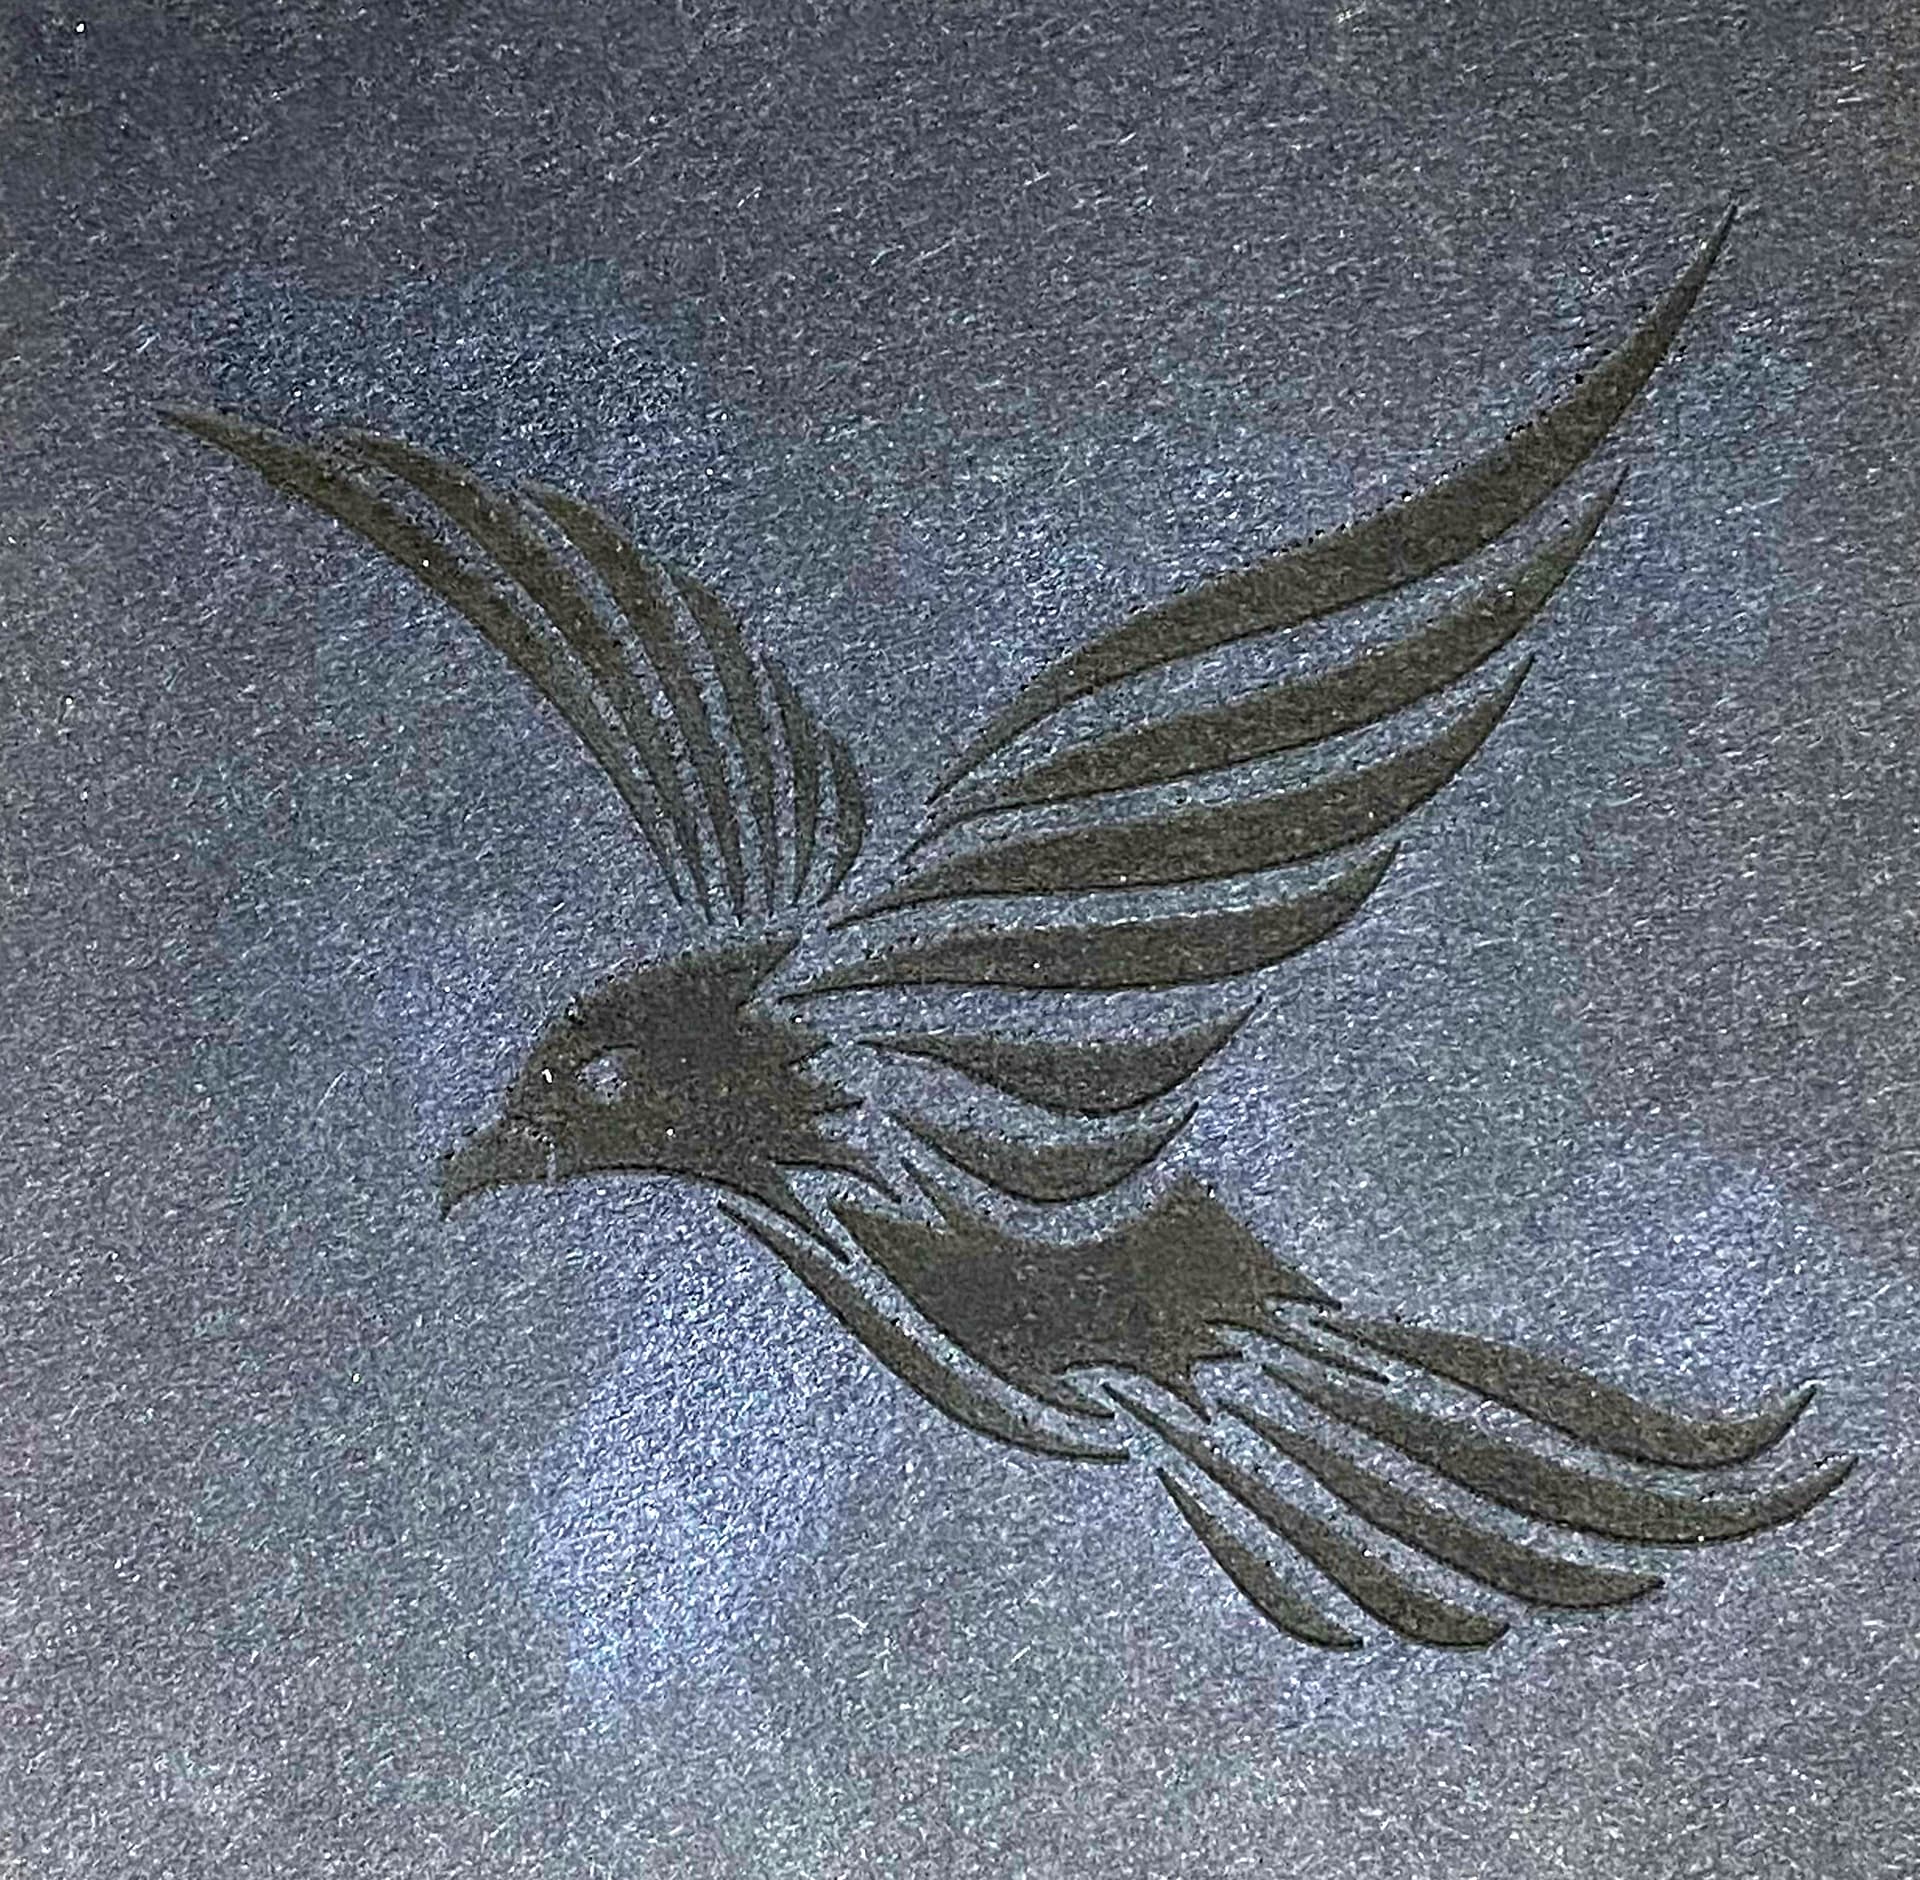
The finished glass tile burn (resting against the MDF support)

Finished glass tile resting against wooden bench
Total time for burn just over 35minutes. Advantages: Smooth outlines and very smooth on the lasered side. No painting or complicated coating processes required, just a piece of black card behind the glass. Disadvantages: Possibly difficult to obtain a really deep etch as one is lasering the tile with a beam that penetrates the whole tile. To obtain a more clear image then possibly the Norton method is applicable for that purpose.
Links to lasering through the glass using black card. Highly technical discussion of Norton method.
The black card method I copied from this gentleman at MellowPine Lasers

The Titanium Dioxide White Paint Method is explained beautifully by Russ at SarbarMultimedia. The explanation of black etching ceramics is highly technical and very informative. The link is to part one and part two is also available.

If any LightBurn user can make suggestions about how I may vary the depth of my burn and create a deeper etching as well as a darker etching using black card, I would be happy to hear if anyone has managed to improve the results.