I will work on this and let you know. Thanks so much
Ok I couldn’t get the awl to make a mark on the can so I did it this way and come up with these first two measurements if this isn’t right please let me know

Under calibrate axis I entered 100mm for requested and 102.40 for actual and jogged the 100mm again from the start of the second measurement and got 98.4mm.
. So what is my next step?
These are super-close. Does this engraver use a lead-screw for each axis?
You may be fighting a small amount (~1 mm) of backlash on the z axis if you changed direction. The way to defeat this is to jog beyond your intended ‘start’ point, then jog to the start point so the calibration jog is in the same direction as the previous jog.
I’m guessing that it’s this because your lower number is close to the Z limit, and that backlash could have consumed 1.1mm.
If there is backlash available, it will present as a small loss of commanded motion when the direction changes.
It’s also possible your pencil shifted by less than 2mm and caused the calibration error. Each calibration should ‘get closer’ to the commanded distance.
After 2-3 consistent axis calibrations the axis will be accurate and repeatable.

I just homed and z and y did perfect x didn’t bounce off of the limit switch how do I fix this I have not calibrated x or y axis
Did you get an error message in the console window?
Each axis shares the same pull-off.
If the switch clicked, the controller should have commanded the motors to pull-off 5mm.
In the console window in LightBurn type the following:
?
then press Enter.
then reach over and depress and hold the X limit switch
(Use masking tape to hold the limit switch f you can’t reach both the switch and the computer keyboard at the same time.)
Repeat the question mark command in the Console window as you did above.
Release the X limit switch and depress the Y Limit switch.
Repeat the question mark command.
Do the same for Z.
Please copy and paste those 4 reports into a reply here. I’d like to confirm that the limit switches are working and in the order we would expect them to be working.
Excellent, very helpful.
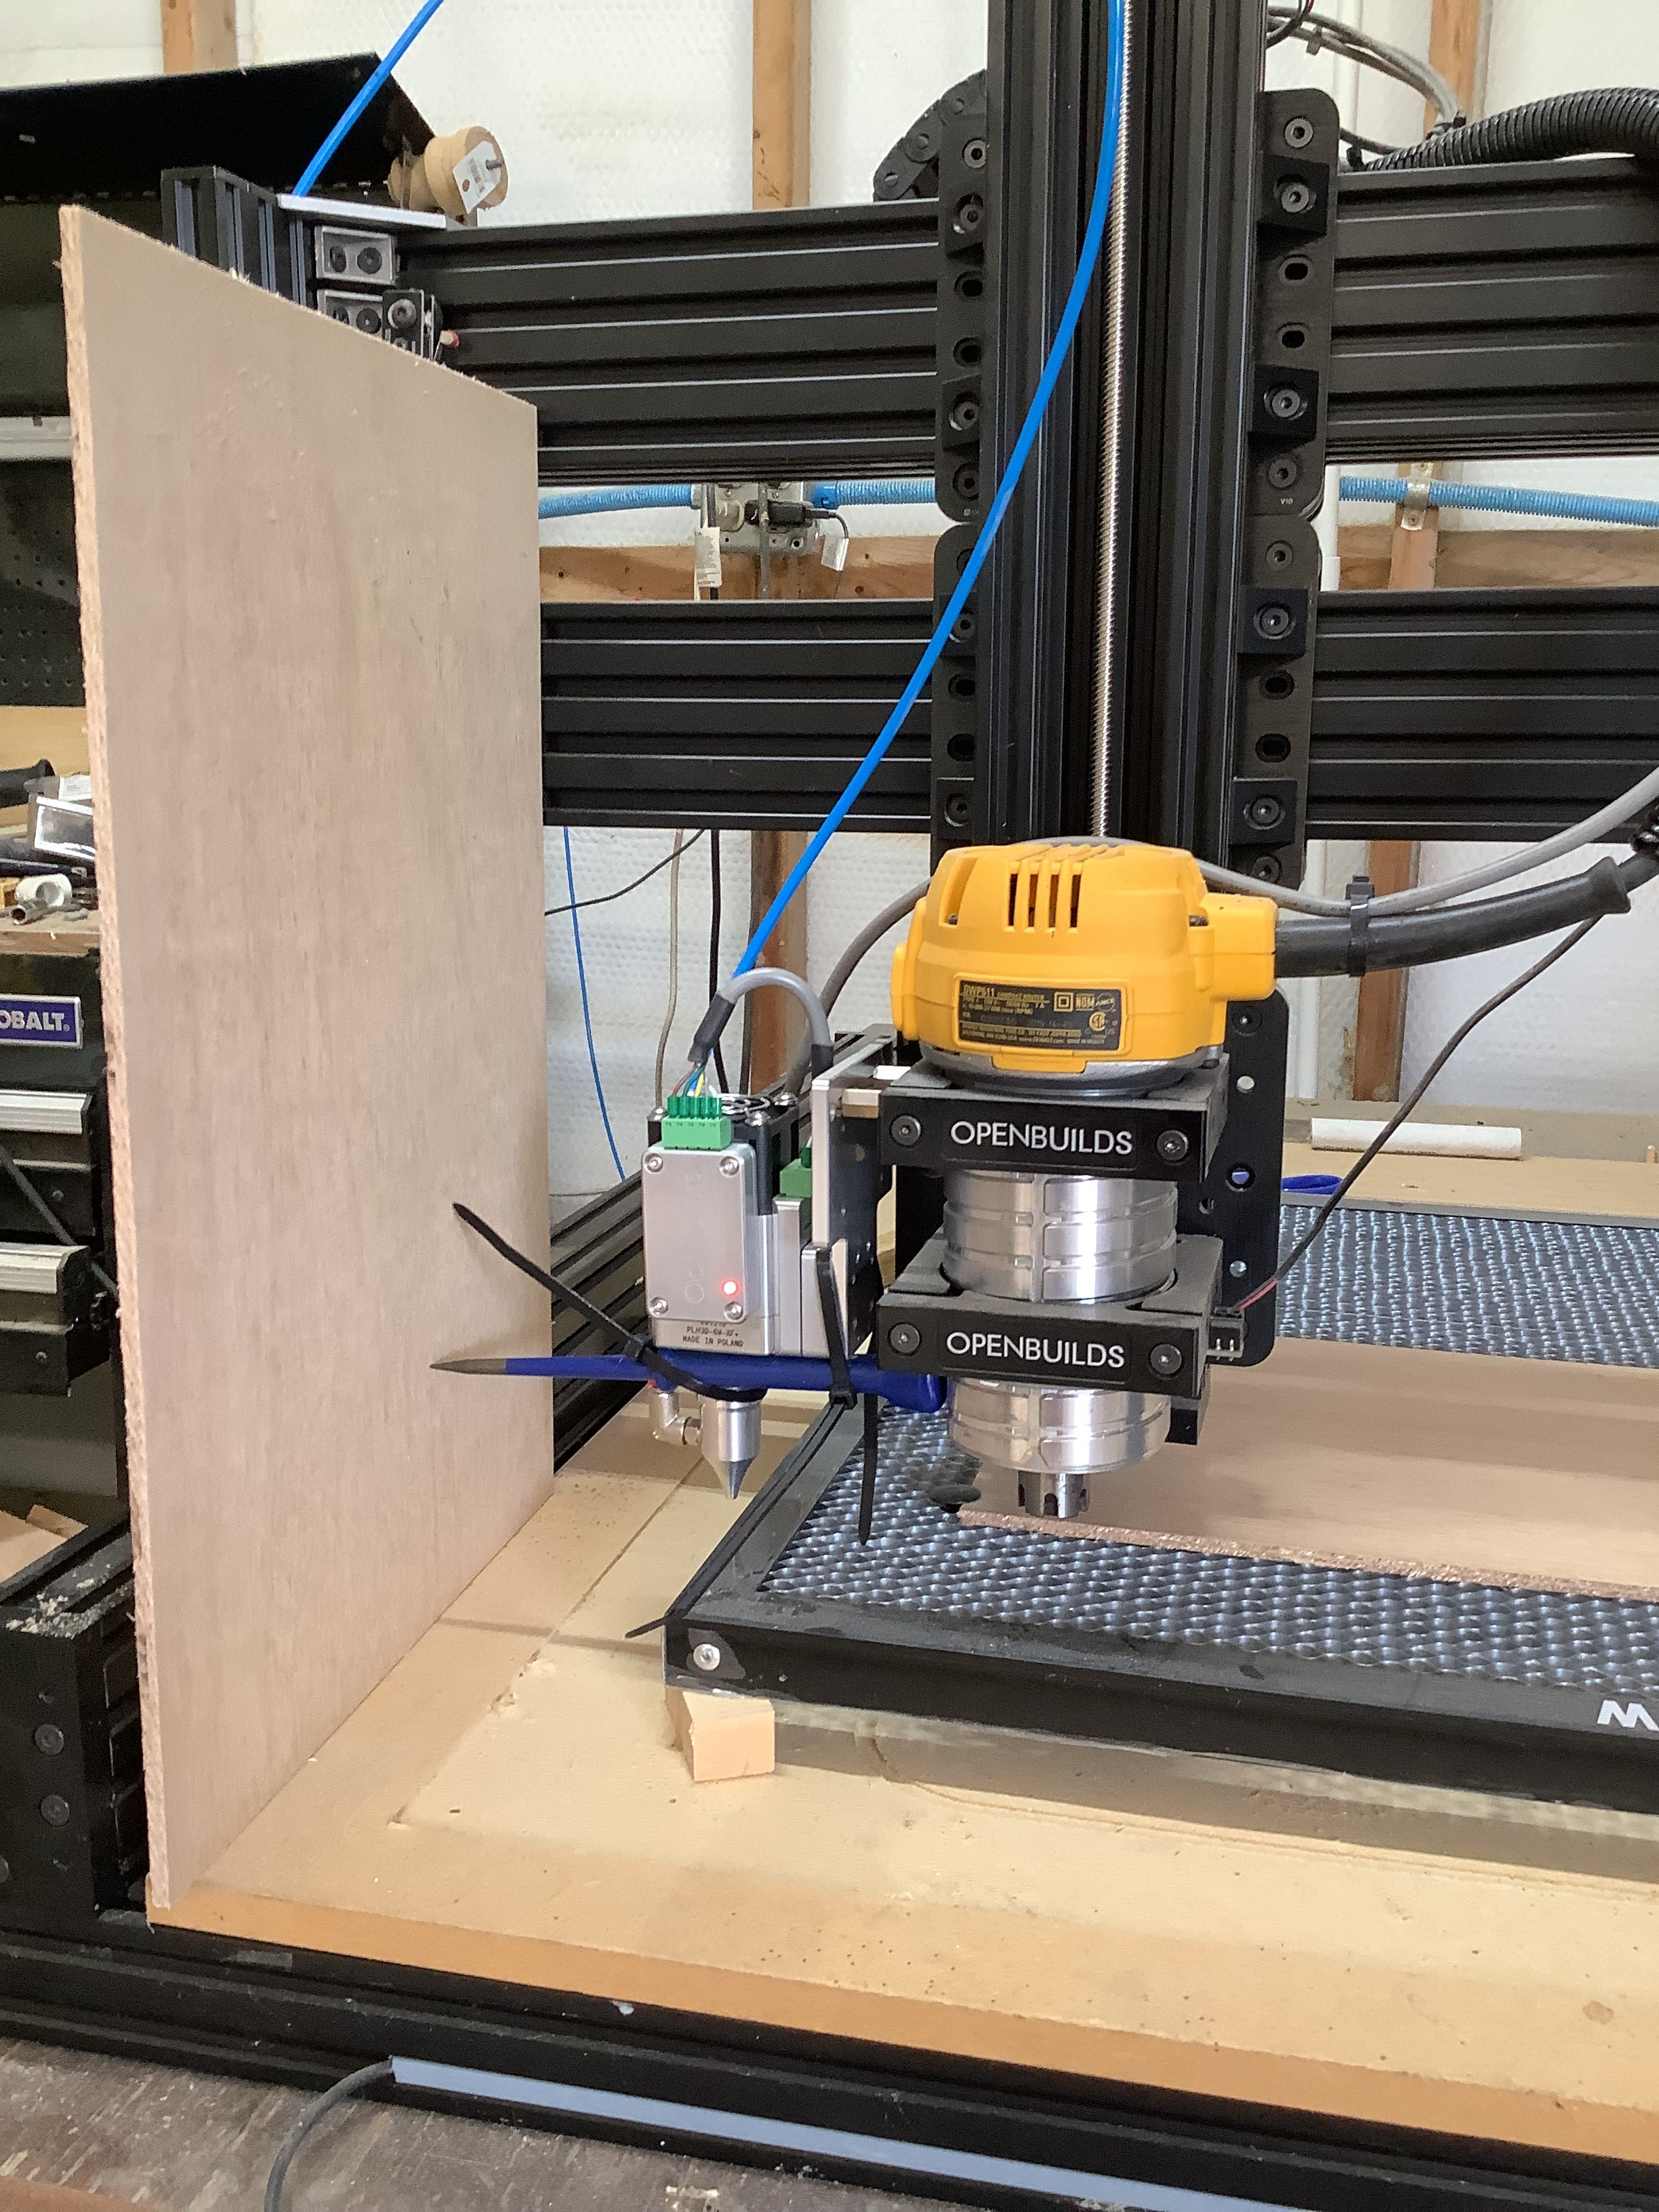
That’s a serious looking stepper motor. It looks a lot like the same kind of lead-screw that moves the Z-axis, but I can’t tell for certain at this end.
This end looks a lot like a lead screw.

Are the stepper motors all the same?
Processing: image.jpg…
Will work on this tomorrow and let you know
?
<Idle|MPos:0.000,0.000,0.000|FS:0,0>
ok
?
<Idle|MPos:0.000,0.000,0.000|FS:0,0|Pn:X>
ok
?
<Idle|MPos:0.000,0.000,0.000|FS:0,0|Pn:Y>
ok
?
<Idle|MPos:0.000,0.000,0.000|FS:0,0|Pn:Z>
ok
I checked today and X and Y axis are lead screw
With similar motors, drivers and lead-screws the axis calibrations (steps per mm) should all be quite similar. This is great to know and it removes a lot of guesswork.
Also, you’ve shown that all three limit switches function as expected (when activated), and they’re positioned along their respective axes, and they’re interpreted correctly by the controller (when activated).
This is fantastic.
When homing, does the engrave head move toward the switches along all three axes? CNC machines most often set to Z-home away from the work before moving in the x or y directions to prevent physical collisions between the spindle and the work.
An errant direction setting will cause the limit switch to not be pressed
When installing homing switches some folks are less willing to sacrifice the 3mm to 5mm pull-off from the physical rail of the machine. When this happens the engrave head or gantry can’t activate the limit switch, the controller doesn’t respond by pulling back from the limit switch and homing fails.
Please retest homing to confirm the limit switches activate and use the question mark test to verify the state of any switches that do not trigger and command the pull off behavior.
You’re really close now.
Will try to work on this tomorrow. I’m soooo ready to try this thing out!!!
<Idle|MPos:-804.999,-725.003,-495.002|FS:0,0>
ok
?
<Idle|MPos:-804.999,-725.003,-495.002|FS:0,0|Pn:X>
ok
?
<Idle|MPos:-804.999,-725.003,-495.002|FS:0,0|Pn:Y>
ok
?
<Idle|MPos:-804.999,-725.003,-495.002|FS:0,0|Pn:Z>
ok
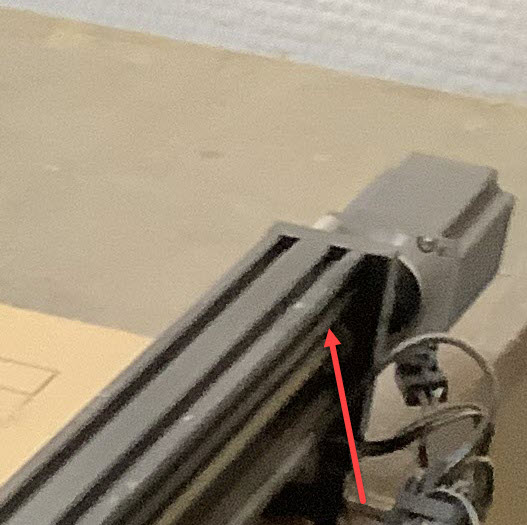
I think I will try again tomorrow it homed fine. The Z axis moves first then the X and Y together. The X axis comes off the switch but is barely touching it.

The engraver is set to pull-off 5mm in in each direction because $27=5.
if you’re not seeing a solid 5mm reaction the mechanism may be stiff or binding. There could be a loose screw on the motor coupler or it could be absorbed by the anti-backlash nut. Look on the x-axis screw drive - not at the driving end, but at the part that is driven (or being pushed). I would think that it’s a 3 piece component with a spring in it. If the rails are binding close to the origin the spring in that component might compress and release instead of travelling there-and-back as anticipated. The engrave head, with no spindle/engraving load on it shouldn’t be loading the spring.
It’s ok if the engravers rest on the deactivated switches. The pull-off behavior should be identical on each axis.
Controlled by switch design. More on $27…
$27 - Homing pull-off, mm
To play nice with the hard limits feature, where homing can share the same limit switches, the homing cycle will move off all of the limit switches by this pull-off travel after it completes. In other words, it helps to prevent accidental triggering of the hard limit after a homing cycle. Make sure this value is large enough to clear the limit switch. If not, Grbl will throw an alarm error for failing to clear it.
It pulls off of it and just rest there so I think its ok.The switch is not depressed at all.
What is my next step?
I looked really close today and the X and Y look exactly the same. They both rest at the switch.
I take it we are still talking about the intermittent alarm…
It appears your machine is racing into the switch, which makes accurate positioning difficult. Switch debounce ($26) is 1/4 of a second on yours. That is a LOT of delay for switch contact bounce wait time. If you set this parameter to 100ms and your problem gets worse, that indicates you are not creeping up in the switch trigger position.
$25 = Fast approach to find the switch.
$24 = Switch is found. It will pull off and approach at this lower speed.
$27 = Switch found second time, will pull off to prevent overtravel alarm.
I see $21=1, meaning you should have 6 switches, 2 for each axis. Please confirm.
I see $20=0, meaning you do not have soft limits enabled. Why not? This keeps you off the hard limits if you send GRBL a wanky motion command.
If I am facing my machine it homes to front left. I only have 3 switches. I am new and I am just setting up my laser so I do not know about soft limits yet.
When I move the laser and rehome it, I do not get an alarm.