I’ve used wet kitchen roll on Stainless steel with a CO2 laser, seems to work just as well as the mustard method, no idea how well it’ll work with a Diode laser though.
Steve
I’ve used wet kitchen roll on Stainless steel with a CO2 laser, seems to work just as well as the mustard method, no idea how well it’ll work with a Diode laser though.
Steve
OK. You’ve stumped me. What is a wet kitchen roll?
I’ve no idea why it works but I’ve done a couple of tests and it marks all the stainless steel I’ve tried and doesn’t come off easily, you have to sand it down or physically scratch it off.
Steve
hello Amy, I also am a newbie at this. I have had my Ortur 7 watt for about 10 days now. ( My very first laser.) And I did it today, I kid you not. I etched a 5 inch mirror with the word love on it. I coated the mirror with dawn soap. “I spread the soap with my finger”. I set my power at 100 and I set my speed at
" 1 mm/s ". I noticed that parts of the letters did real good and parts not so good, but if you reflect the mirror, you can see the parts that are not so good. What I noticed when studying the burn was the areas
where the soap was really thick, it burned really good and not so good was cause by the soap being thin in places. So now I am making a little spreader that will spread am even thick coat. Oh!! I also started the burn at about 9:00 PM last night, (5/11/21) it completed the burn about 4:00 this afternoon. Not to long to burn, LOL, only about 19 hours. But it worked !!
R Cline Petrolia, Tx.
You should never leave your laser alone when burning. A chance of a fire with wood is great but it probably also exists when you’re burning other materials. Safety first
I scanned your QR and it works! NO 3000 Laser service FB page. Cool… I went to qifi.org and made my own! Great Idea!
Why not in Lightburn?
When I click Tools, Create QR code in LB, nothing happens.
then hold left mouse down and move to create a square, then you get the settings menu too
We have noticed a few folks don’t know what to do after selecting this tool. We are discussing a refinement of the workflow a bit, but it currently works like all other tools in LightBurn. When you select the ‘Line’ tool or the ‘Ellipse’ tool, you do not get a line or ellipse drawn for you. One must take an action with the tool to have it do the thing the tool is designed to do.
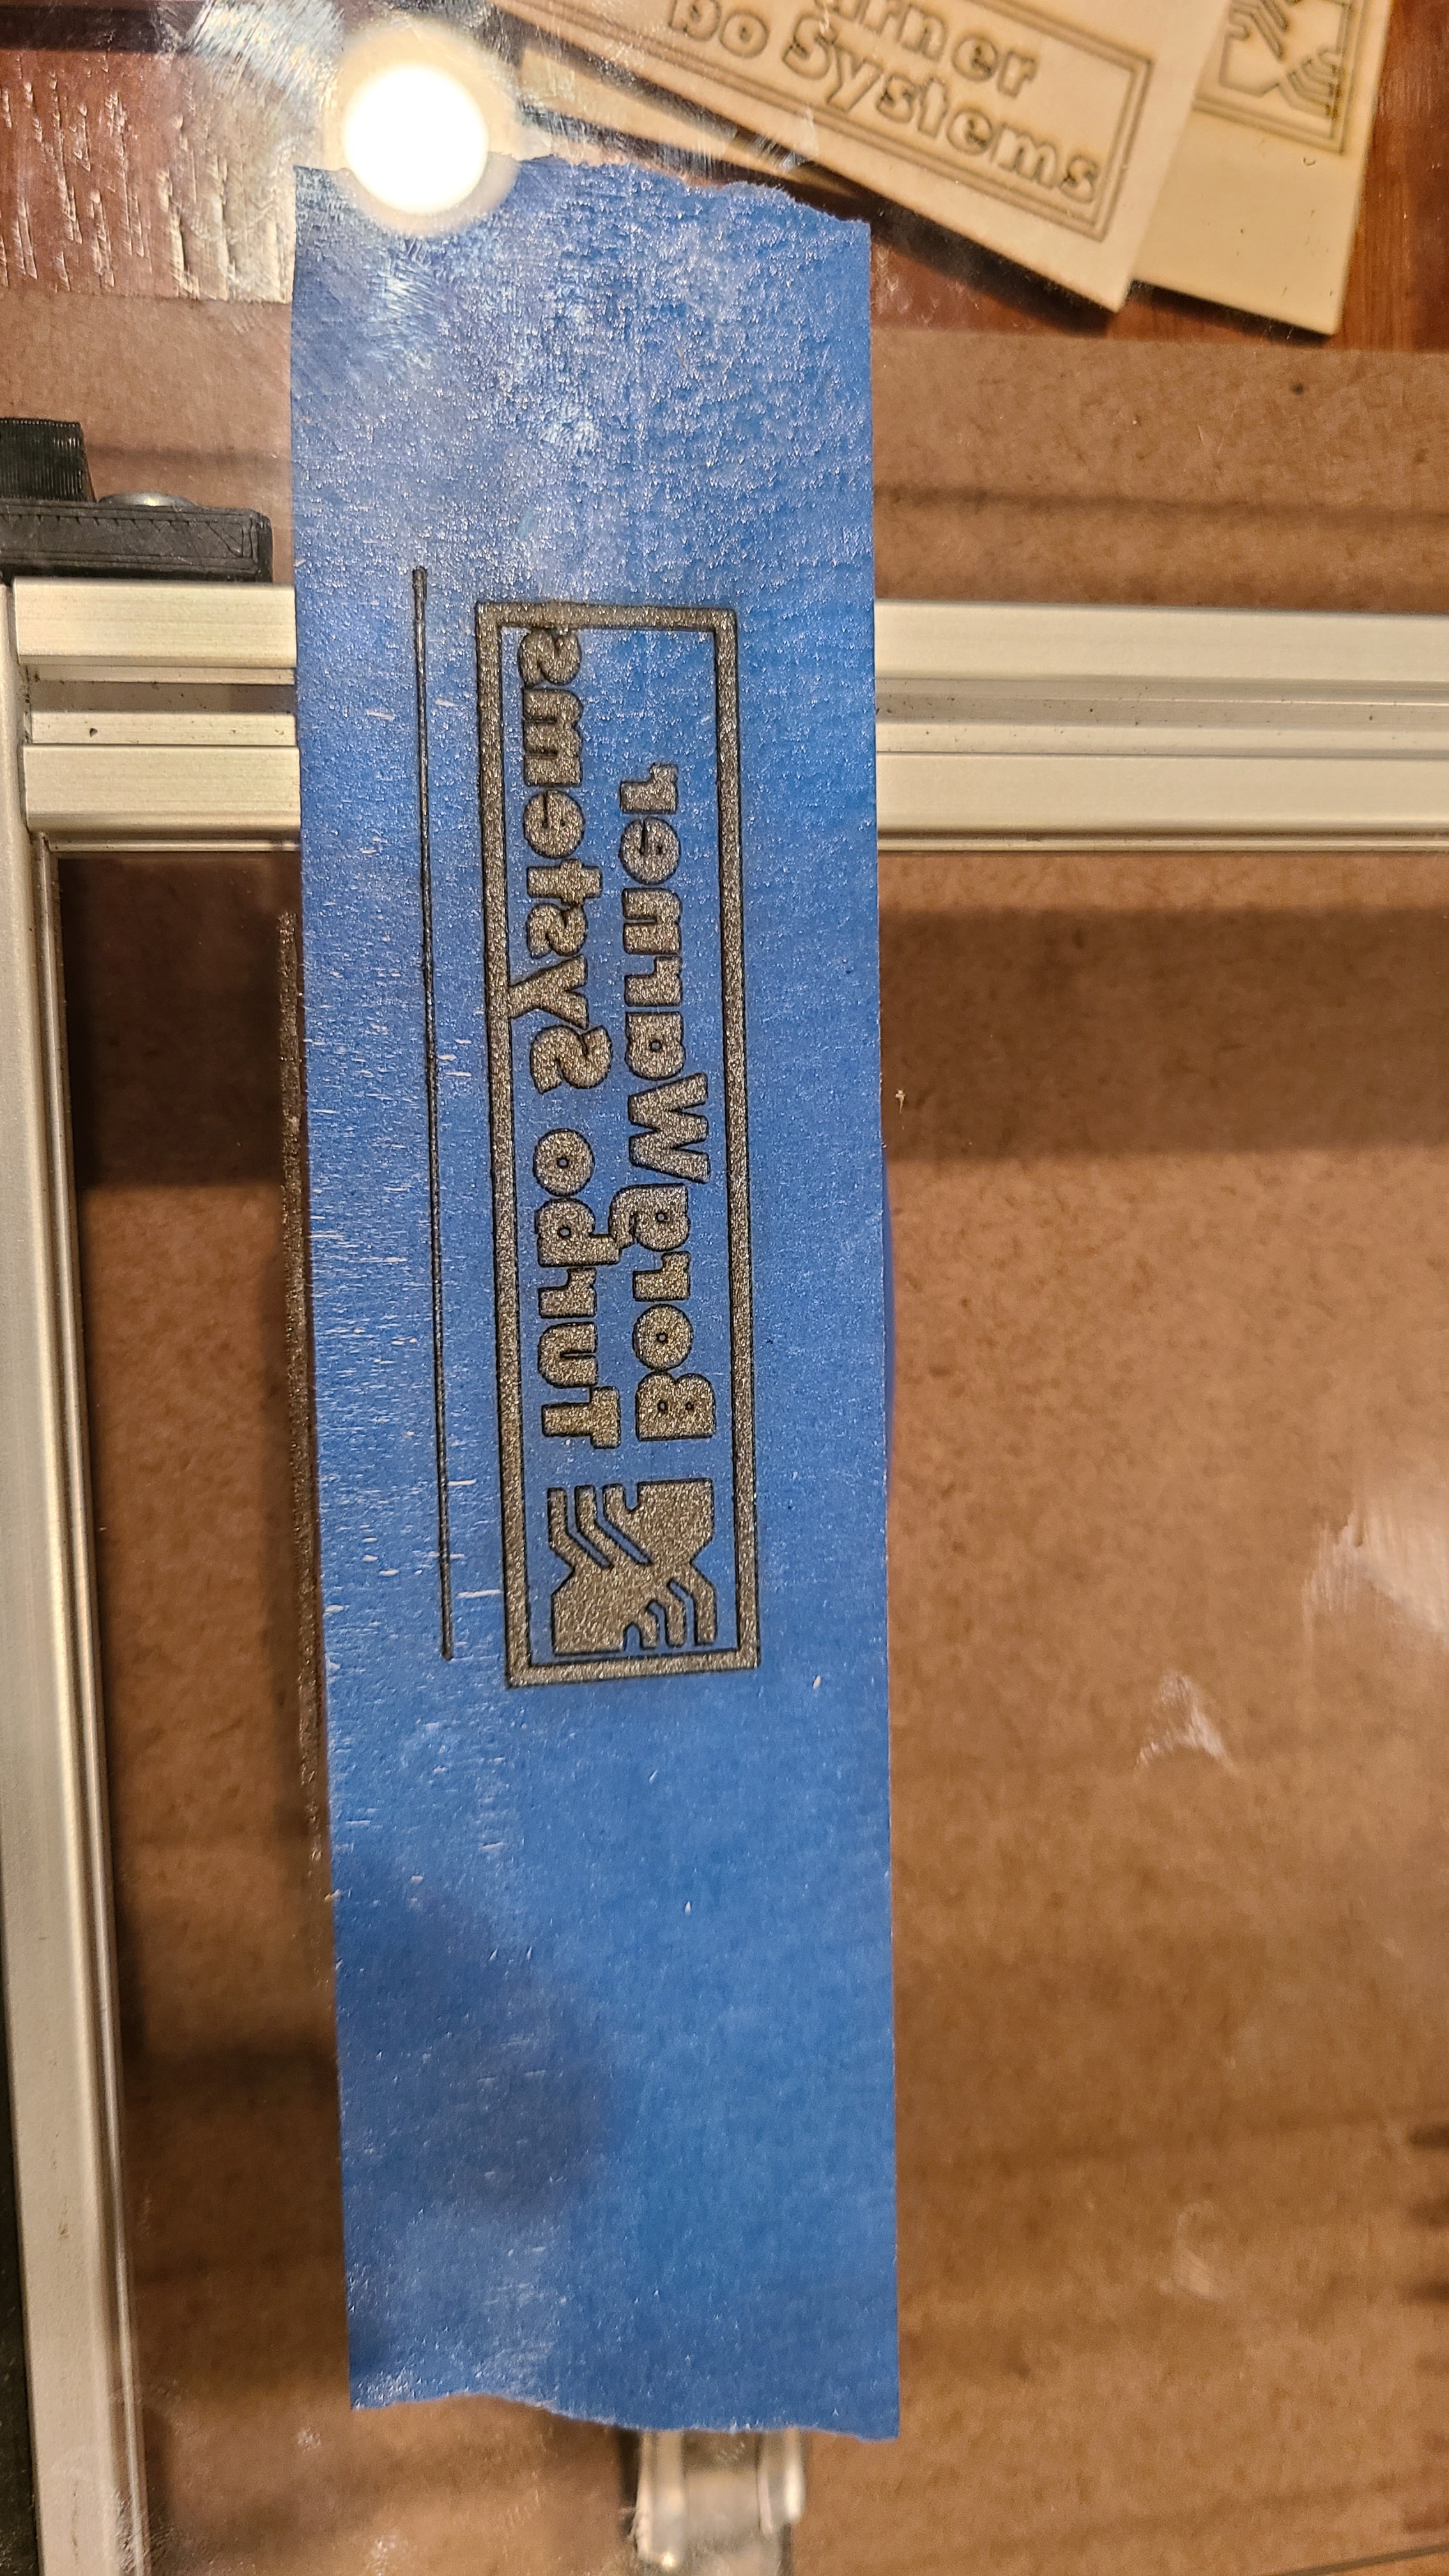
That said, click and hold, while dragging out the desired size for you QR Code. Upon release, you are presented with an edit box, as shown below, where you enter the parameters of the QR Code. Redirecting...
With the QR tool selected, click and drag in the Edit Window where it will show a square being drawn, this will be the initial size of your QR Code. Once you release the mouse button, you will be shown the
QR Code Propertiesdialog.From here there are 3 main options for QR code content:
- Raw content: typically plain text or URLs
- WIFI: Creates a WiFi access point configuration code for mobile devices.
- Contact: Creates a “Contact Card” code which will load contact info into your mobile device’s contacts.
As you enter QR Code content you will see the QR code in the edit window update in realtime. The more content you add, the smaller the sub-squares will become to fit all of that data. You can always scale the size of the QR Code after the fact, if needed.
Note that you may also edit an existing QR code object by selecting it, right clicking, and choosing the Edit QR Code option. This will bring up the same QR Code Properties dialog as before with all the information filled in.
Your right on the fire. My rigs are mounted to a 1/4"th thick steal plate 2’ x2’ and I was cutting on glass. So i wasn’t to worried about the fire thing. I can say one thing about my “toy room”, no matter what happens, this room will not burn nor can it be blown away.
A diode laser will engrave glass if you put black ink or paint on it. A co2 laser does require darkening and will engrave
I ran it on 100% at 18in/min and it takes 2 passes but it does mark it. Its pretty thick glass too
Did you have some tape, or something else on the glass, or just the glass? What is your laser output power? Mine is 7 watts.
I do not trust the claims from Chinese manufactures when they describe their product and what it can do. They can outright lie and there is no recourse other than sending the product back for a refund if you purchased it online.
My trusted source of FACTS are the you tube videos and the talk forums like this one where there are experienced users who have nothing to gain by stretching the truth and are willing to help others.
From what has been said here some sort of a coating is required to get a diode laser to etch glass.
I didnt use tape, just had a piece of plywood beneath it and i believe mine is 20watt and it worked
Glass is transparent to the laser.
Nothing in it will offer resistance to the light beam thus no heat will build up.
its like the laser is passing thru air.
I think you need to coat or paint something on the glass for it to work.
Masking tape might do it but I dont engrave glass so I can not say for sure.
Search you tube for ENGRAVING ON GLASS WITH A LASER and I am sure you will find the answers you seek.
Hi, Leo, by chance do you have the file for your cross project for sale? Would really like to make one for my sister.
Thank you in advance,
Duane