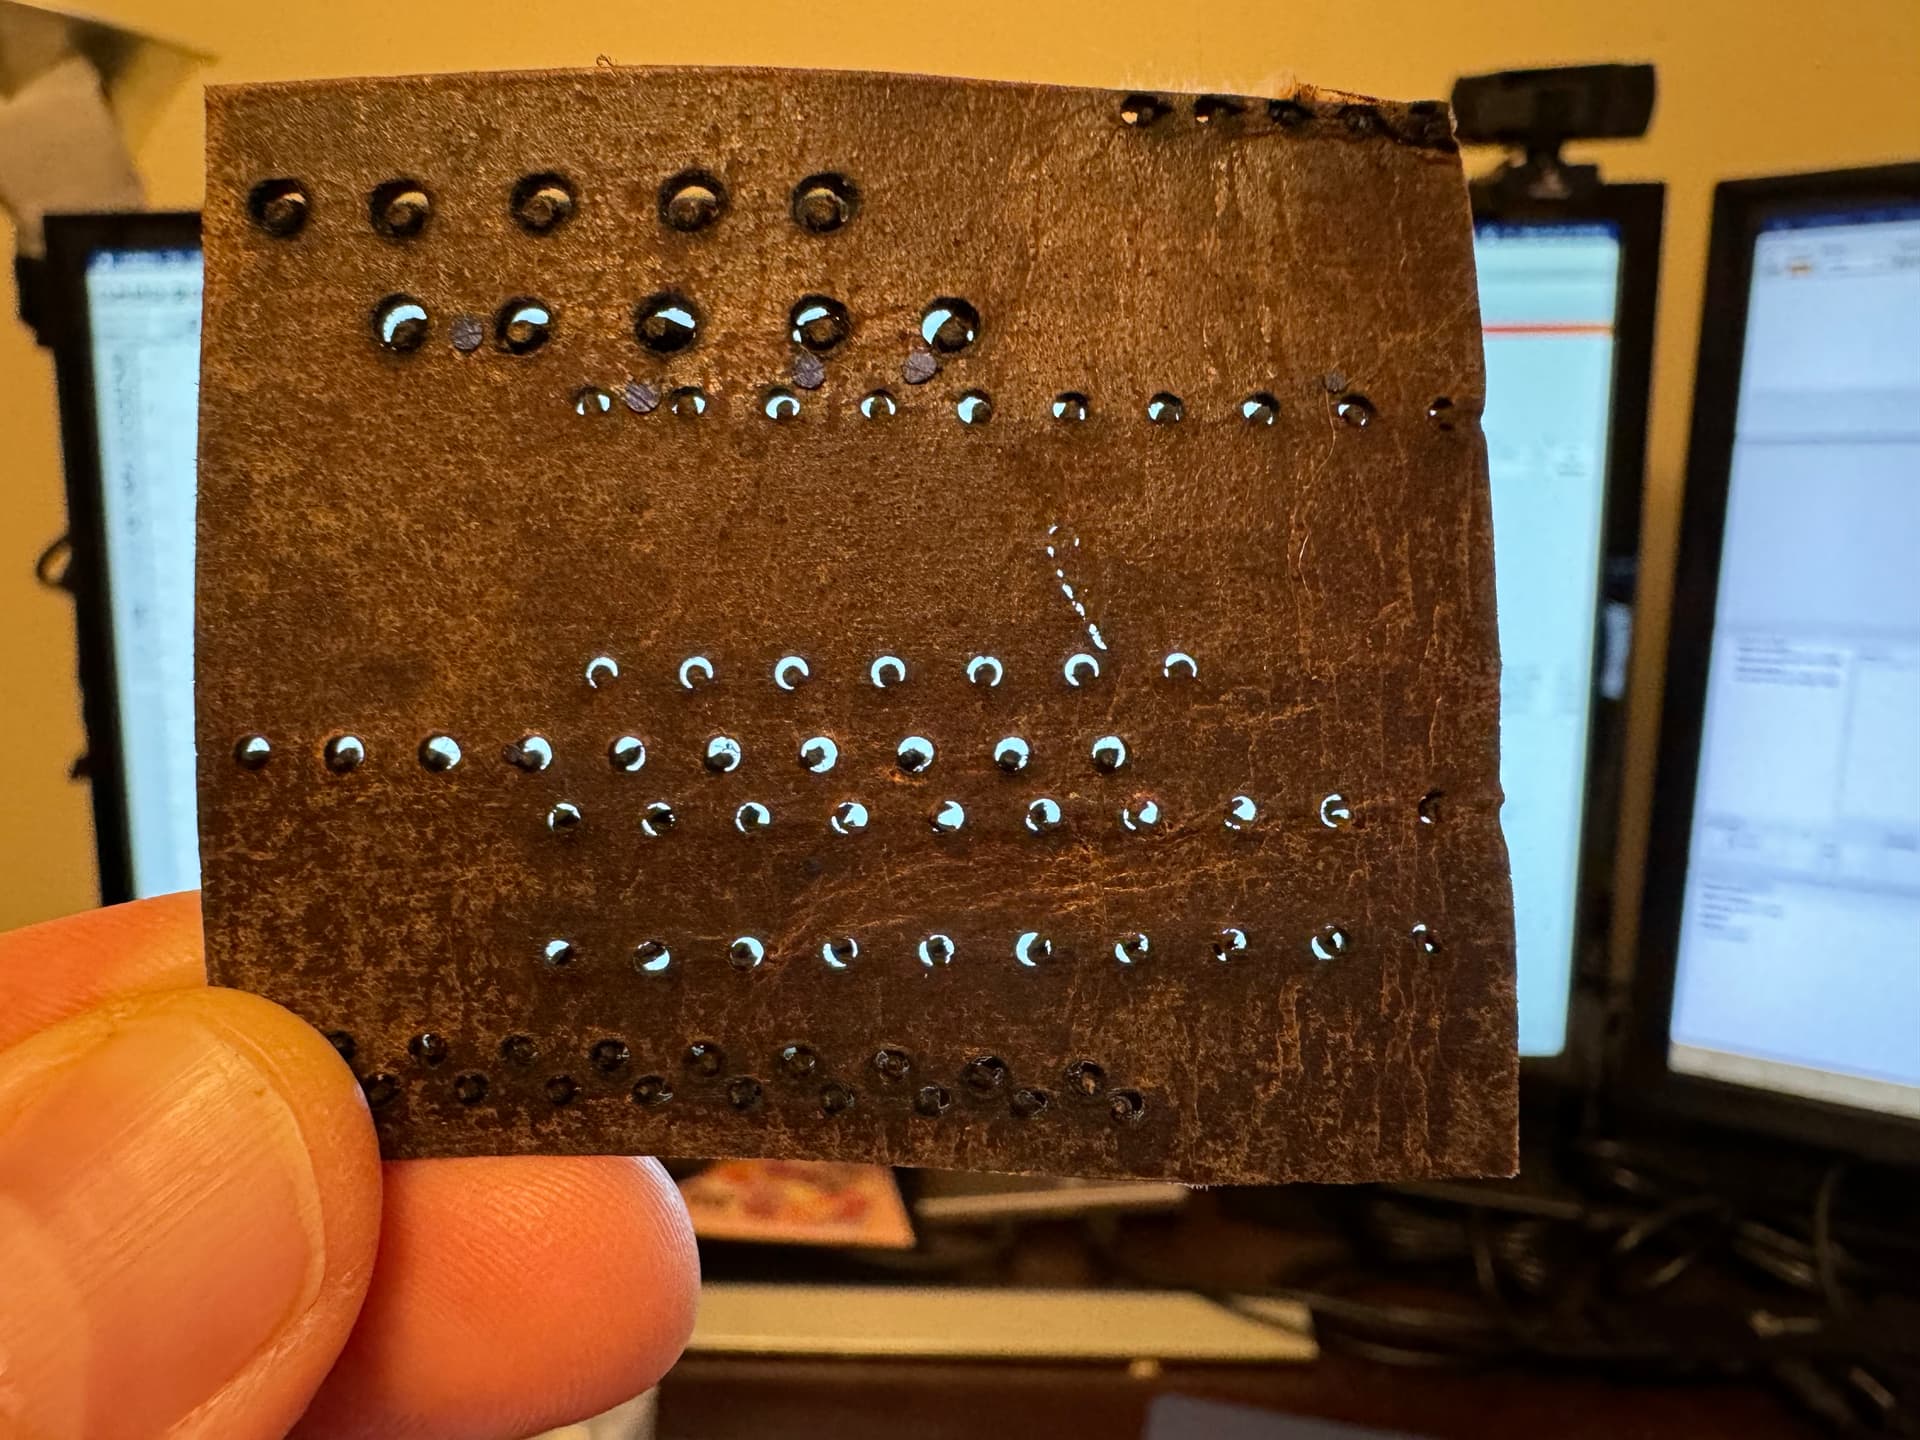
Hello, I’m trying to cut small holes in leather for stitching, about 0.06" in diameter, but it’s leaving a small section that doesn’t appear to be cut. I’ve checked the Tabs / Bridges setting to make sure it is turned off, but the issue persists. I’ve also tried multiple passes, lead-ins/outs, and it still doesn’t completely cut all the way around the circle. Any advice?
Is the portion that remains at the start of the cut or at the end of the cut?
A couple of techniques to explore:
- Under the Advanced tab in the Cut setting, Explore the Cut Through settings. This will basically hold power at the start and/or end of the cut based on the amount of time you specify. This will help to pierce through the material at the start/end of the cut. If the material is retracting during the initial cut it’s possible that you may need to dwell a bit at the end of the cut.
- In the same area, take a look at the Overcut setting. This will advance the cut beyond the normal end point and continue the cut past at the distance specified. This may cut through any remaining material.
2 Likes
Thanks, berainlb. I’ll give it a try.
After trying your suggestions and some other methods, I think part of the issue might be the material itself. I think this particular leather burns more than some others I’ve used and, even with more passes at lower power and higher speed, it tends to burn and fuse back to itself when cutting tiny holes. I’ll try an alternative approach and see if it works. Thanks.
Is this real leather? … Usually skin doesn’t heal itself…
Beware that with circles and other small pieces,l it’s likely that the speed control is very limited. There is no room to accelerate…
![]()
You might have luck laying a duplicate circle on top but rotate it so the start/end positions are different to the one underneath.
Not sure that it will work, but maybe!
Also yeah, is it real veg tanned leather? If not, it’s extremely likely the fumes (chlorine, chromium, cobalt, etc) being produced are very toxic to you and damaging to the machine.
I forgot to note there is start/end pause time and lead in/out …?
Might check your start speed. At or below the start speed the Ruida only produces minimum power.
![]()
2 Likes
@HoutmeyersP is/was fighting the exact same problem here:
Maybe you two can compare notes…
1 Like
I have not found a solution after a few made some good suggestions. What i do now since i dont need the inner parts of the small holes is to use fill instead of line…the holes are cleaned out , it only takes a bit longer. I cant get my head around why this would not work in line mode , i even tried 2 passes and the laser makes full circle. Still a small part keeps holding the inner part in the hole. I guess the use of fill for those small holes is the option to apply.
Thanks for the reply. It could work , but than again its not just one hole i need to copy and rotate…its sometimes 100 or more in many different parts. The tiny holes are stitching holes in vegtan leather. I know the products used in leather are toxic ( chrome tanned)…but the parts are always in a sealed enclosure and the fumes get extracted using vacuum to outside my house. I do need to clean the laser module regurarly because the leather sticky dust does clog up all ventilation/cooling fan holes.
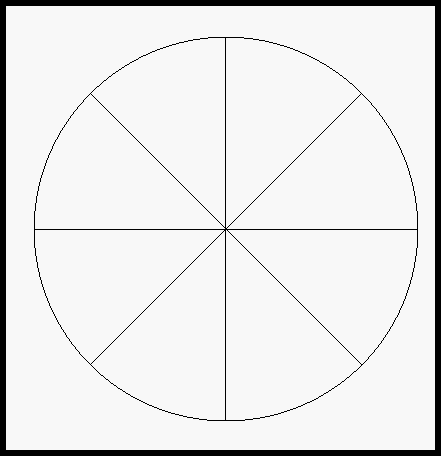
You could try a shape like this. Group it all together. The lines should be able to clean up the inside, and the circle should also take care of the rest.
Thanks for the suggestion. I will try this as soon as possible…i guessed overcut would allready handle that as the power remains on a bit further than 360°.
Good idea if you only need to laser cut a few holes.The holes are only about 2mm diameter max…its often more than 100 holes in one project. If i need to put like what looks like a crosshair in every hole on every project i allready saved for furher use , it would also take a lot more time. For newer projects this certainly is worth to consider…drawing a small circle with a crosshair and then align those to a path. Thanks.
That might be the issue. These are tiny holes in bison leather.
Thanks! I might give the duplicate circles idea a try. This is bison leather and I have a system to exhaust the smoke etc. outside.
Do you know about copy along path?
When I do stitching holes on leather I draw the lines of stitching I want (usually utilising the offset tool) then I set those stitching lines to a tool layer (the last two colours on the palette at the bottom), then I use copy along path to create the holes. You can copy a group along a path, which is why I mention it. You’d be able to use a couple of circles or the spoke and circle pattern above if you wished.
Poor, poor Buffalos… First (and always) wolves, then arrows, then rifles, now frickin’ laser beams. They just can’t catch a break. ![]()
Hi BillieRuben
Yes i know the copy along path option. The problem is i got most leather designs allready saved as files. So for the circle trick you suggested i need to alter all those earlier files (make a new copy along path circles for every file and also add a second rotated circle). For newer designs i surely will try this along other suggestions. So thanks allready for all those who replied to my question. Tried a few things on the older design files that did not work as i hoped.The solution i now apply and what does work is to change the tiny circles layer to fill instead of line and lower the power some. All i need to do is change line to fill and change power output…thats only a few clicks. For a simple knife sheath( i have a dozen different) it takes about 5 minutes extra to cut…for a wallet with a few layers it takes 10 minutes extra.
1 Like
Advanced find and replace… May have a place in this topic…
1 Like
That makes a lot of sense! Glad you’ve found a solution that works for you!