Hi all,
As suggested by @jlropes here is rough guide which I hope will help other users to get their Snapmaker 2.0’s working with Lightburn Software.
First steps with a freshly powered on SM2 is to use the calibration method in the controller taking into account the material thickness and the automated focusing and that sets a focus height that’s referenced in machine Z co-ordinate. Then set working co-ordinates X&Y to suit and that then refers to your bottom left reference in Lightburn.
By doing the height setup on the controller (lowering it carefully down on to a known thickness of material that you declare in the controller) and then running auto focus calibration the controller stores a laser height value (the work coordinate Z value is that plus the material thickness) and this is seen on the front page of the controller. You can manually adjust the height of the laser for the DIFFERENCE in material thicknesses from this position and then re-zeroing the Z work co-ordinate so that multi-pass multi-depth Z moves will be valid.
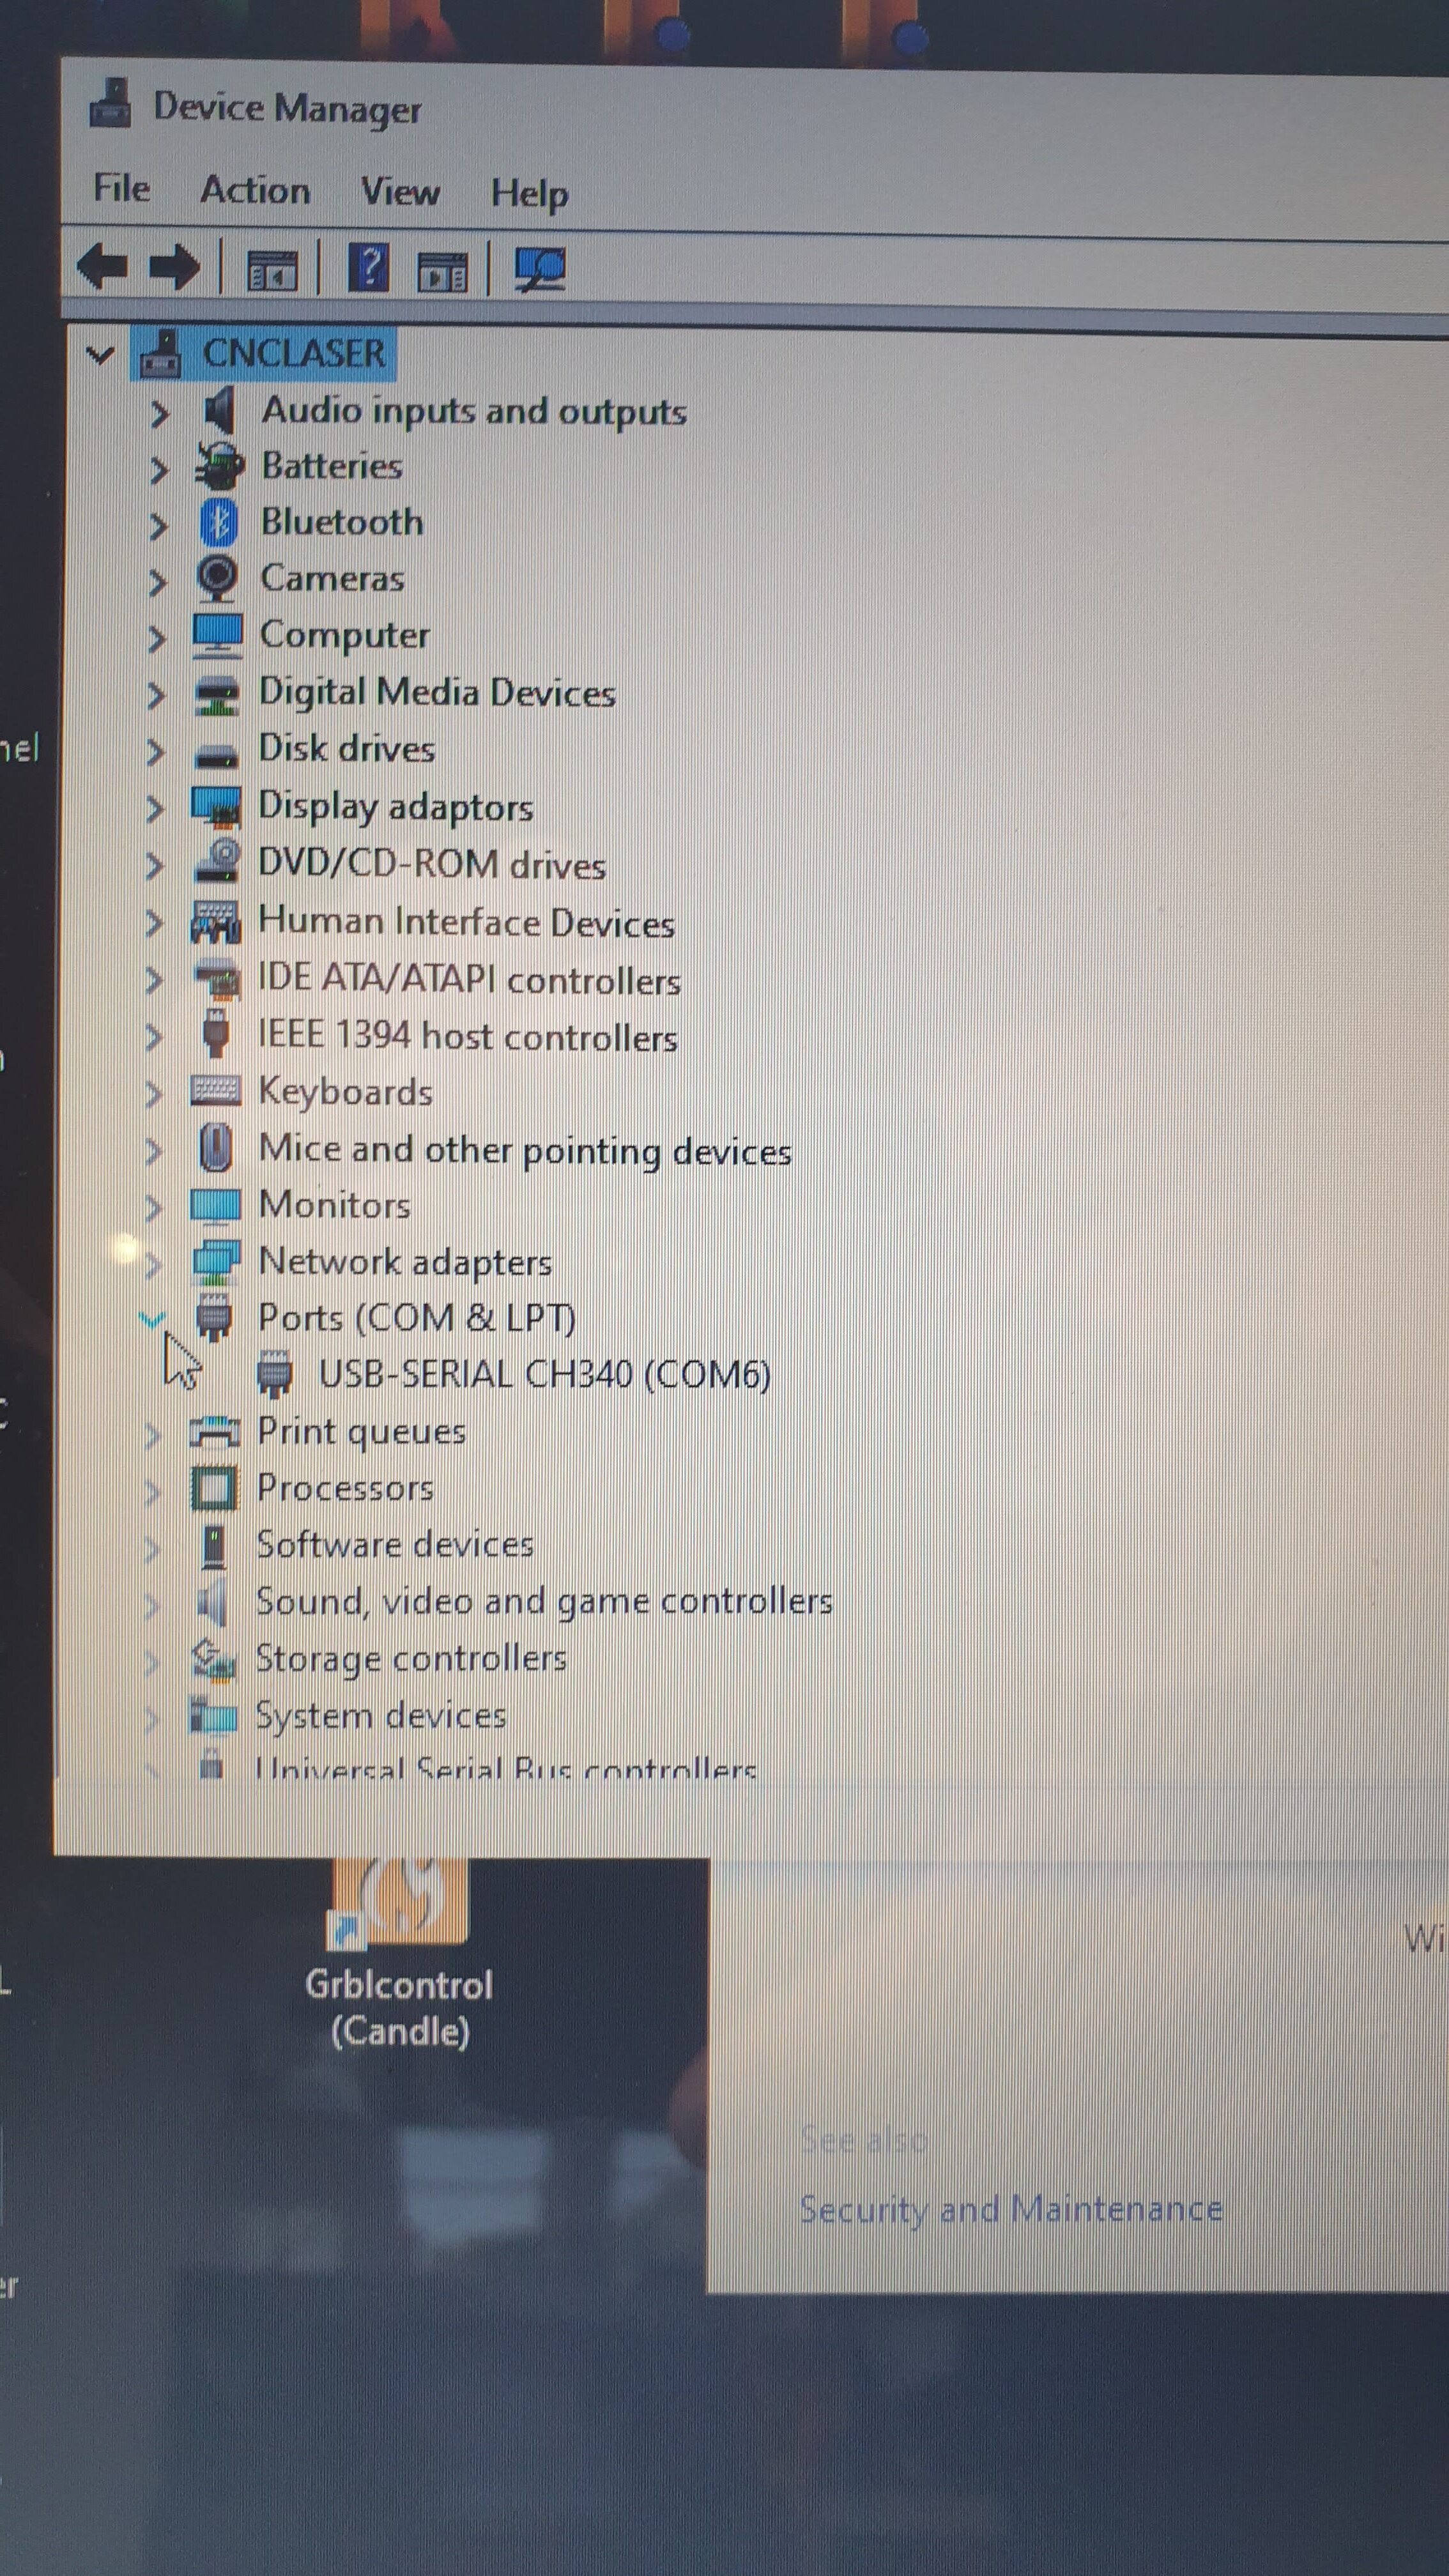
It’s important that you ensure a correctly installed CH340 virtual COM port prior to setting up LB. You can do this once your SM2 is connected and powered up via USB by going to DEVICE MANAGER in windows and checking the port allocation number, in my case it’s COM6 - see below;
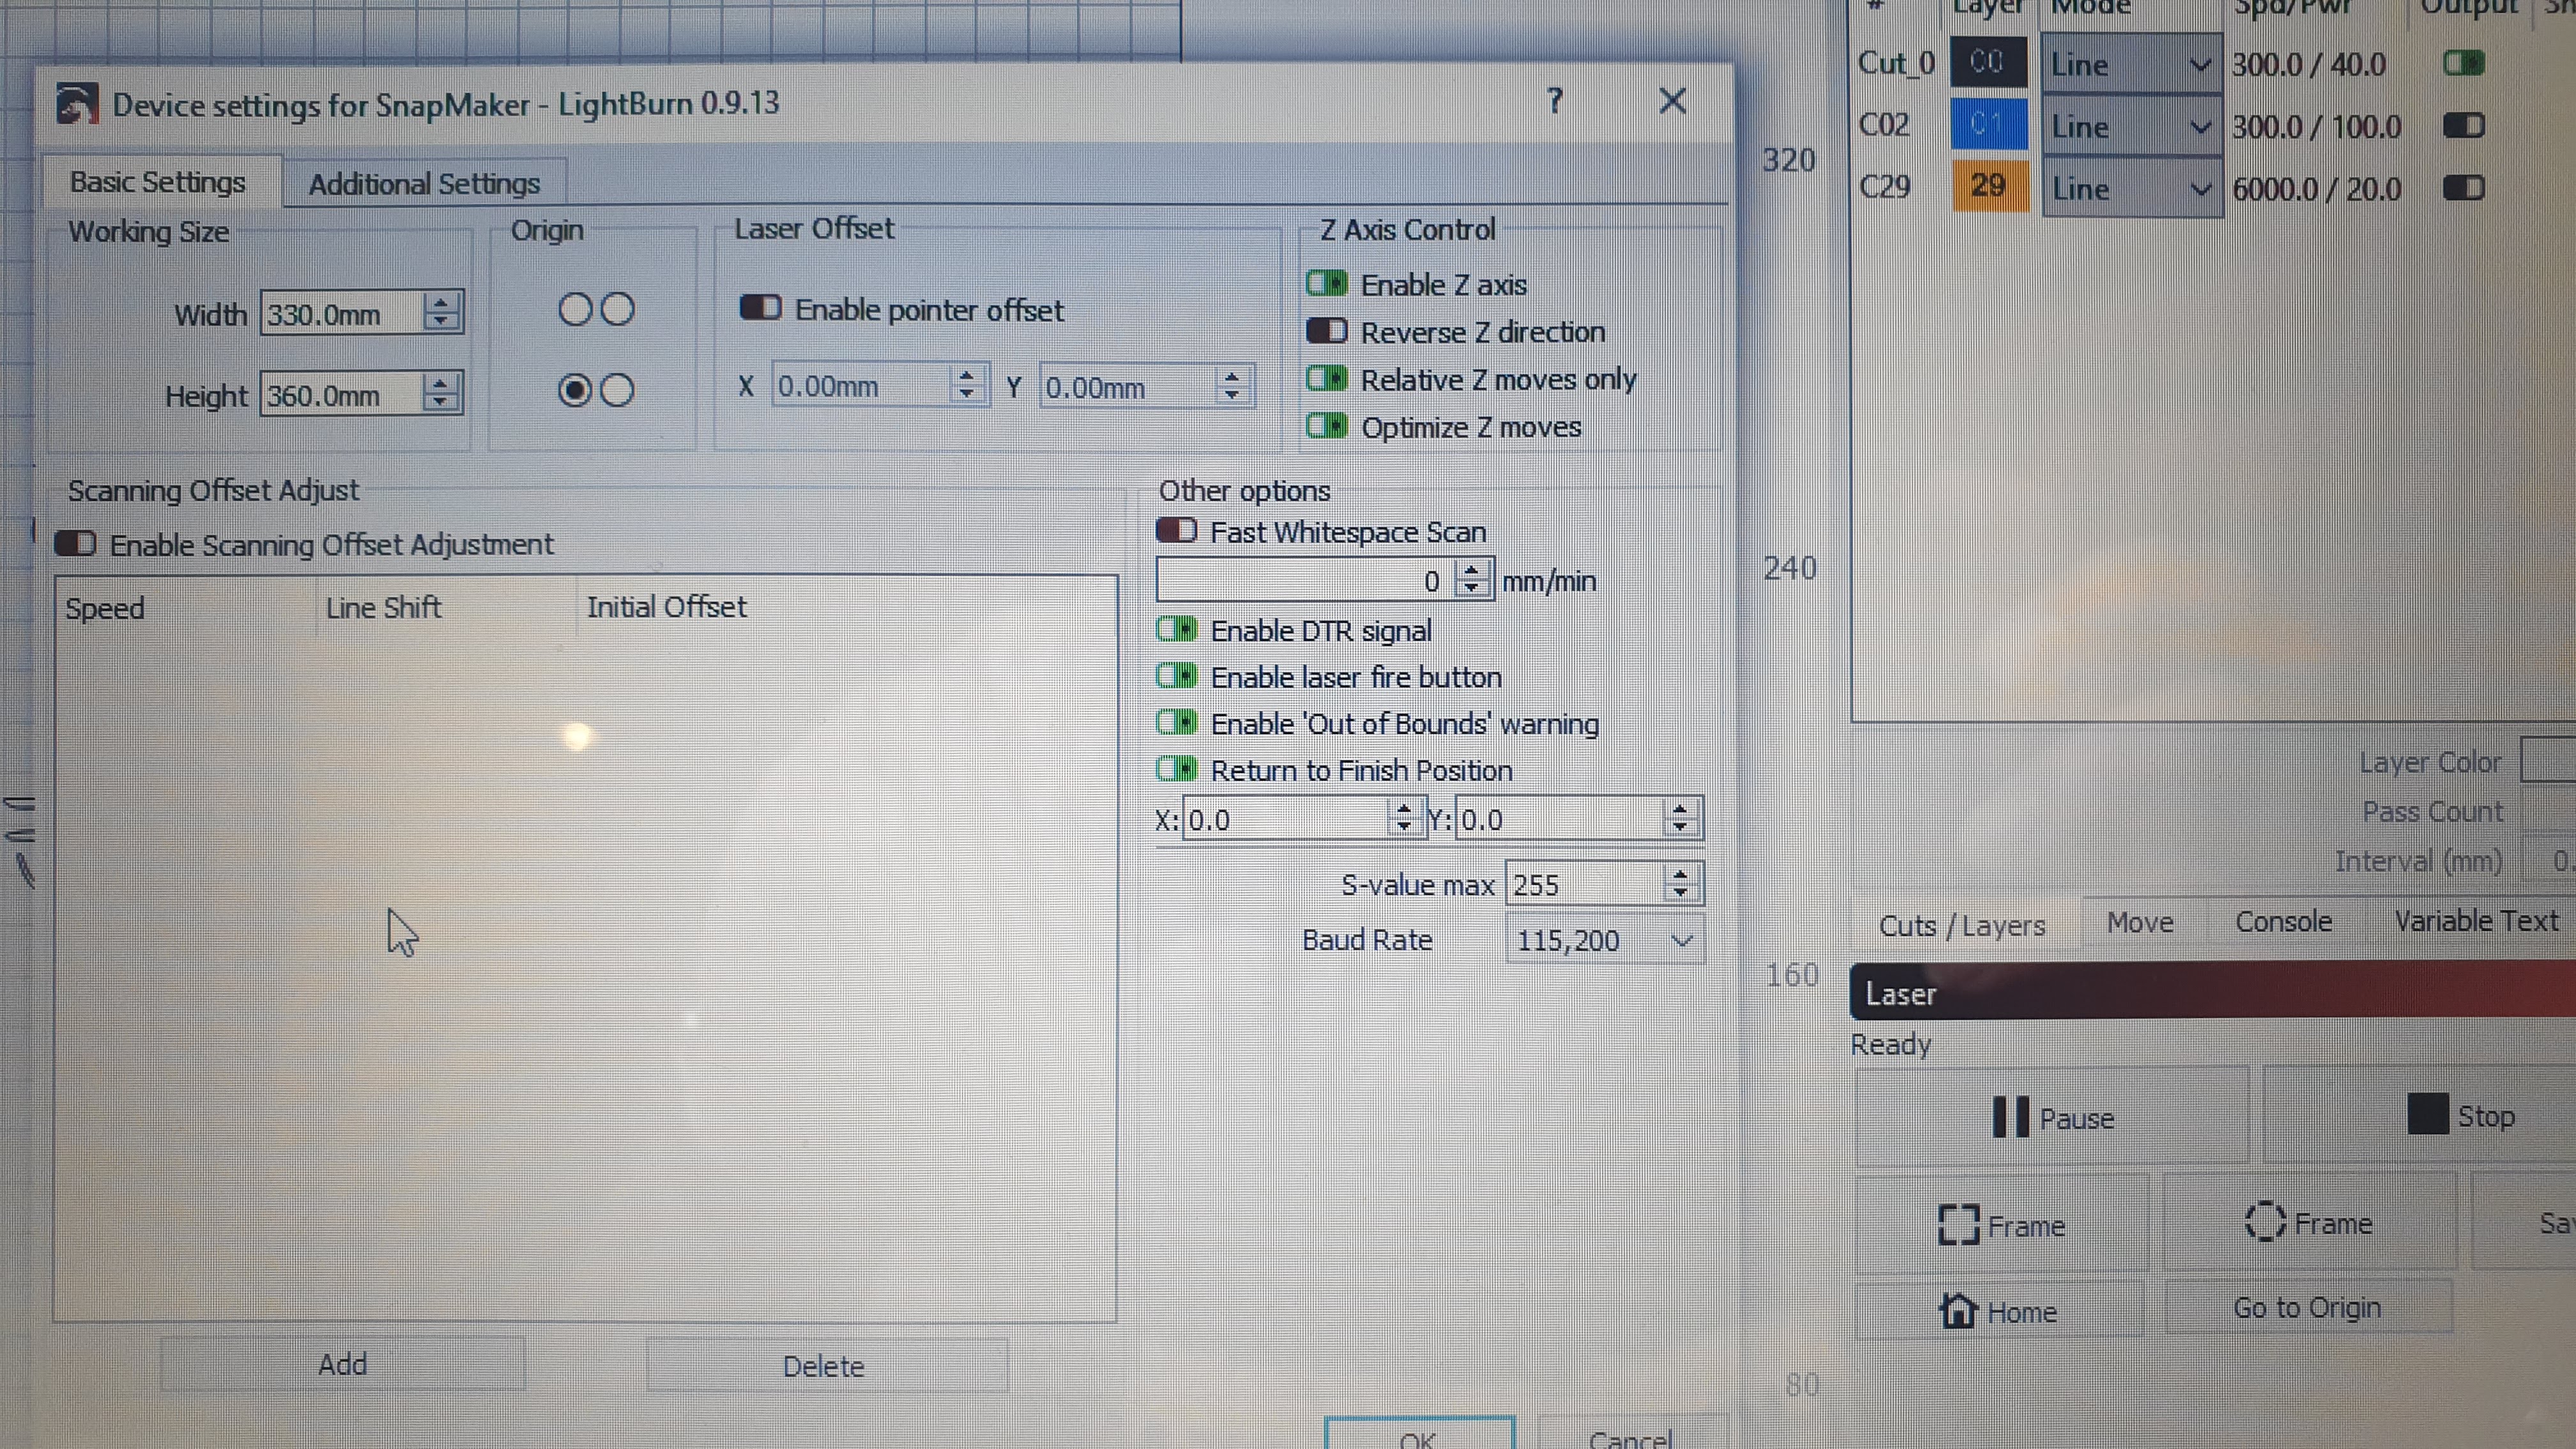
Next, open Lightburn and select Snapmaker option in New Device Wizard, adding 330mm & 360mm for X&Y axis lengths respectively (for A350). Origin is front left. Make sure in Edit>Device Settings>Basic Settings are set like screenshot, eg: S-value max 255 and Baud Rate is set to 115,200 and other settings set as indicated - See below;
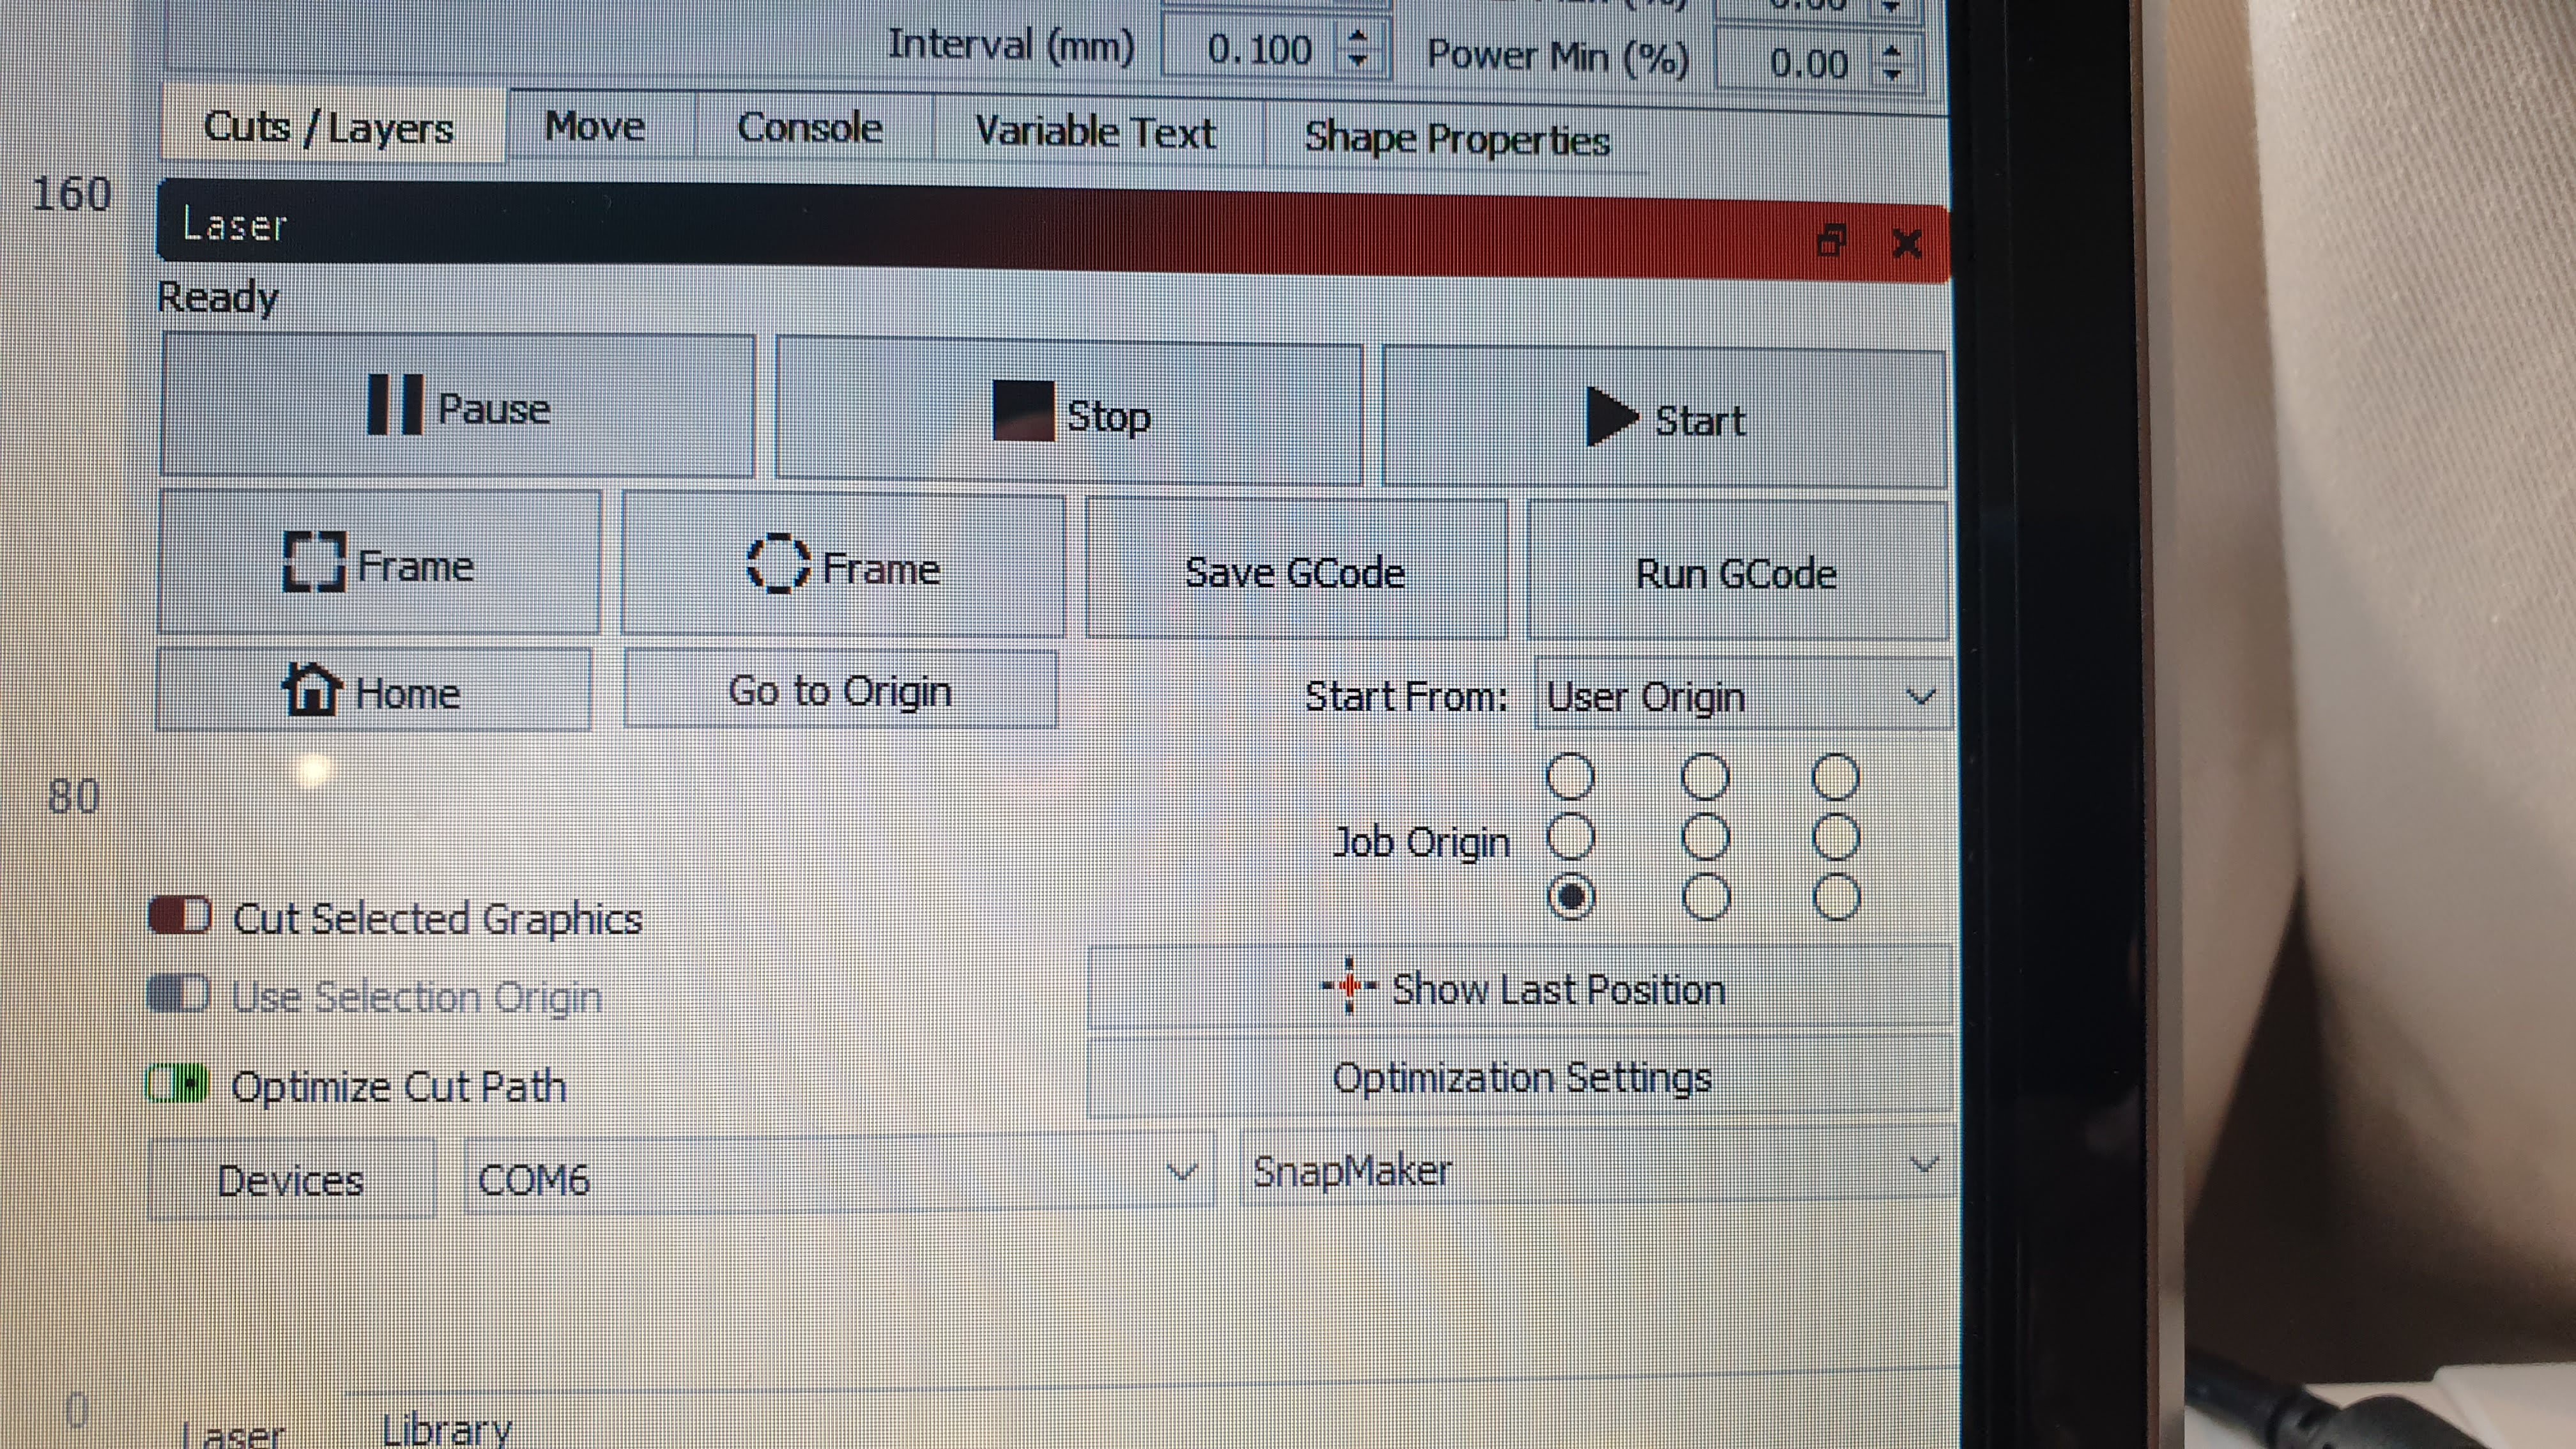
In laser control panel in main window select your added device, and correct Com port. You should see a ‘ready’ status in the top of the panel. This should give you the USB connection. See below;
You can test by jogging (safely) the head unit using the controls under the ‘Move’ tab.
Recently: Was using LB version 9.14, updated to 9.16 (latest) and experienced issues with intermittent stopping part way through a test path. Rolled back and it seems to be okay. Will check this further in due course.
If you use a Snapmaker 2.0 official enclosure (which has door detection switches) you have to turn OFF door detection in the controller>enclosure settings whilst using Lightburn. It interferes with the laser power but does not stop the X/Y/Z programmed moves!
Be careful when trying out some ‘button’ and some other ‘menu’ features in Lightburn - some won’t work and might give unpredictable results with the Snapmaker. As I said, the functionality it gives me is enough to be very useful.
Also, it is worth mentioning that the author Oz @LightBurn, does not have Snapmaker 2.0 hardware available and very kindly worked this profile out with a little help from me having the hardware of course and agreed to include it in Lightburn. I would not expect the same kind of support with any issues going forward as one would expect with the fully supported controllers etc. The functionality is enough for me to find Lightburn very useful and well worth a licence, even with some functionality not working.
I would be happy to try to answer queries here if that helps.
Good luck!
